
In a few days I will go on holiday. Someone has to either look after my plants on the balcony while I am away or some kind of automatism should ensure that my plants are still alive when I am back.
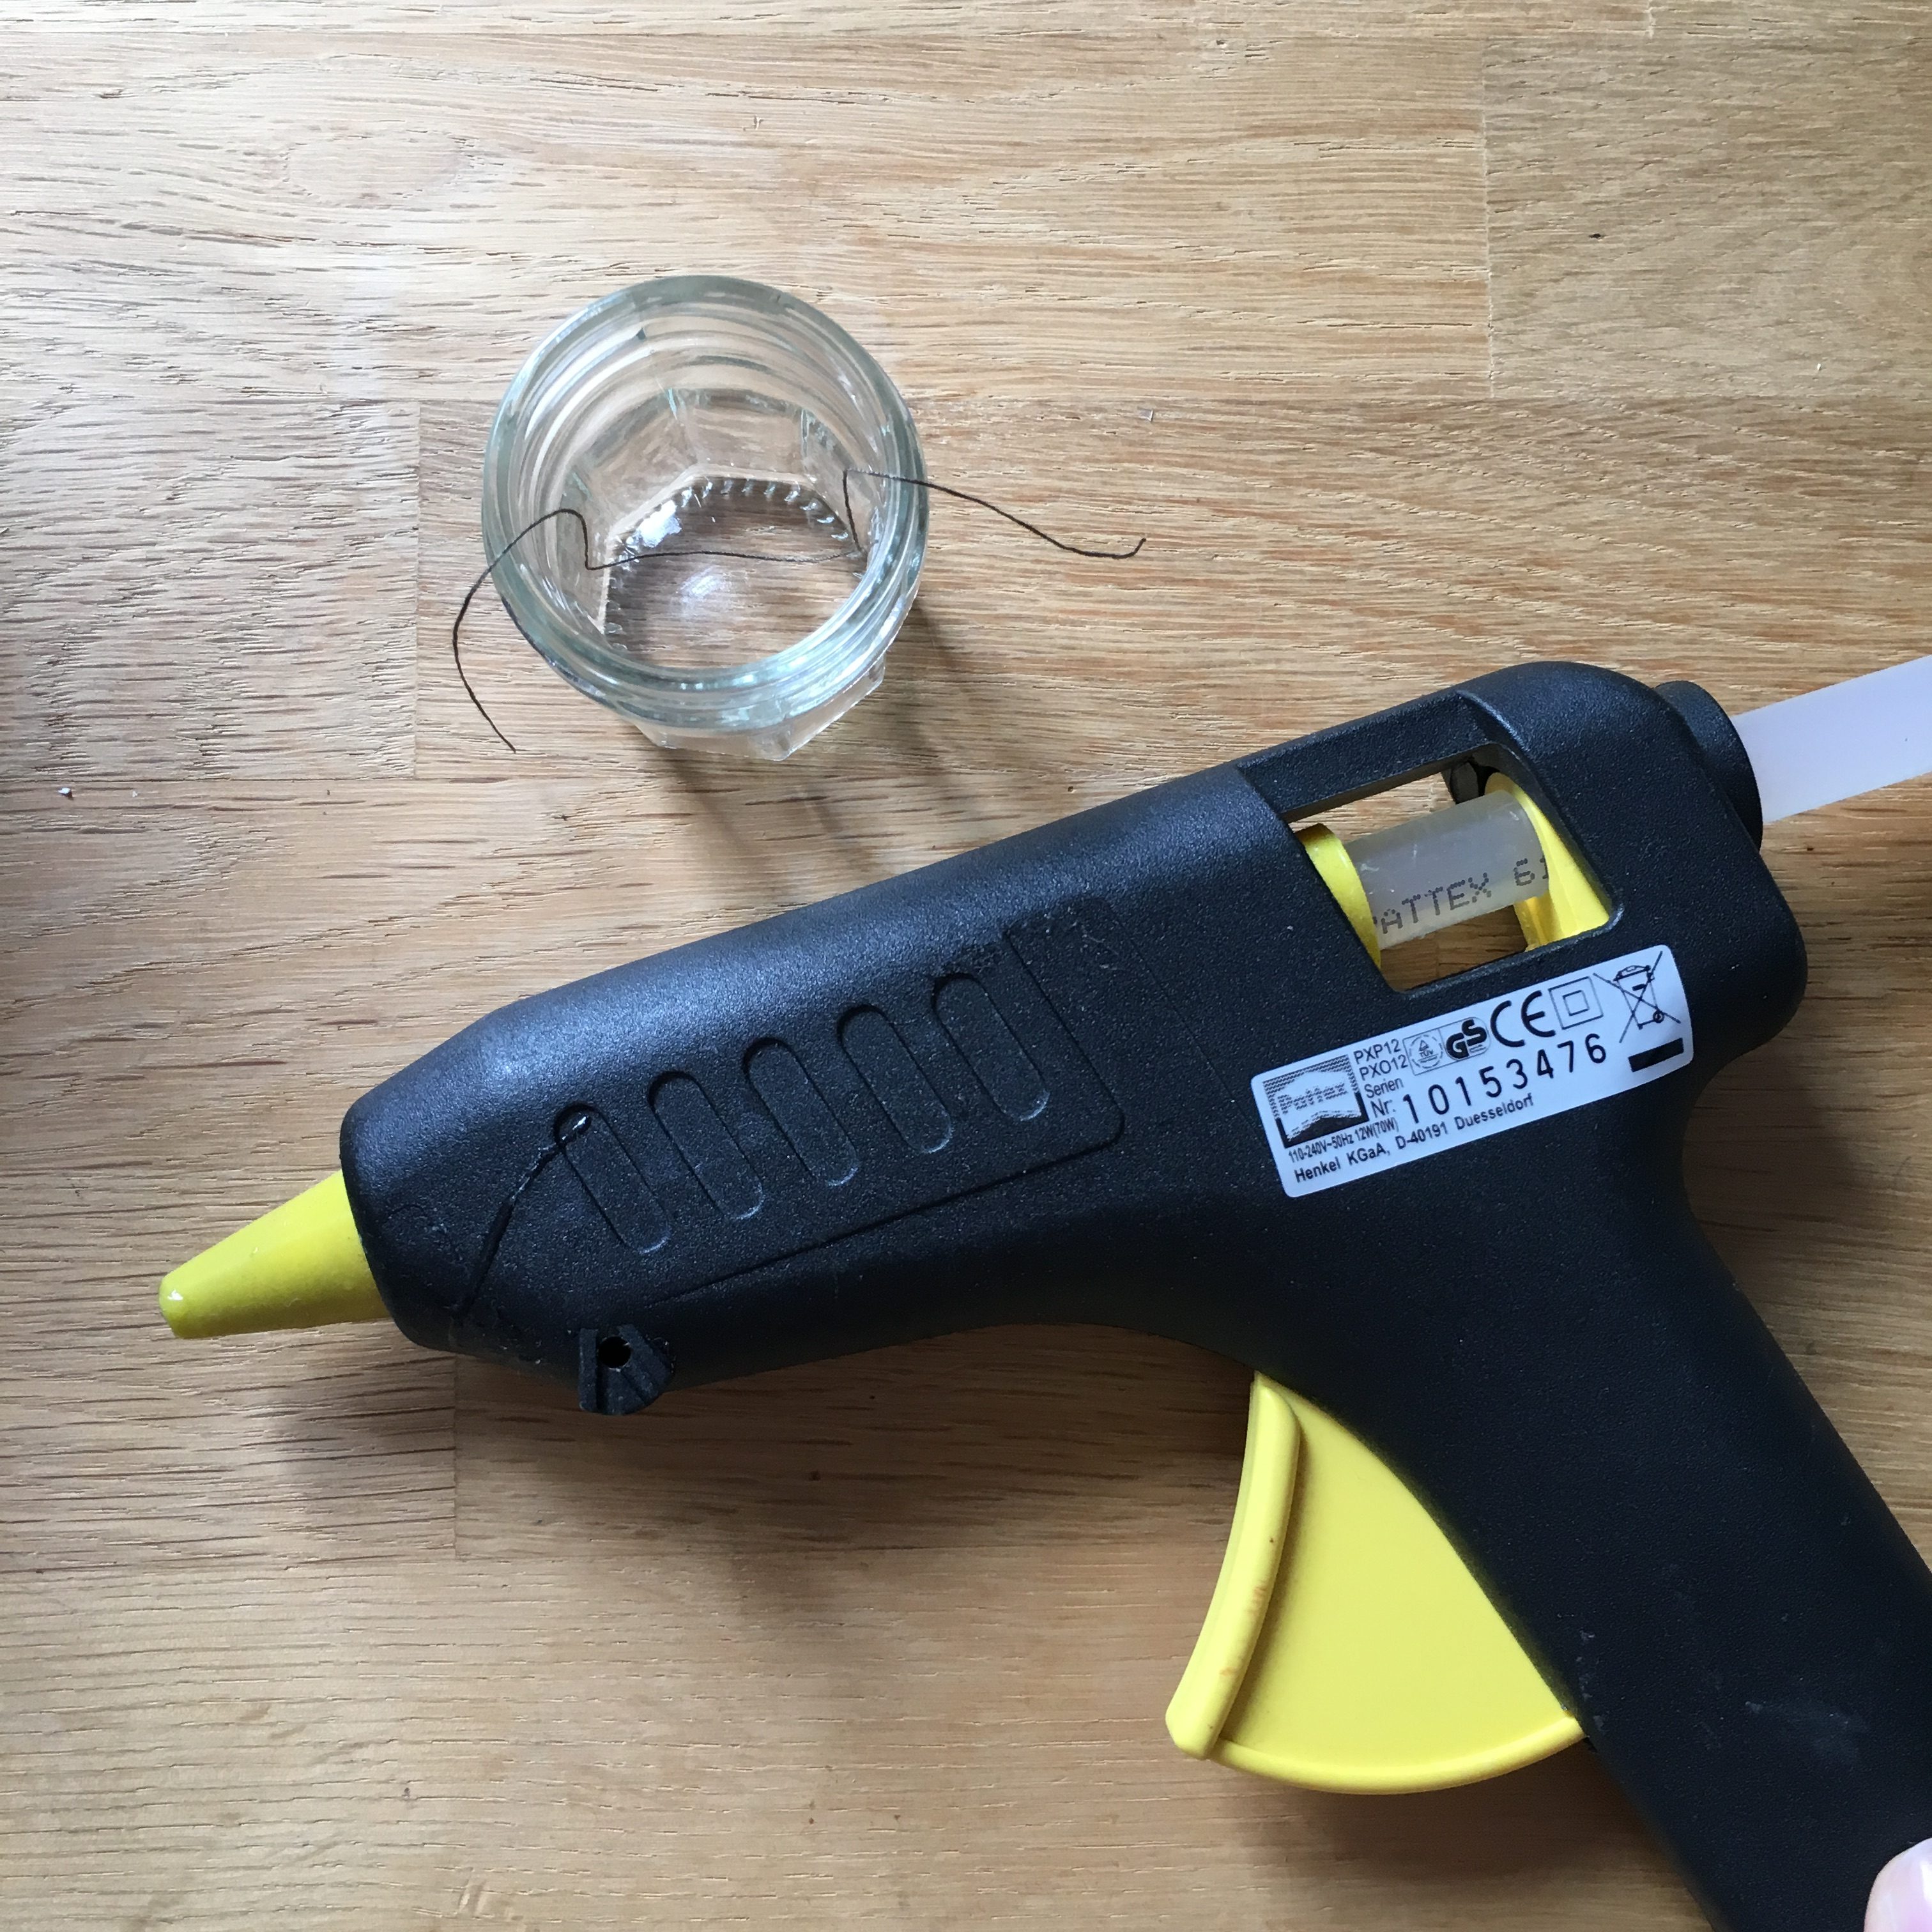
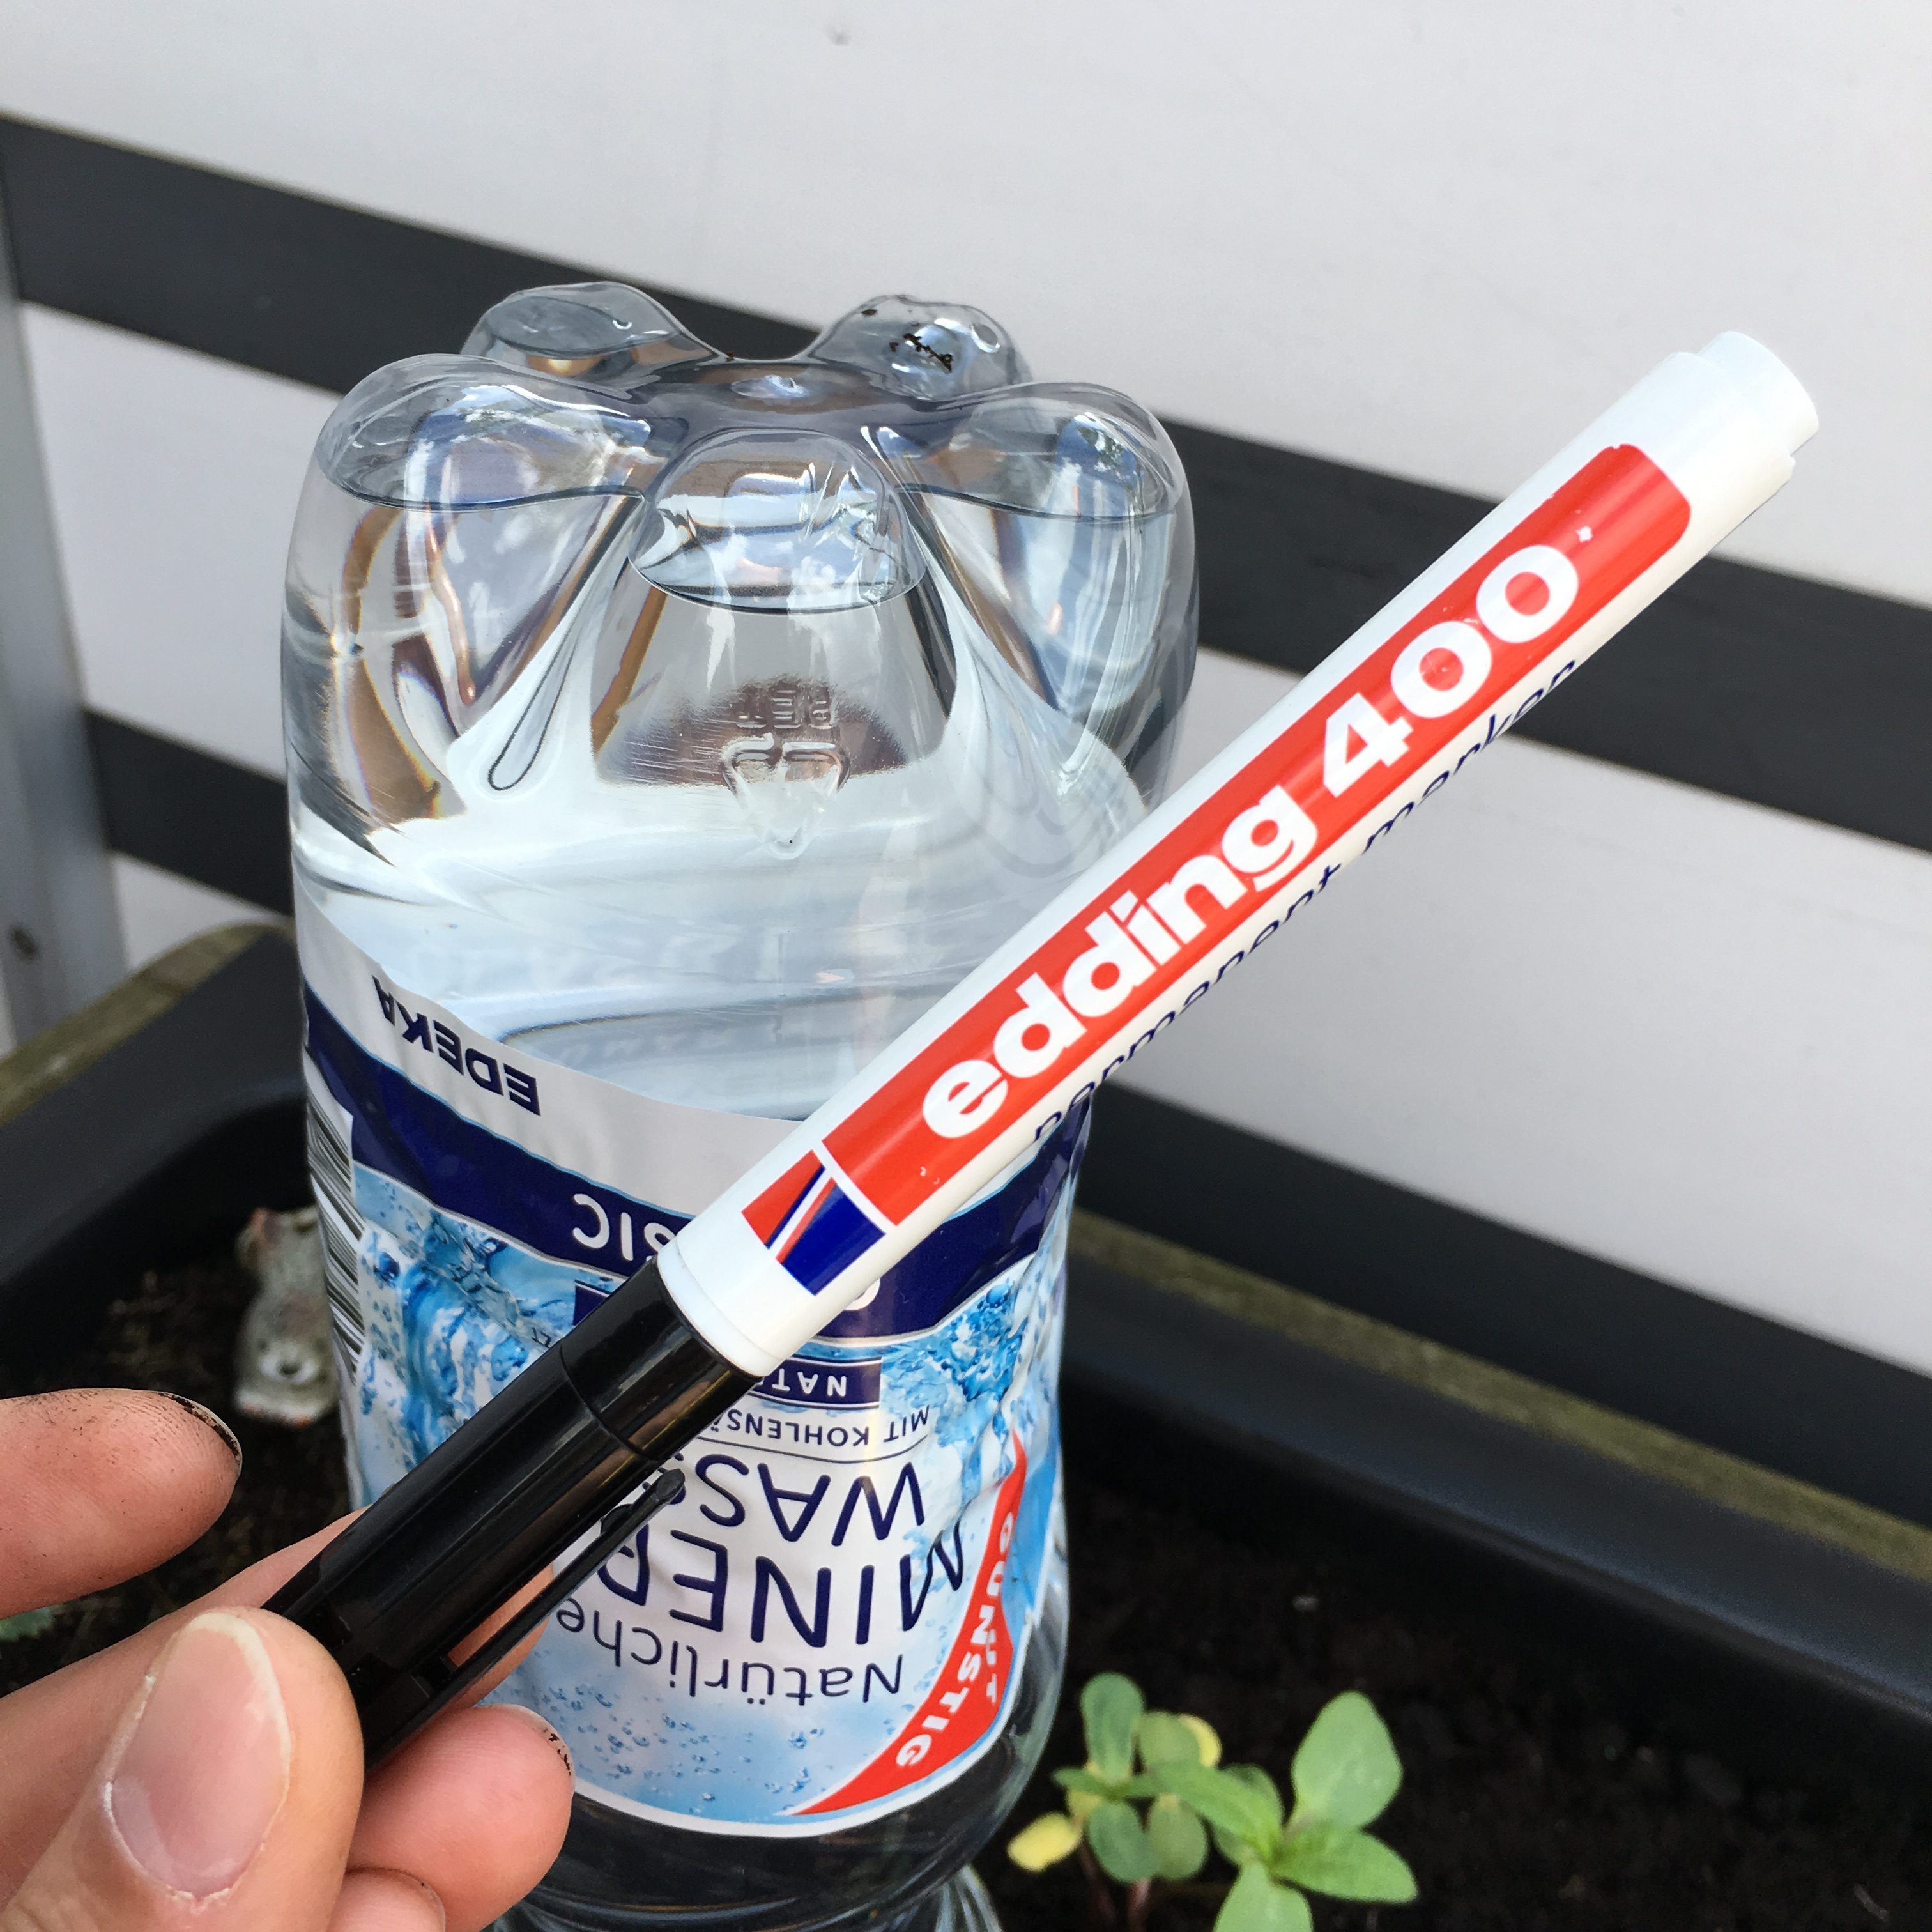
So I did some googling around and found nice hints, but nothing that really kicked me enough and often I did not have the required things in the household. So I went with something quite common, a 1,5L plastic bottle of water, an empty mini glass of jar, a short piece (about 10cm) of yarn, a hot glue pistol and an edding permanent marker.
Things required
- 1,5L
plasticglass bottle (could also be a glass bottle) - mini jar glass (which fits the neck of the bottle tightly)
- 10cm of yarn
- Hot glue pistol
- Edding permanent marker
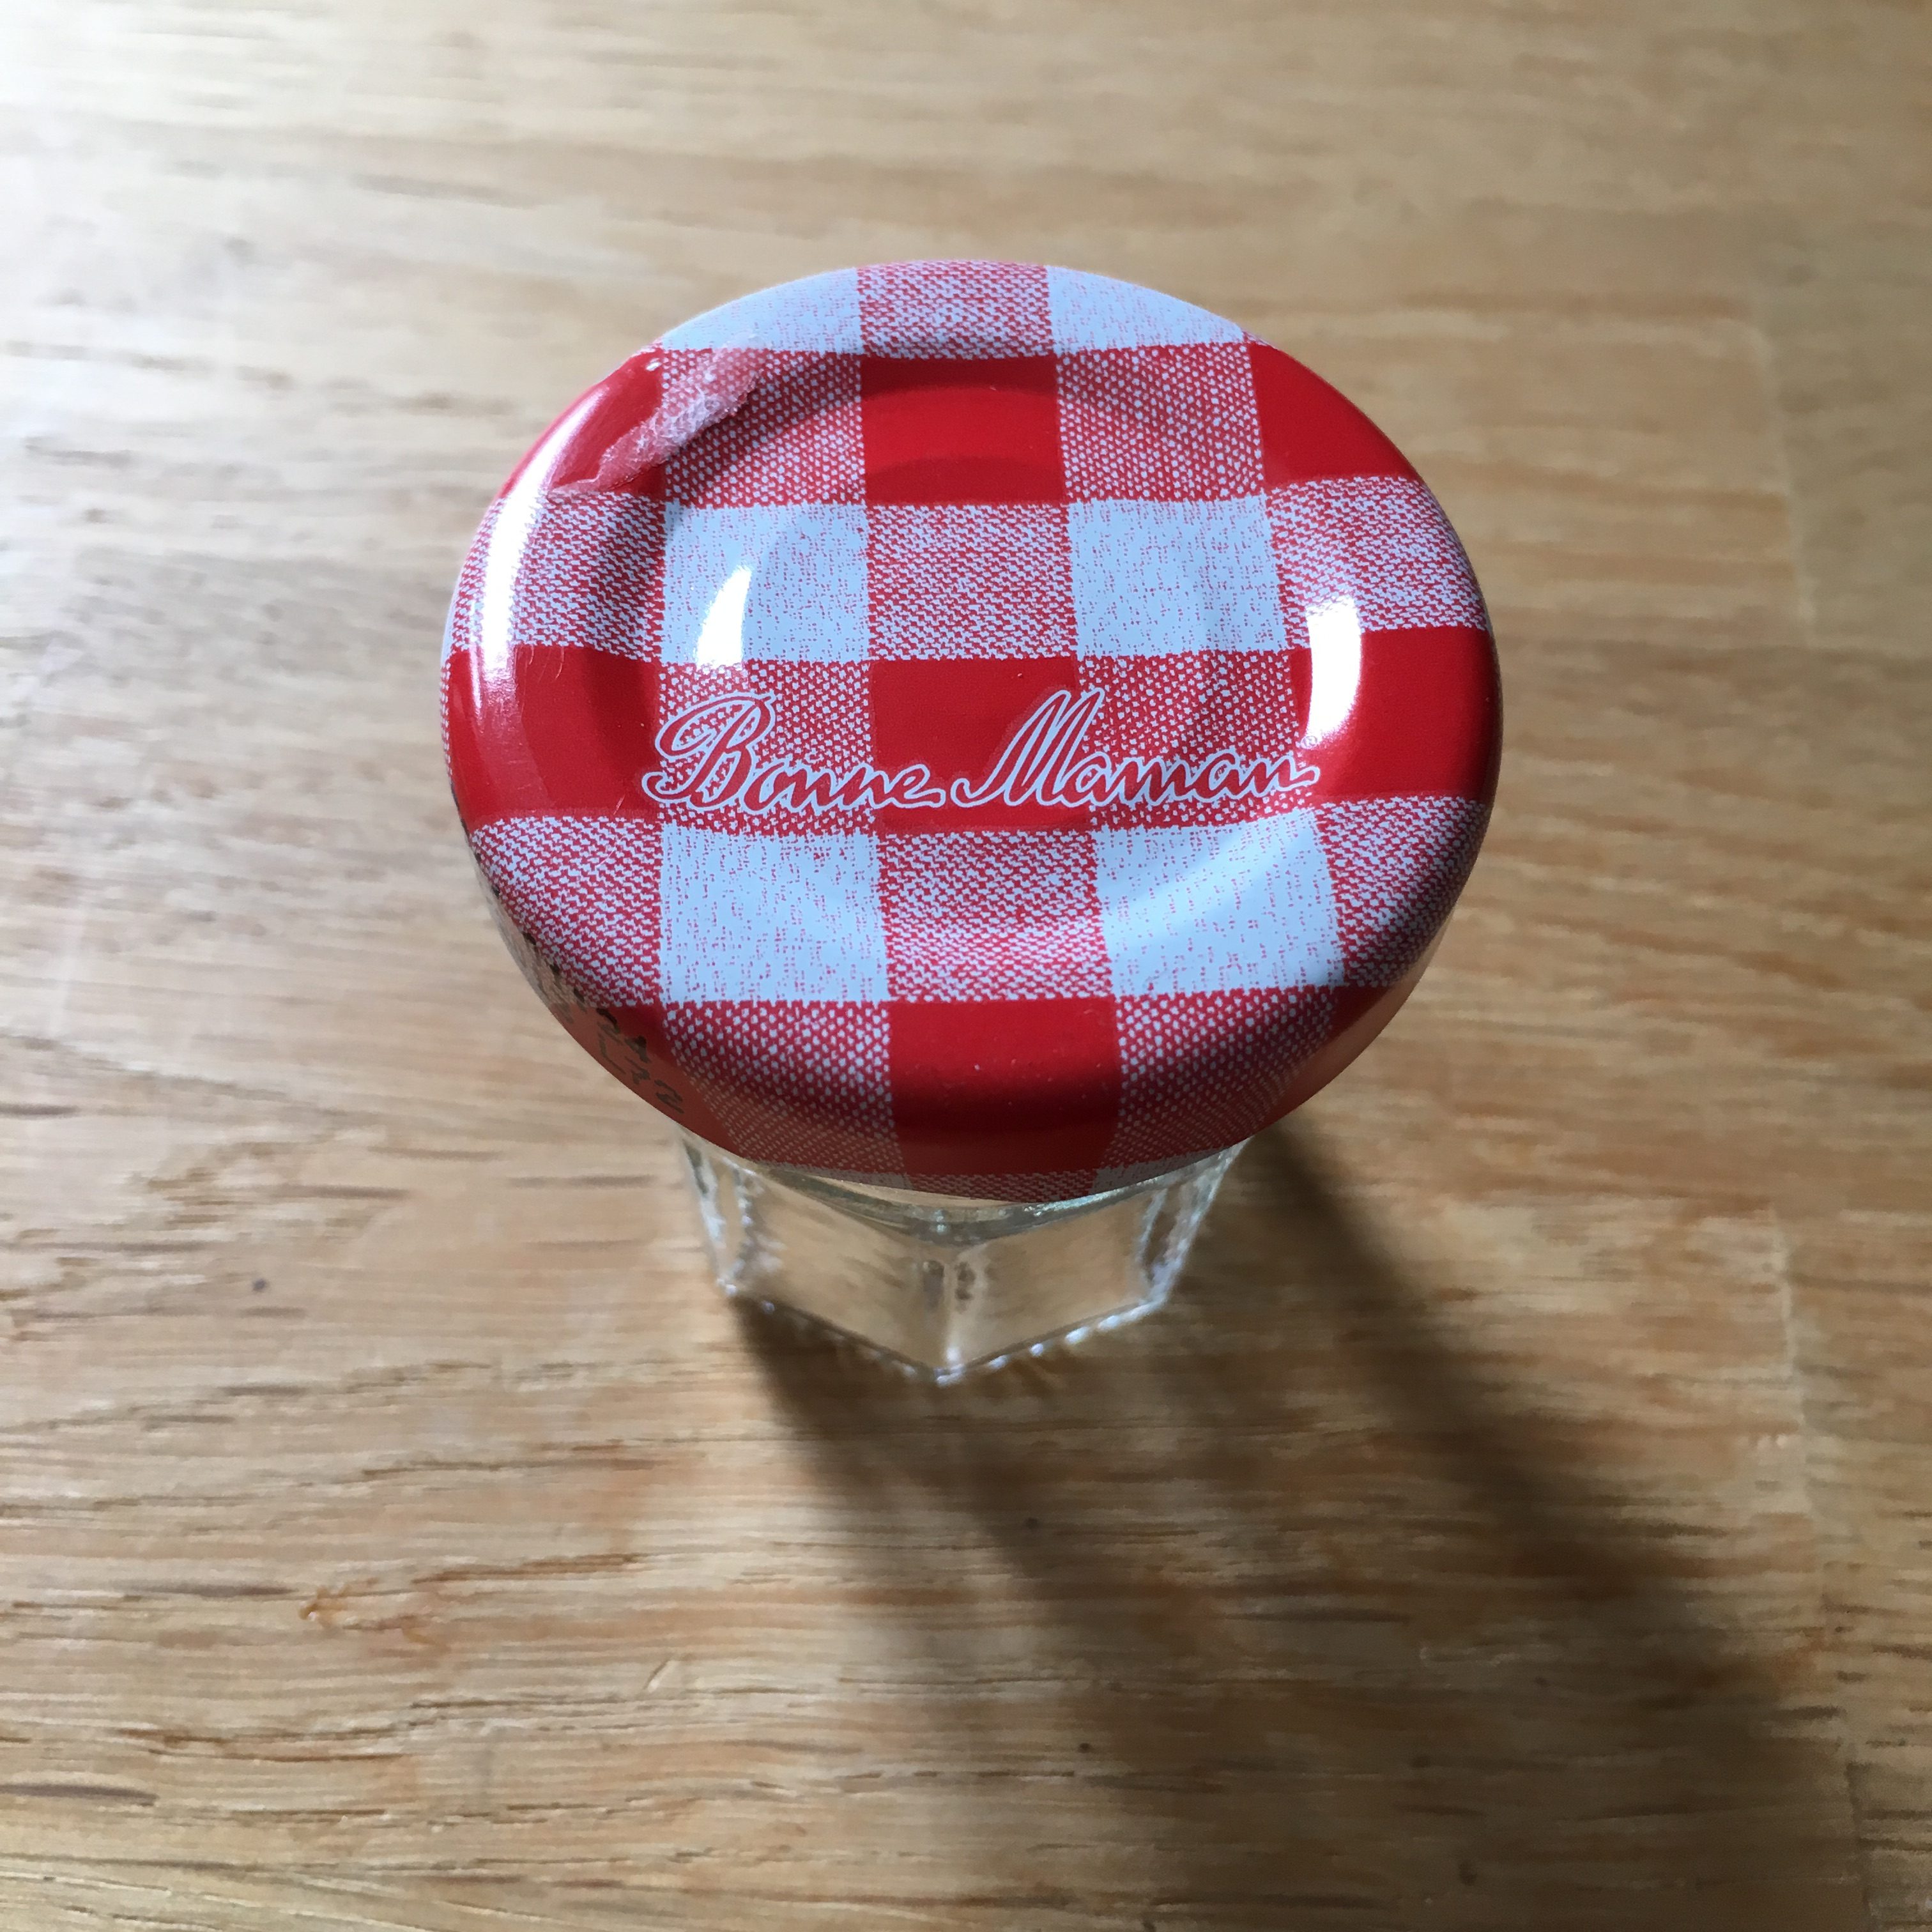
Mini Jar Glass
Empty a mini jar glass and make it clean and dry.
Piece of yarn
Get some yarn and cut off a piece of about 10cm or longer (not too short).
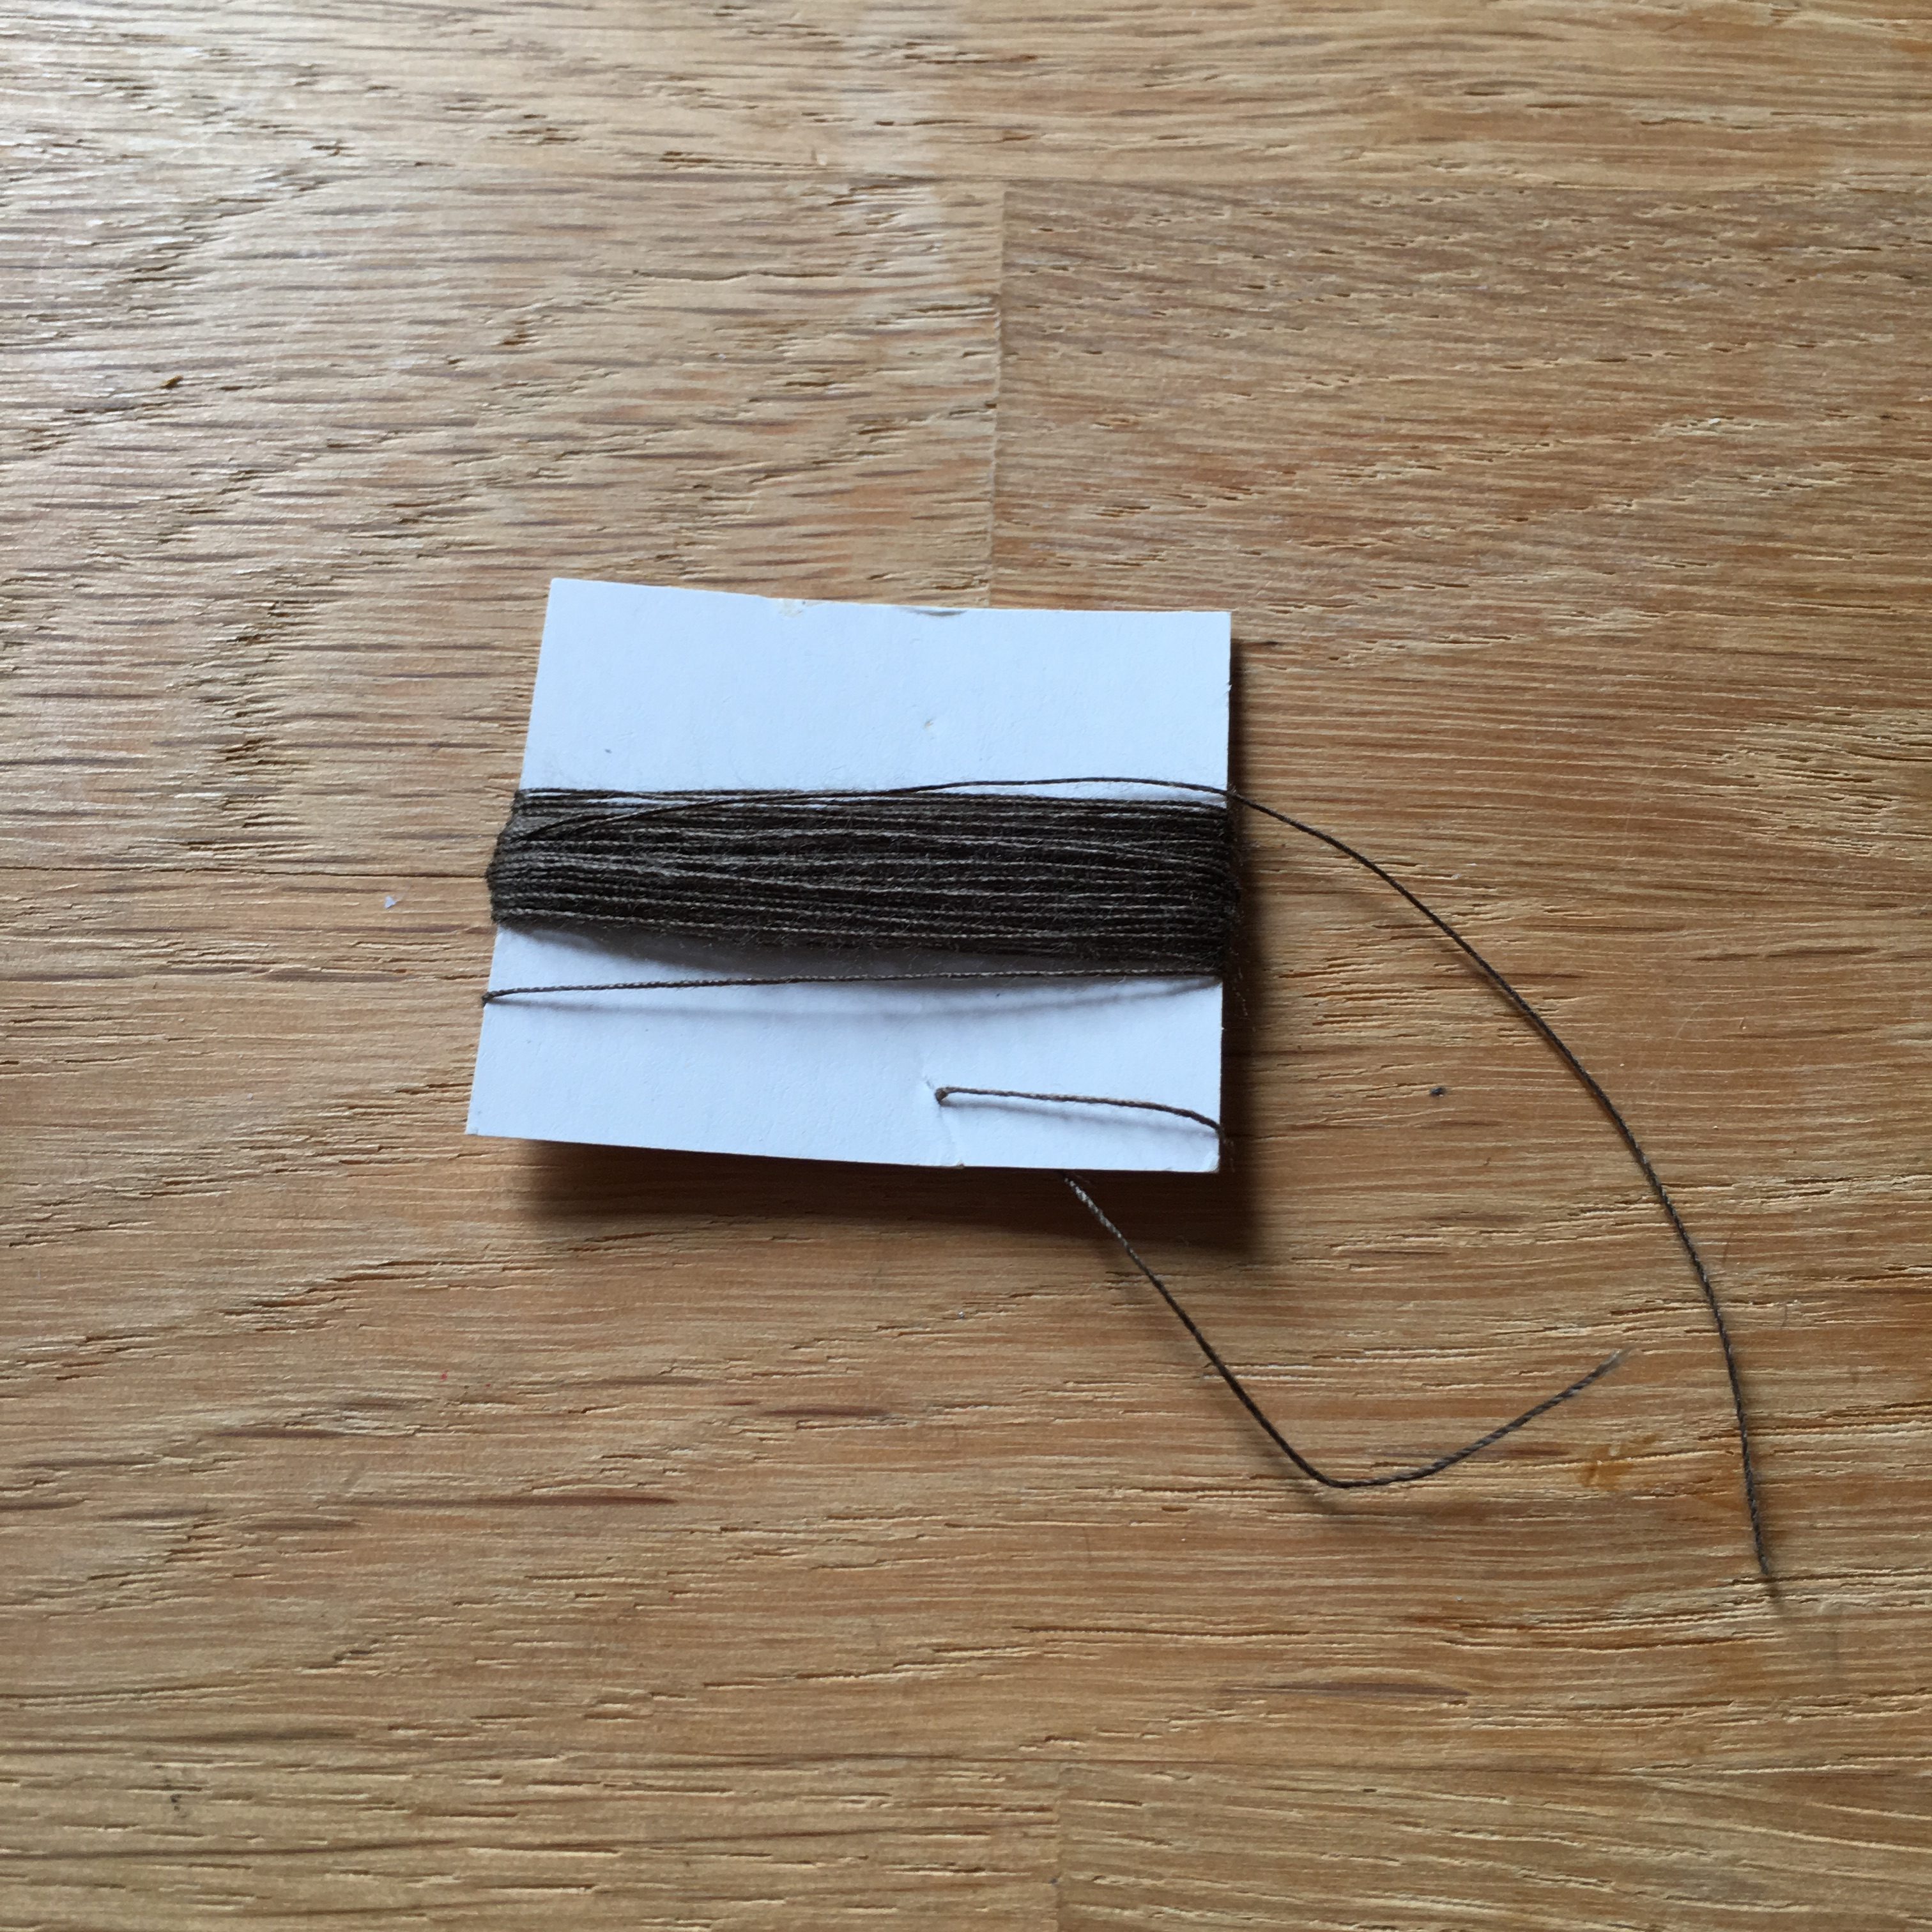
Like about this size…
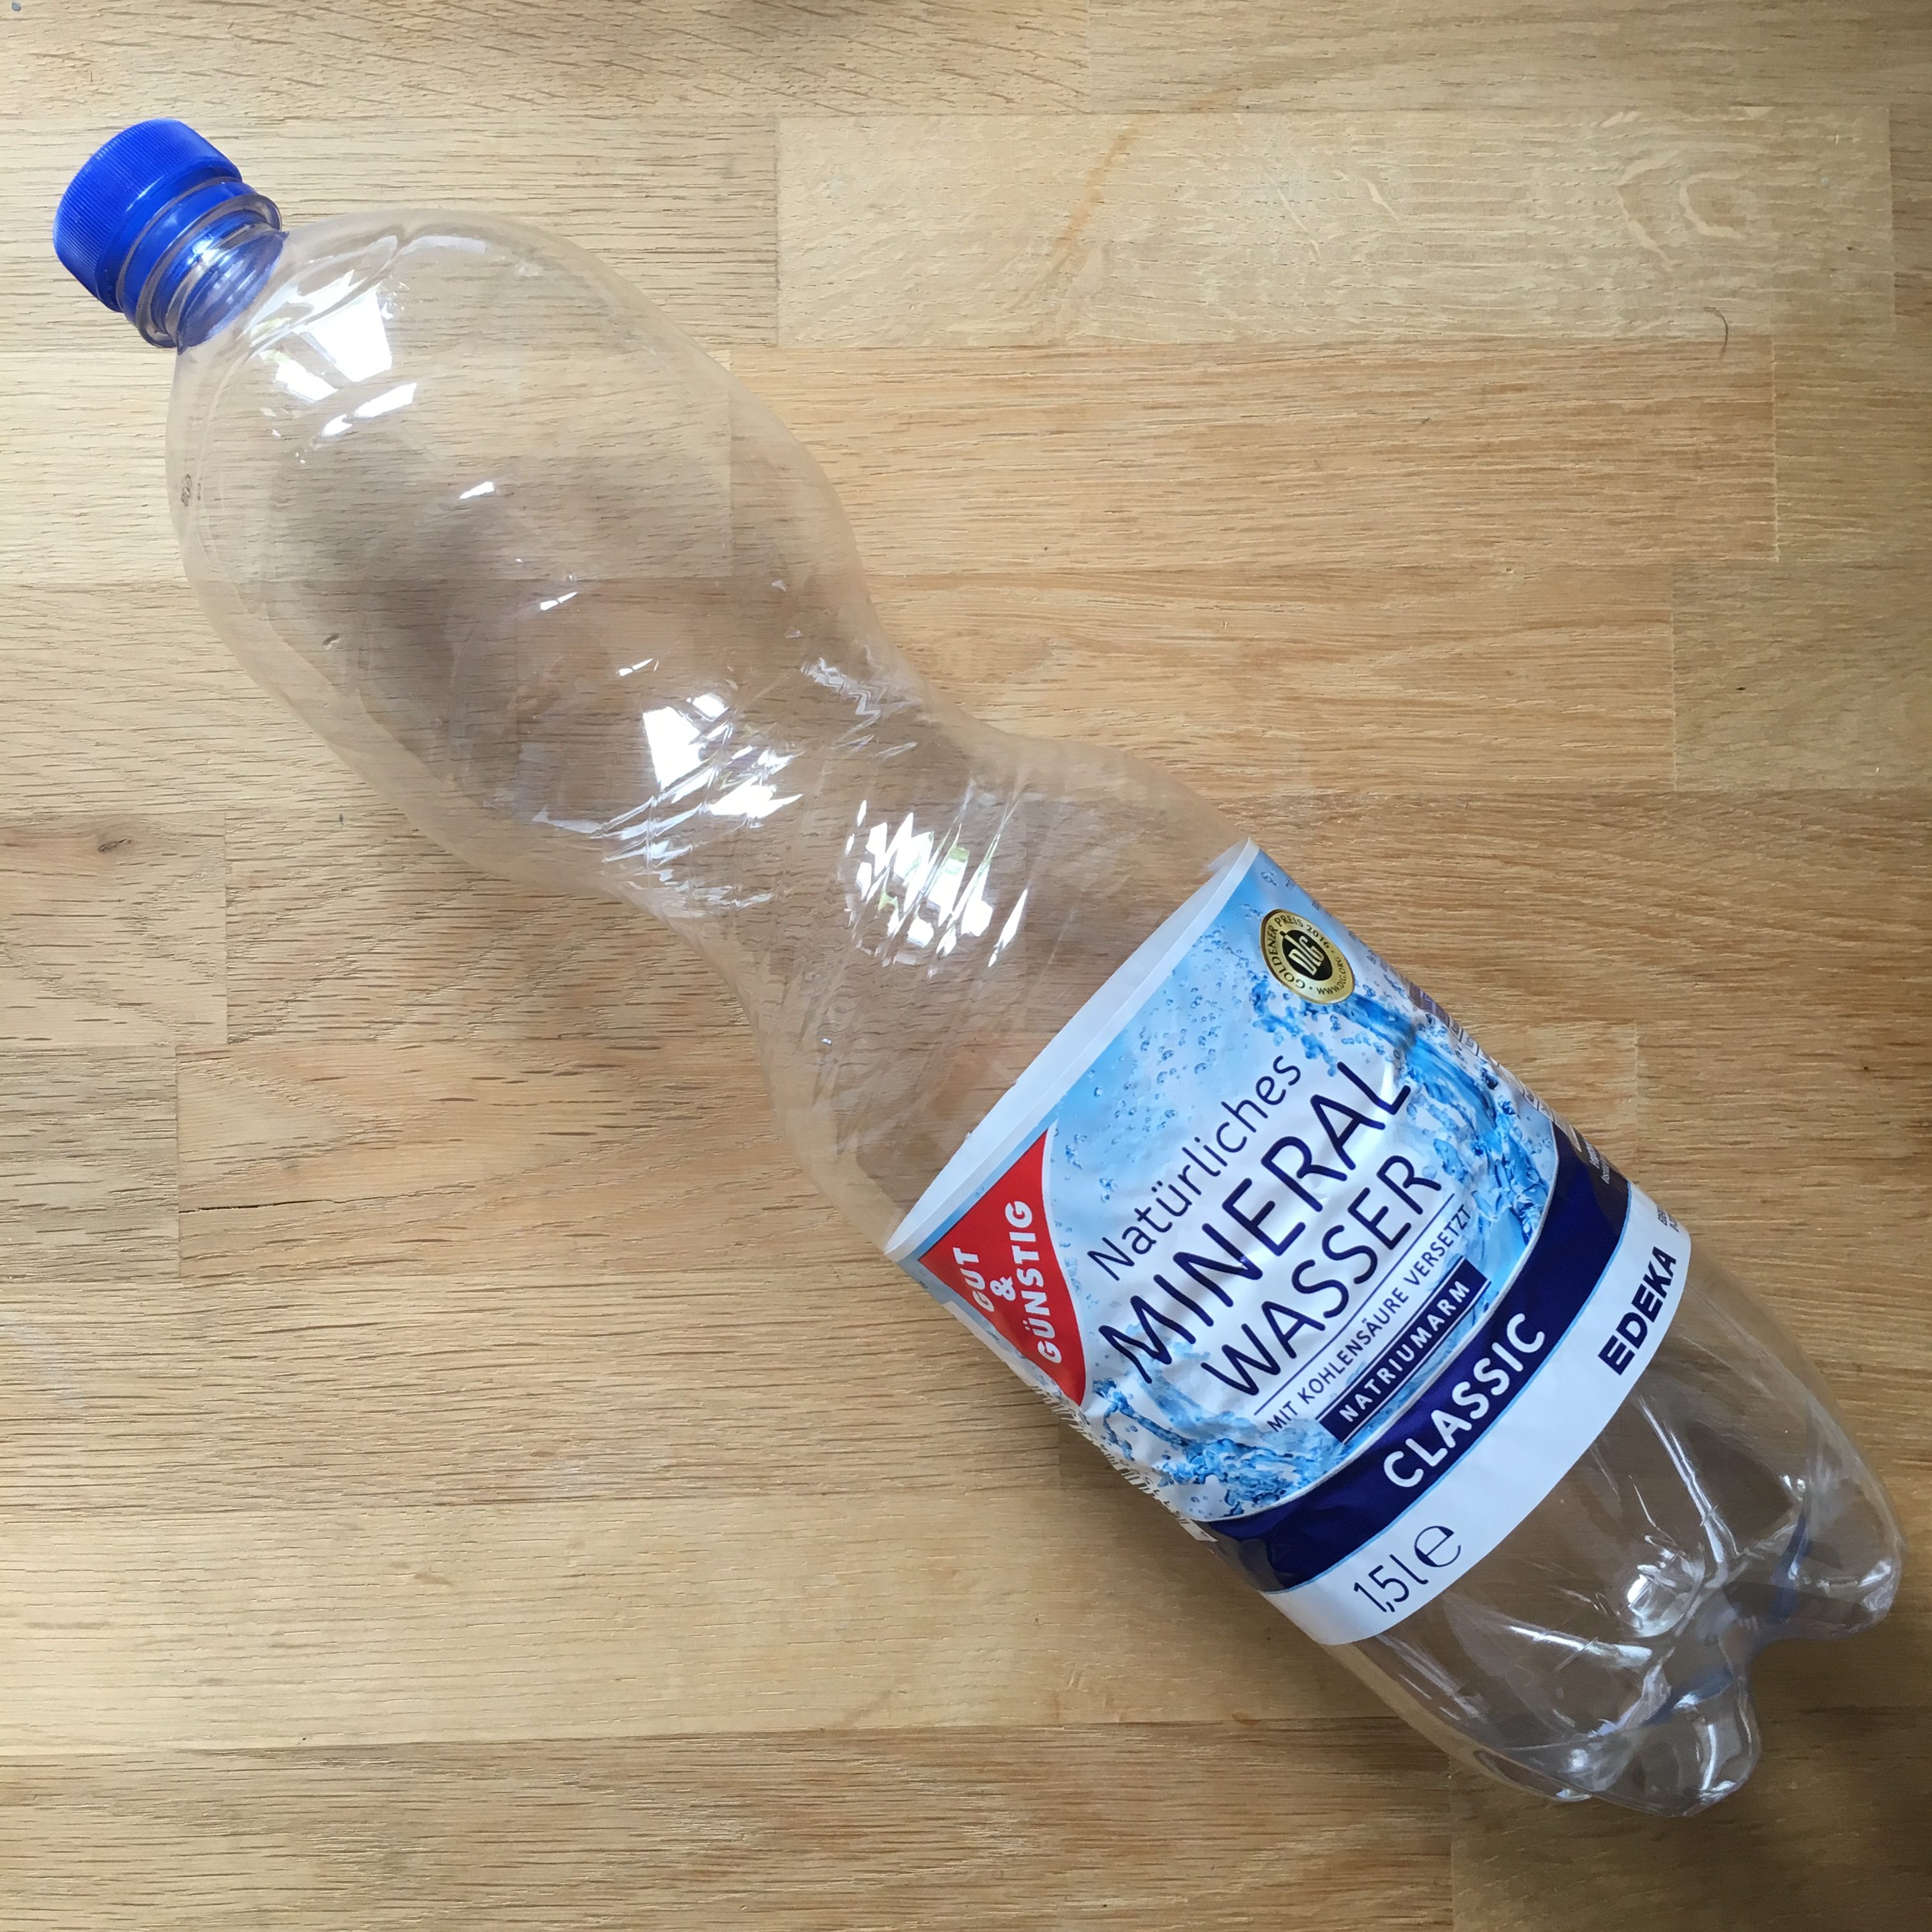
1,5L PlasticGlass Bottle
Hot Glue Pistol
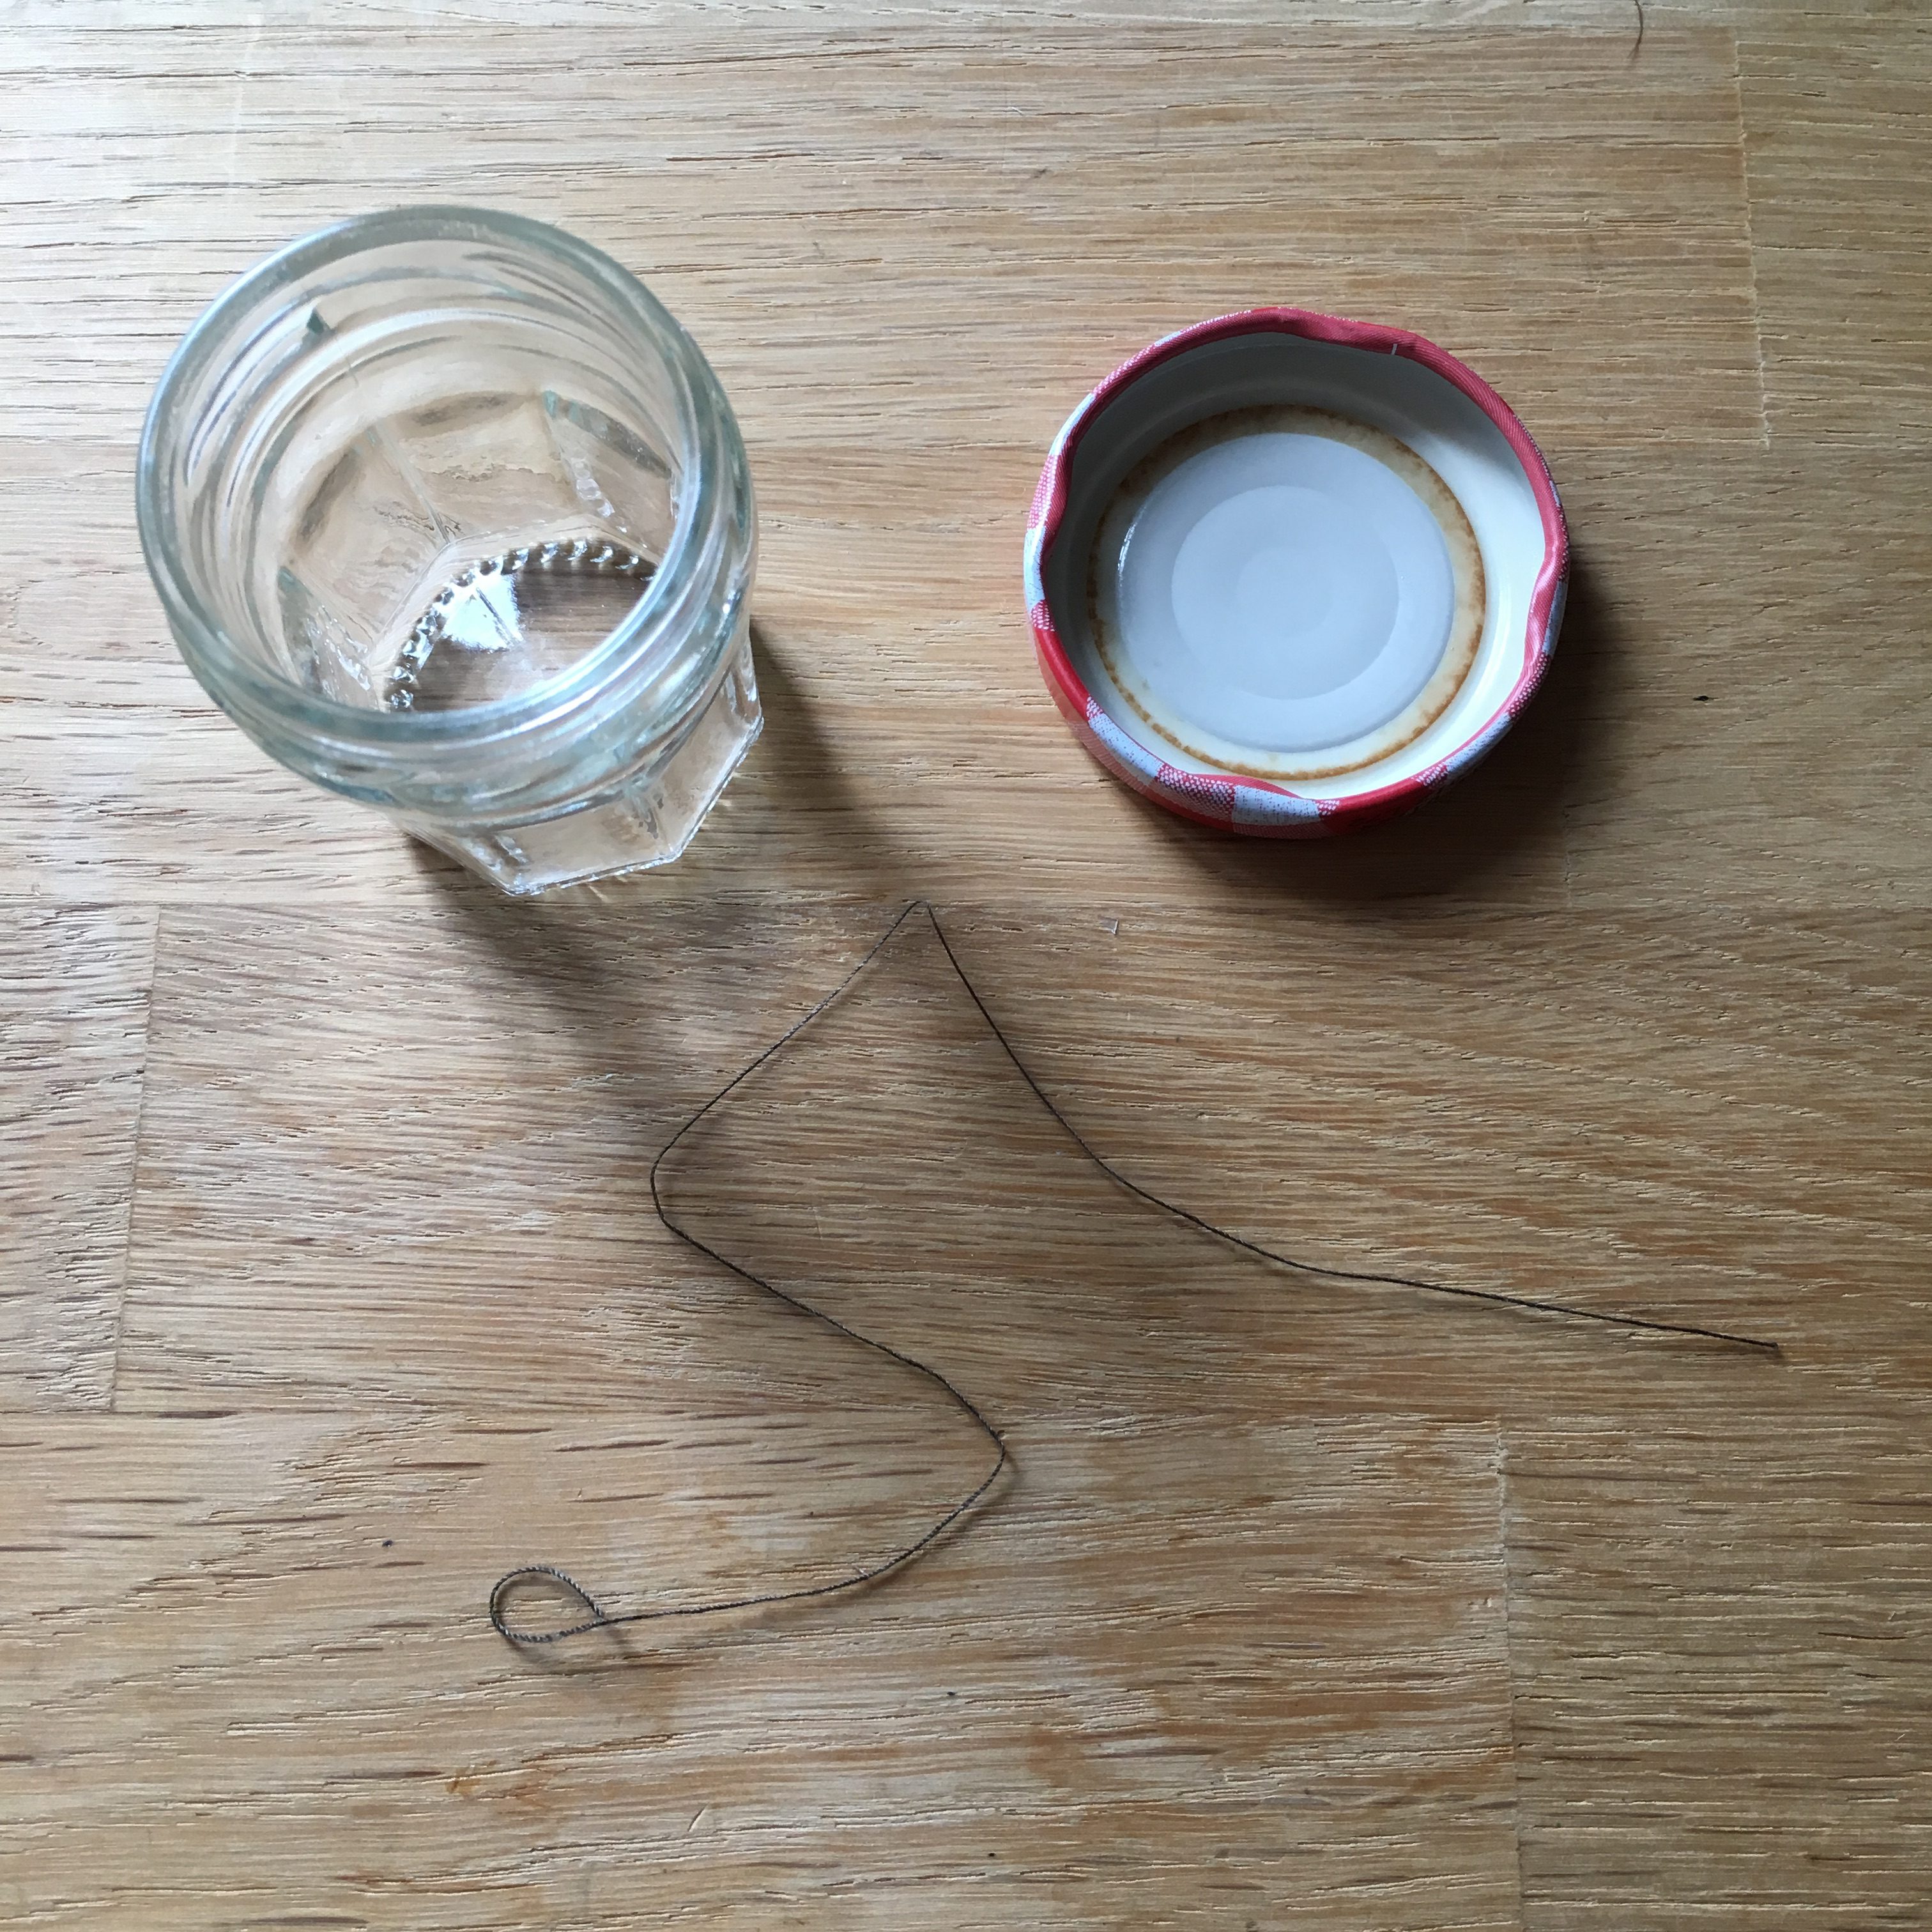
Prepare the piece of yarn like in the photo then fetch and turn on the hot glue pistol.
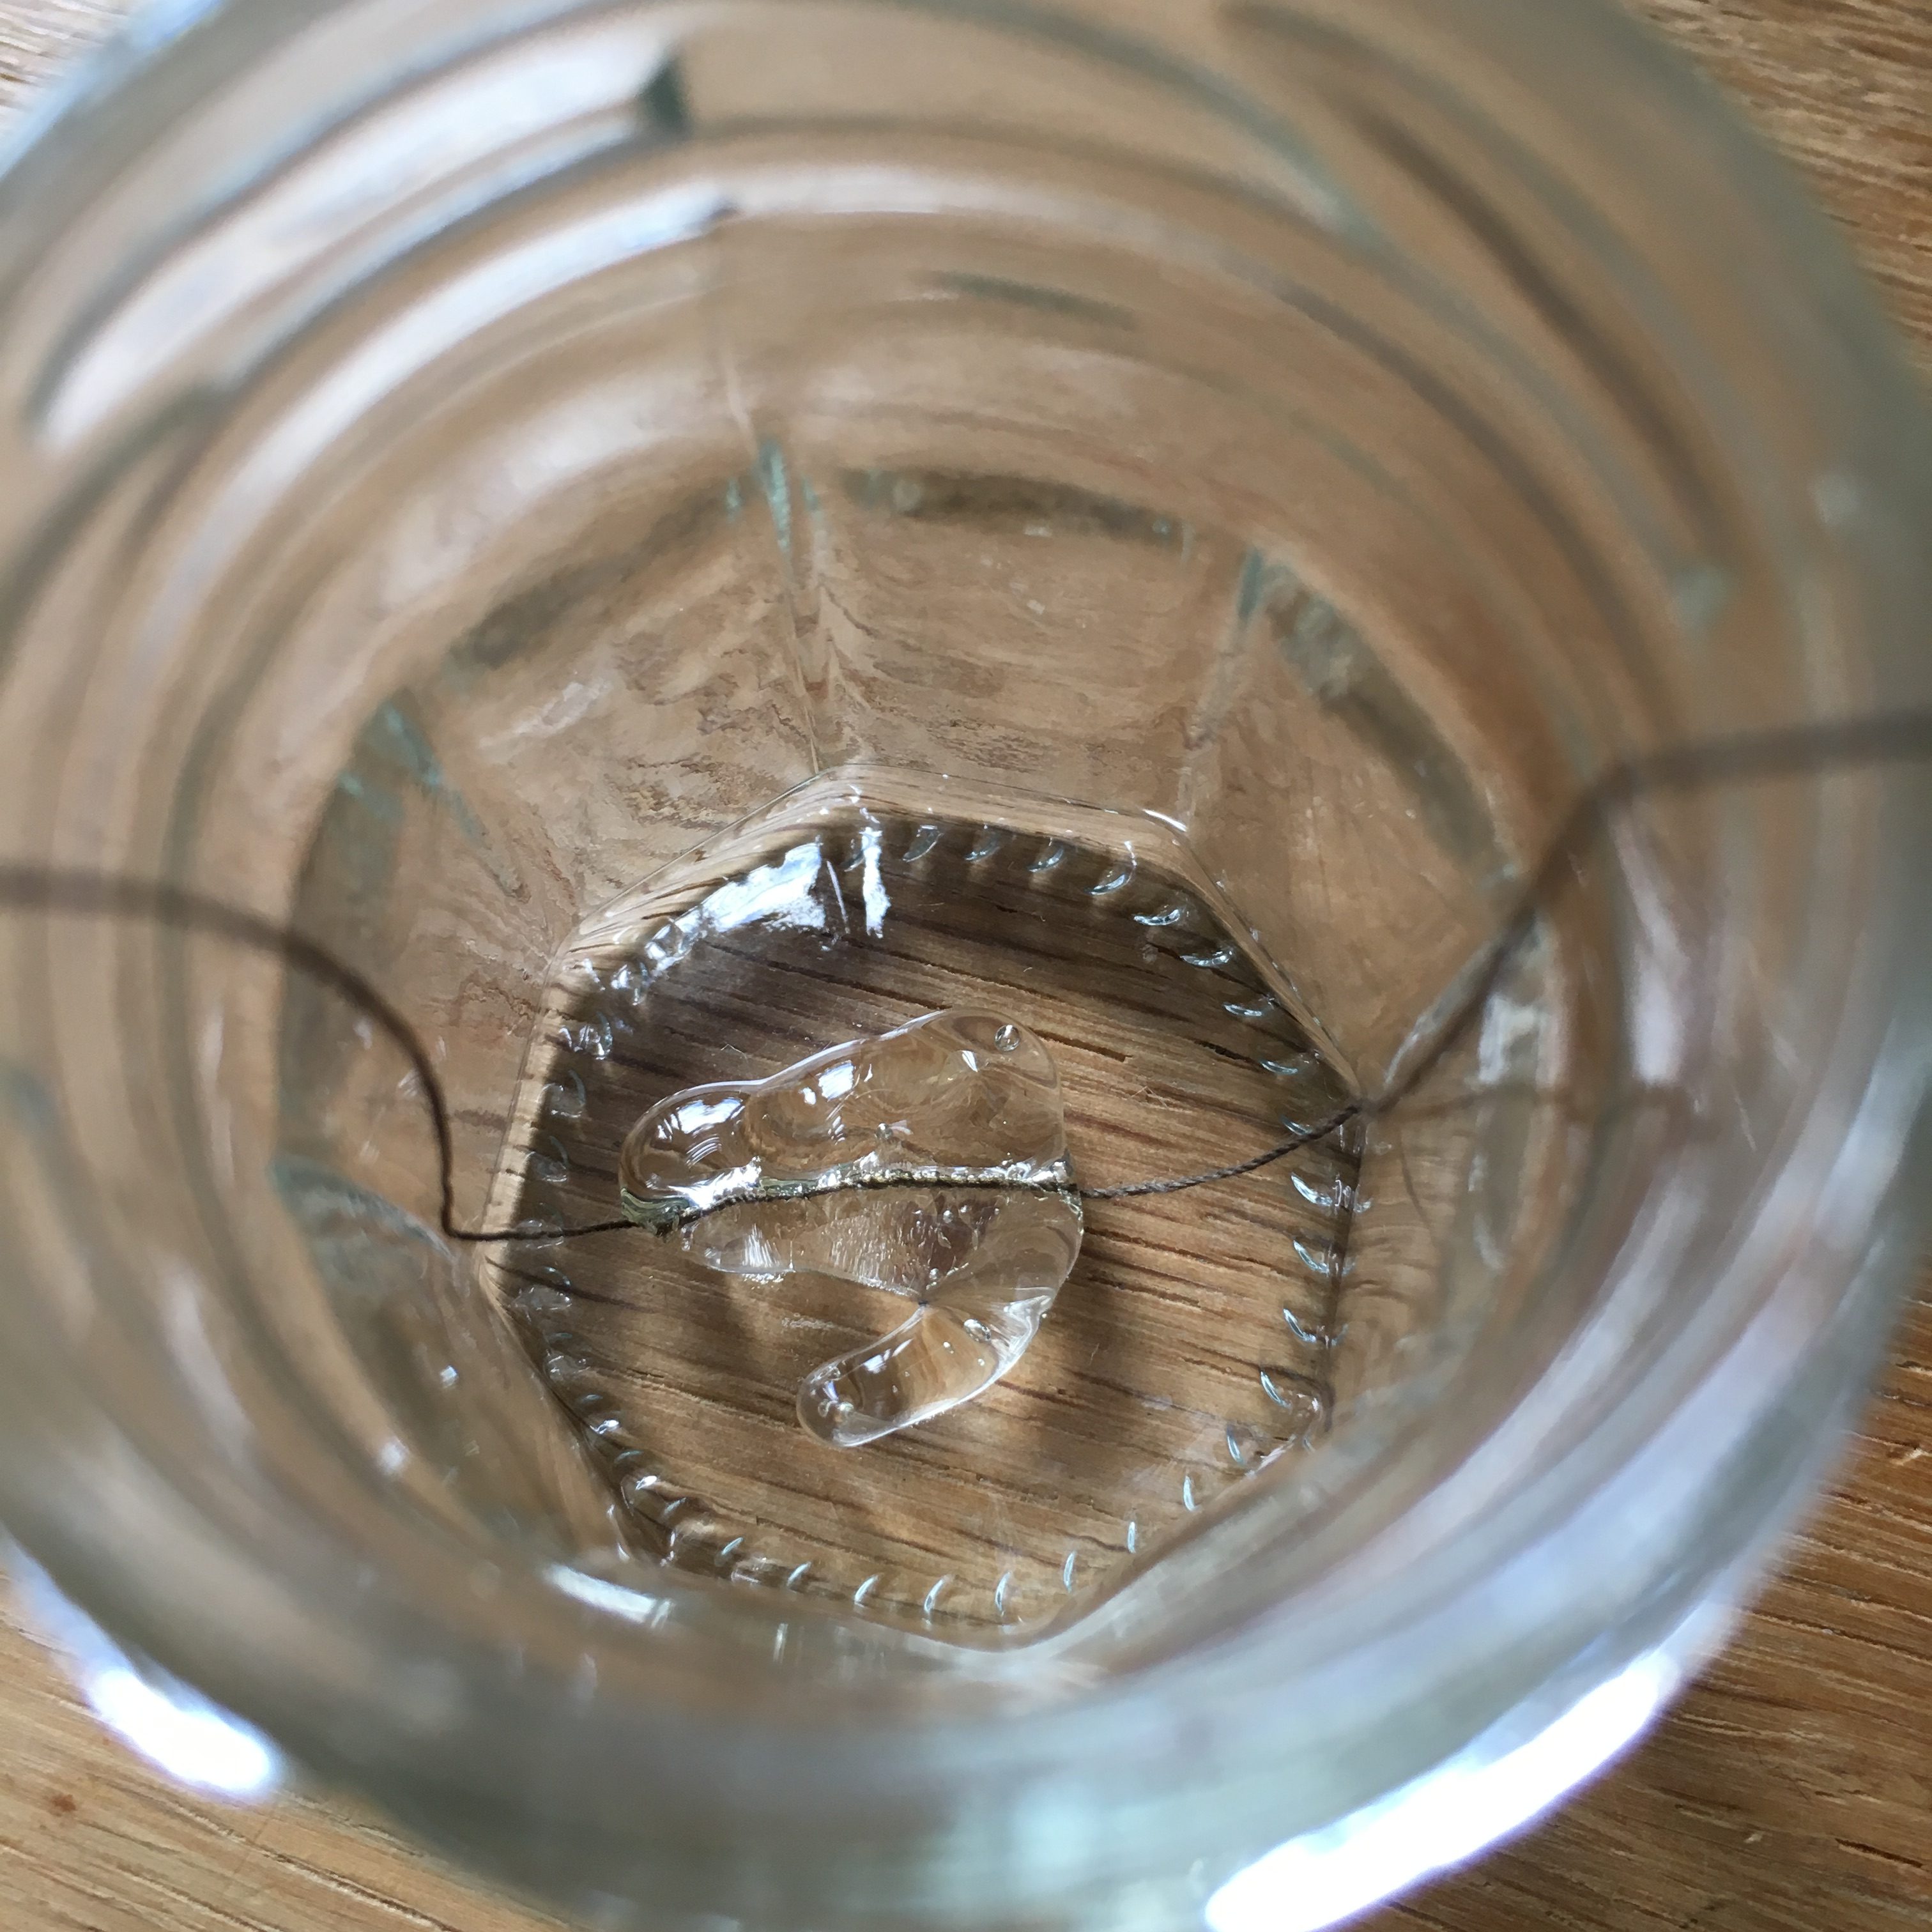
Glue the yarn to the bottom of the inside of the glass like in this photo.
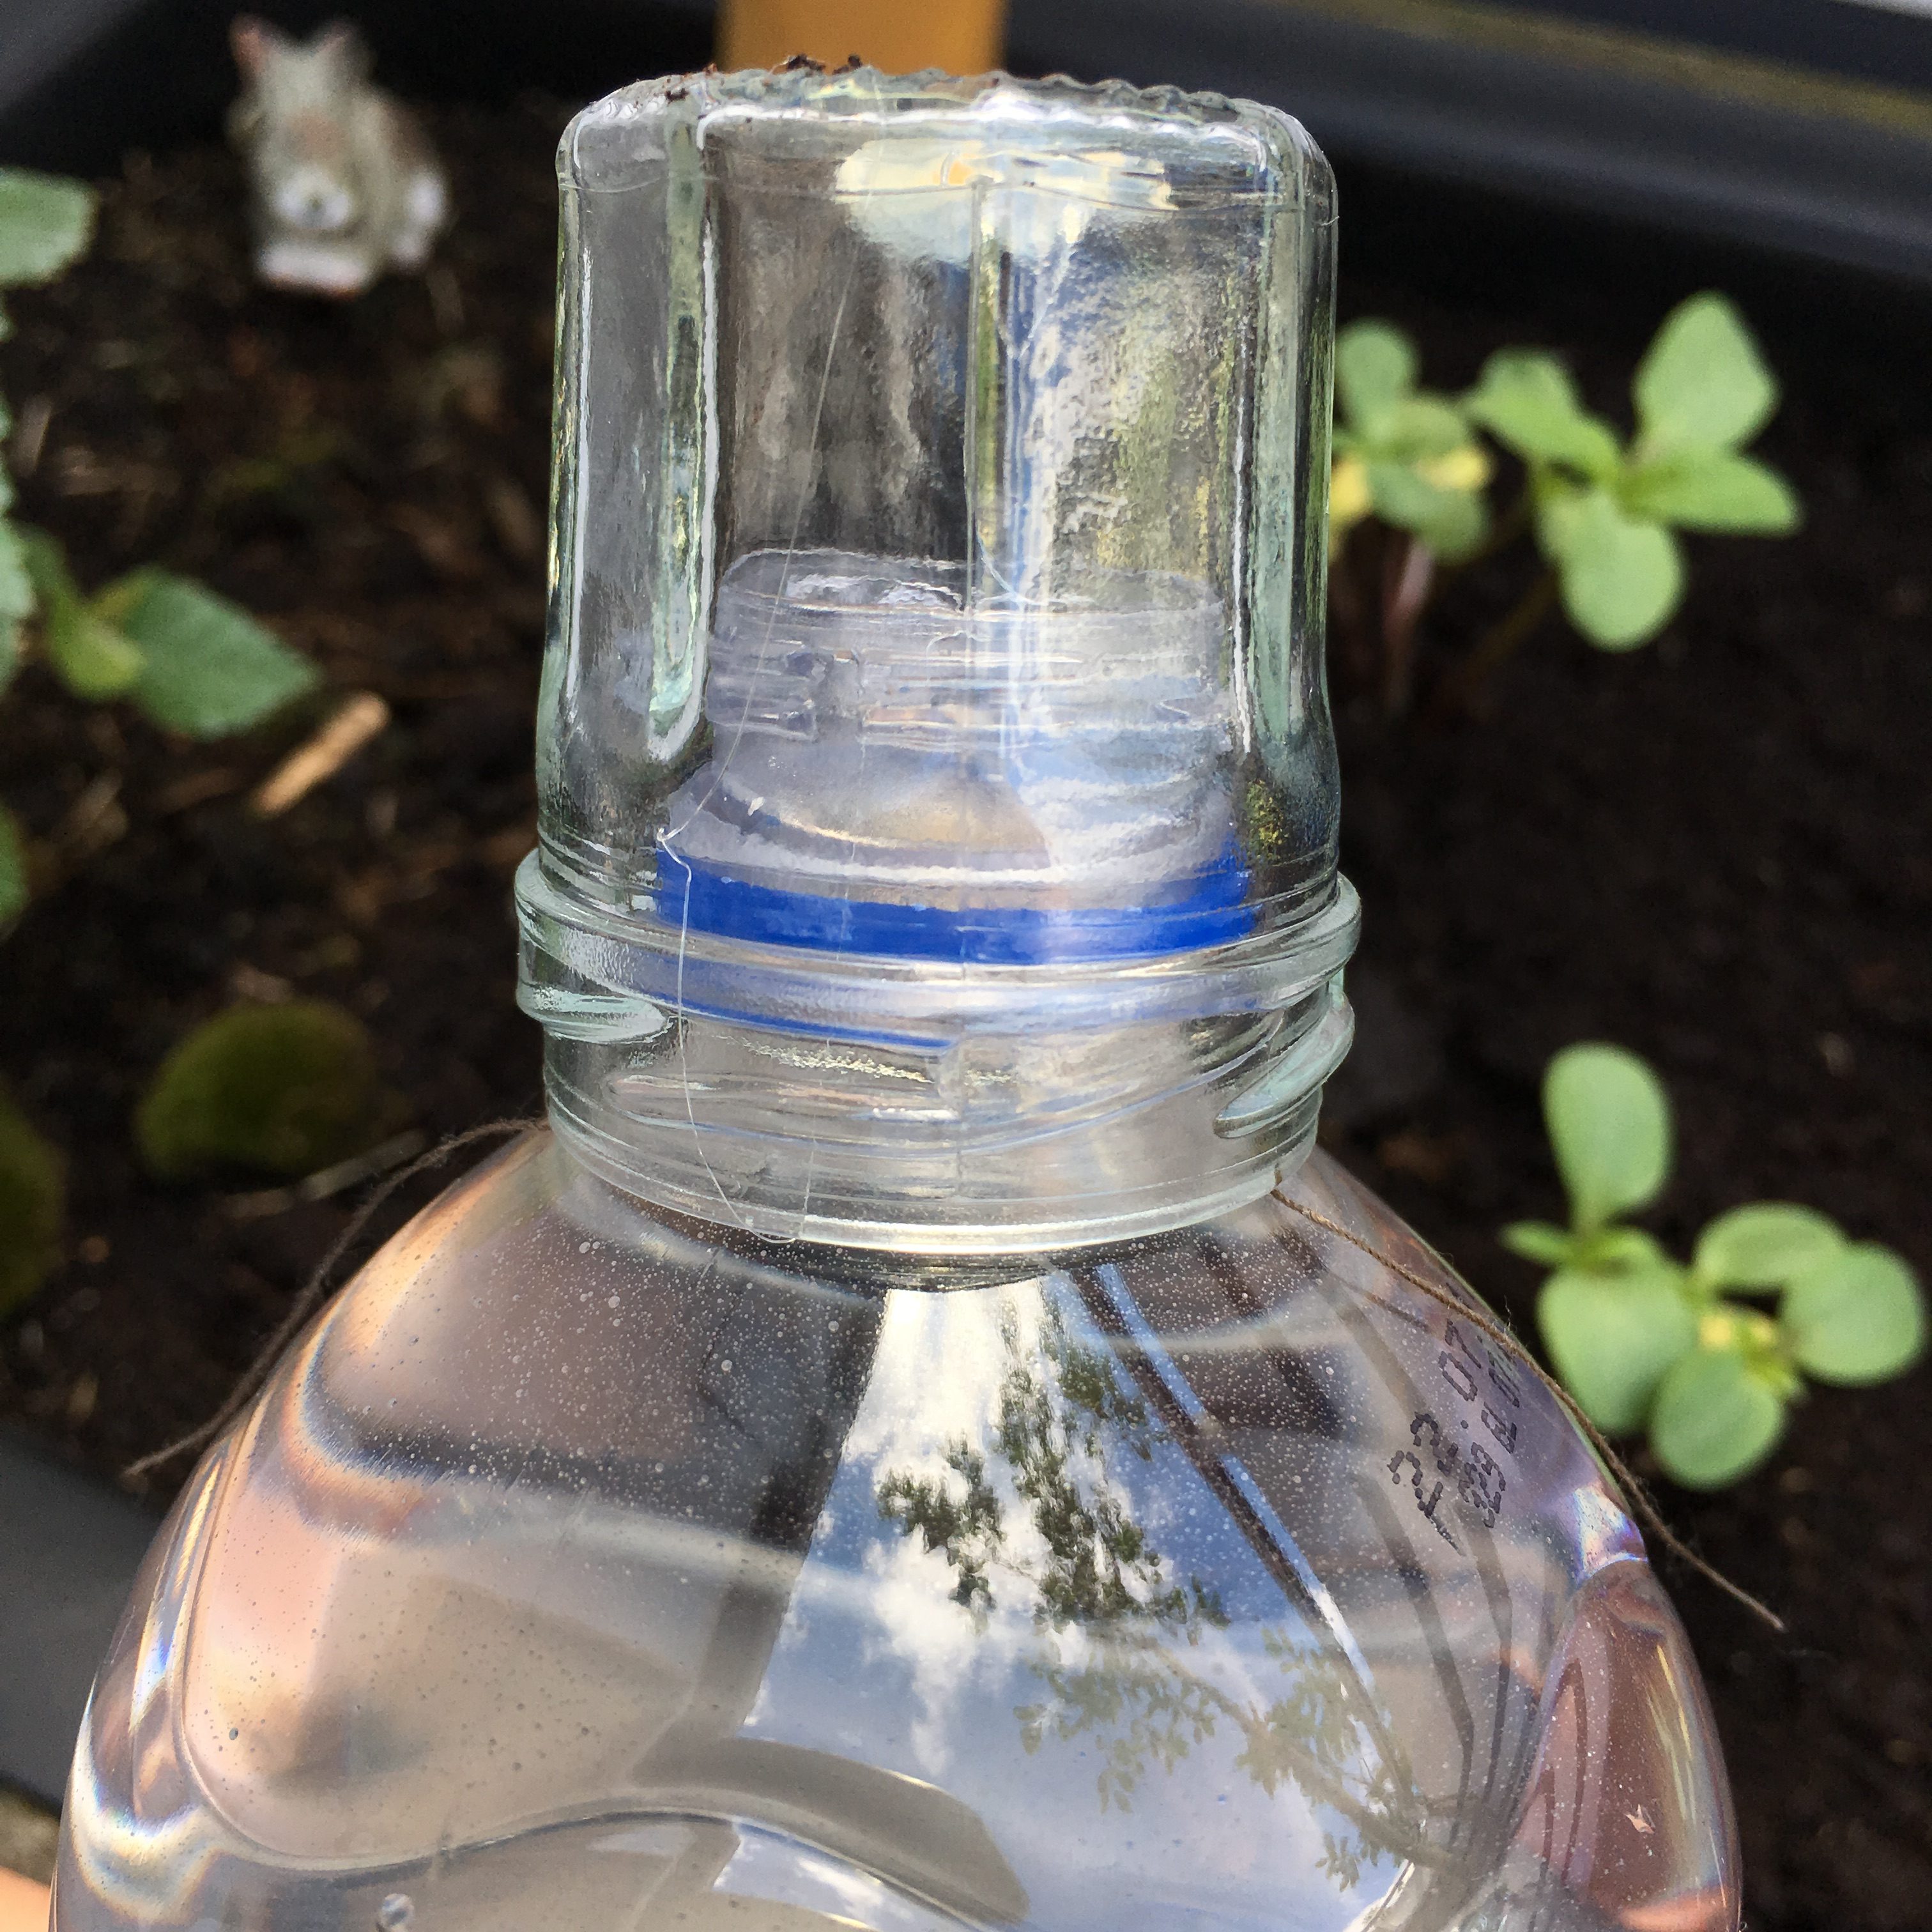
The gravitation-vacuum-dripping-mechanism
The bottle should now fit perfectly into the glass by putting it in upside-down. The yarn should leave the edge between bottle and glass on both sides (this is where the water should slowly drip from). The yarn should actually only ensure that there is a small opening where water can escape from the bottle.

System Installation
First dig a small hole in the earth beneath your plants. The hole can be slightly bigger than the glass itself, so the bottle will have full contact with the surrounding earth to stand stable.

Apply the prepared glass on the top of the water filled bottle like so…
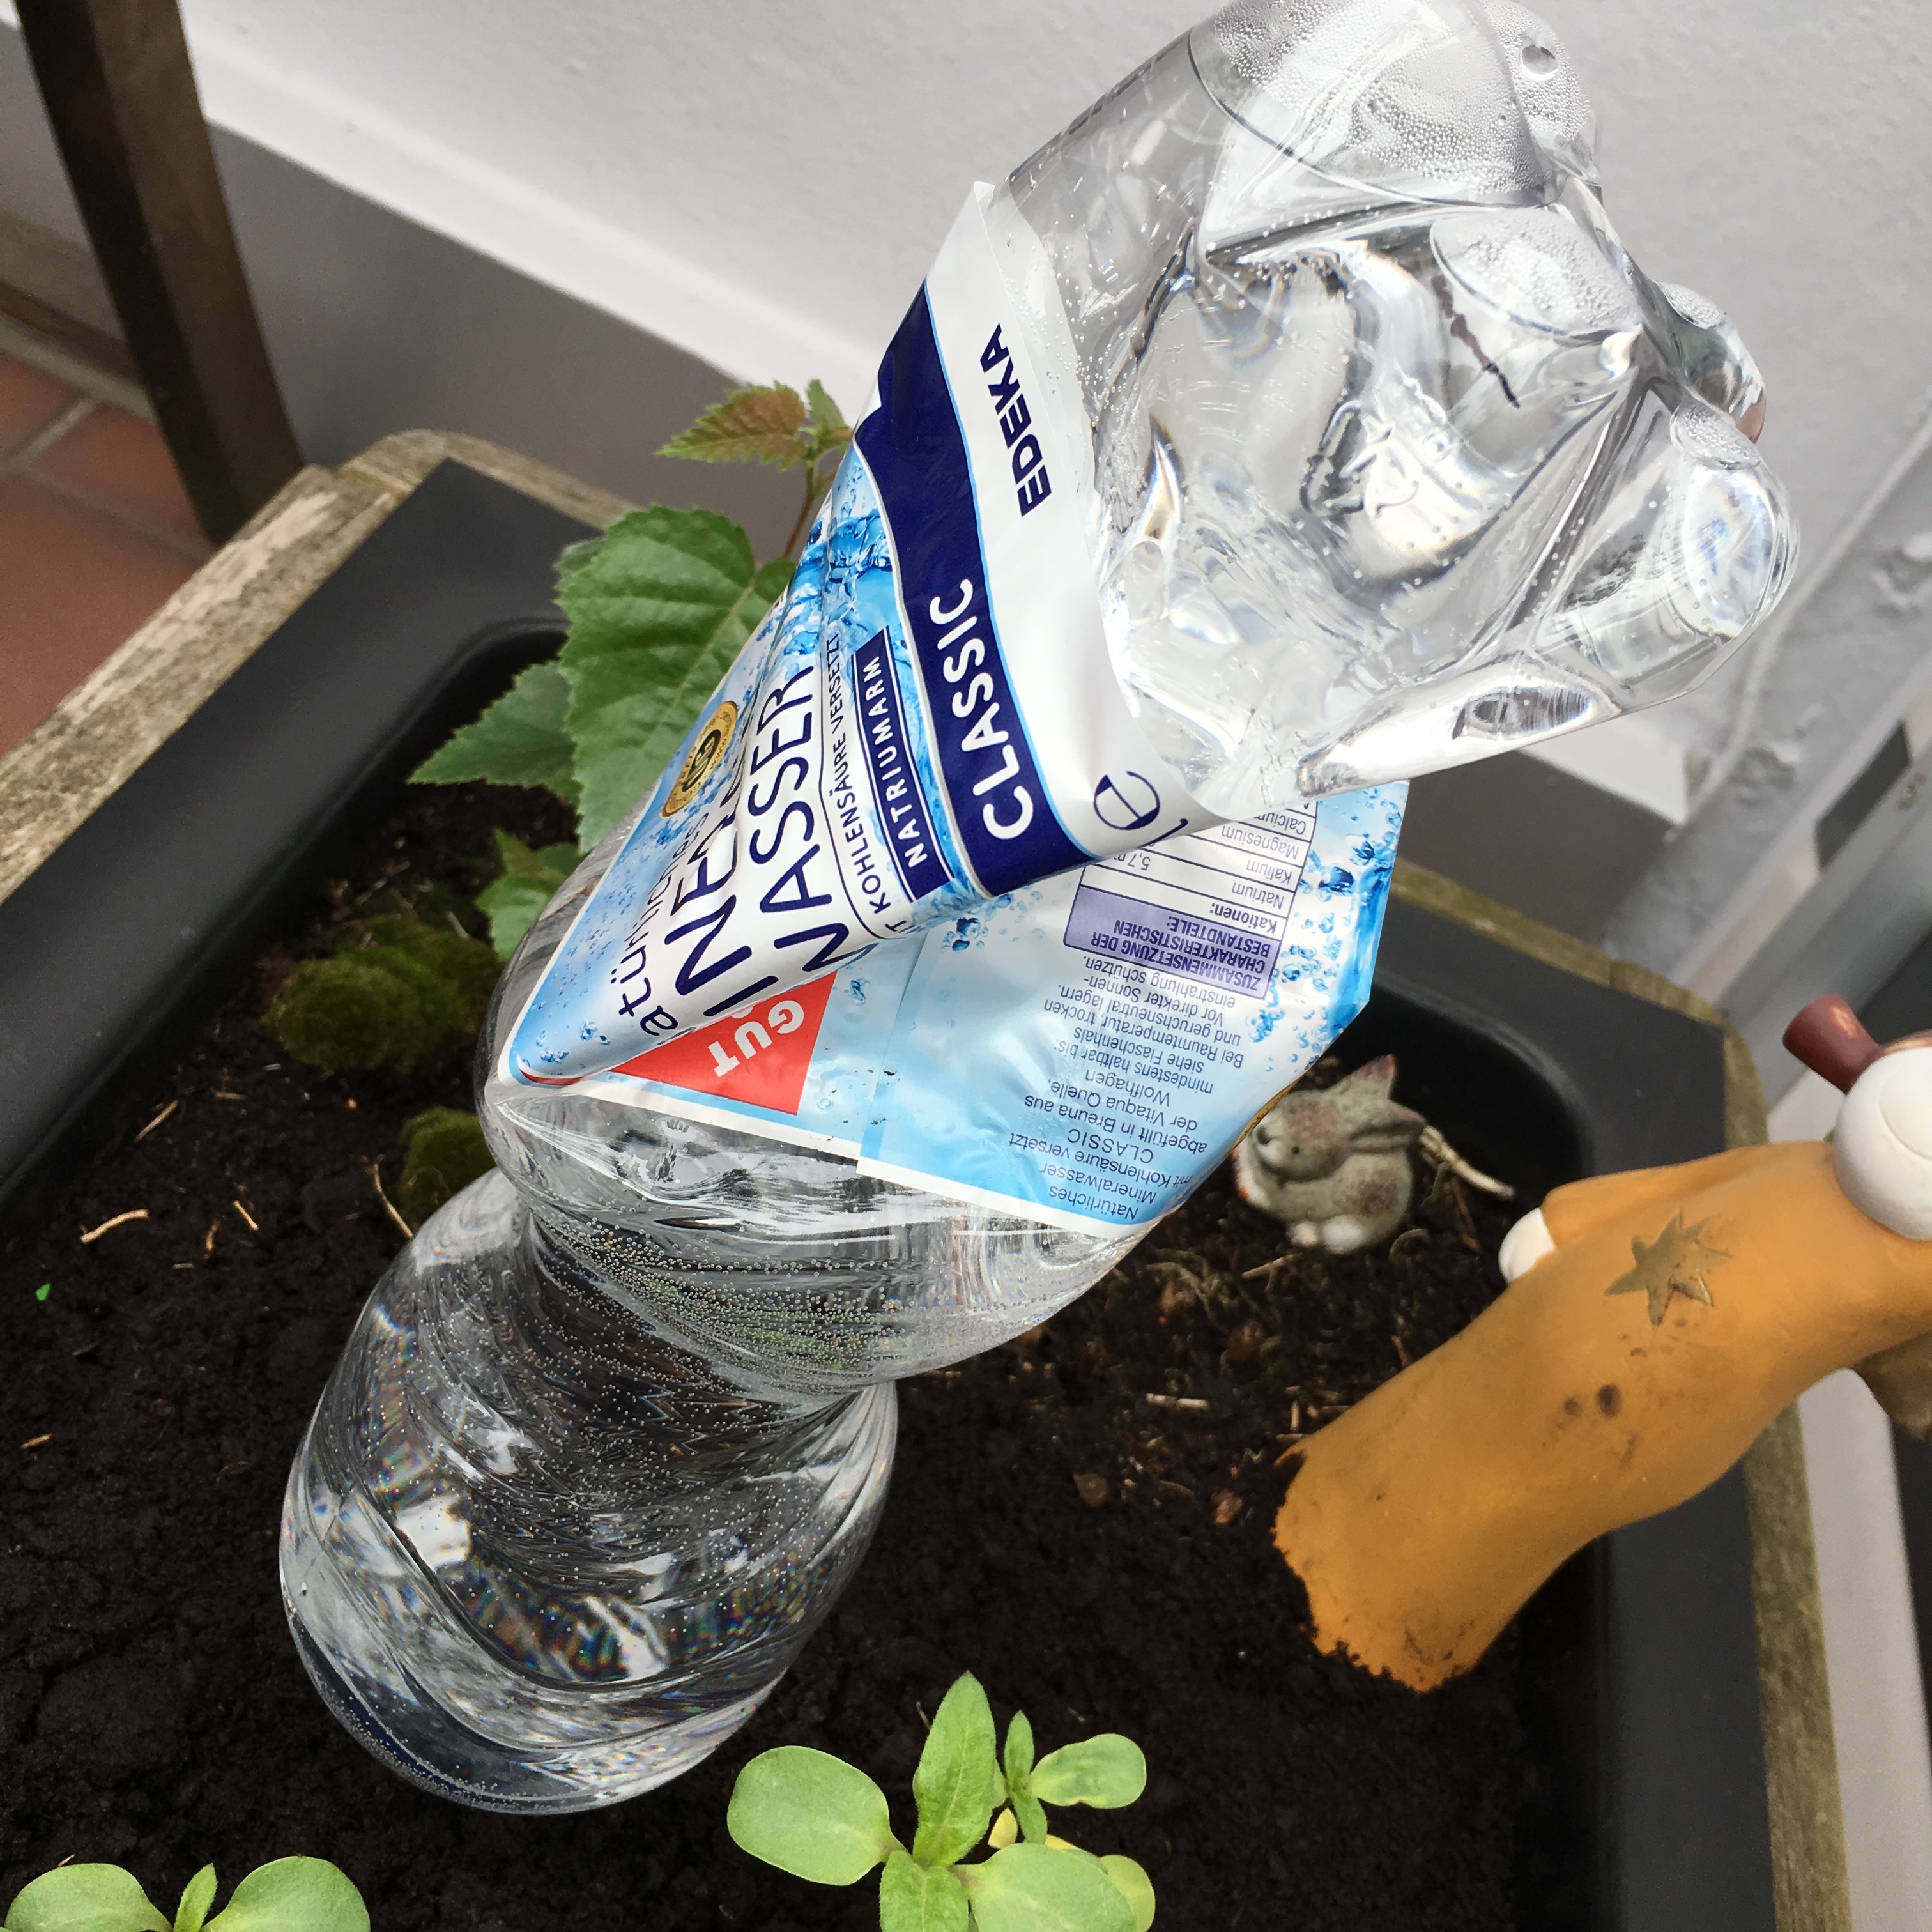
…then rotate the whole thing upside-down and slowly insert it into the digged hole. Like so…
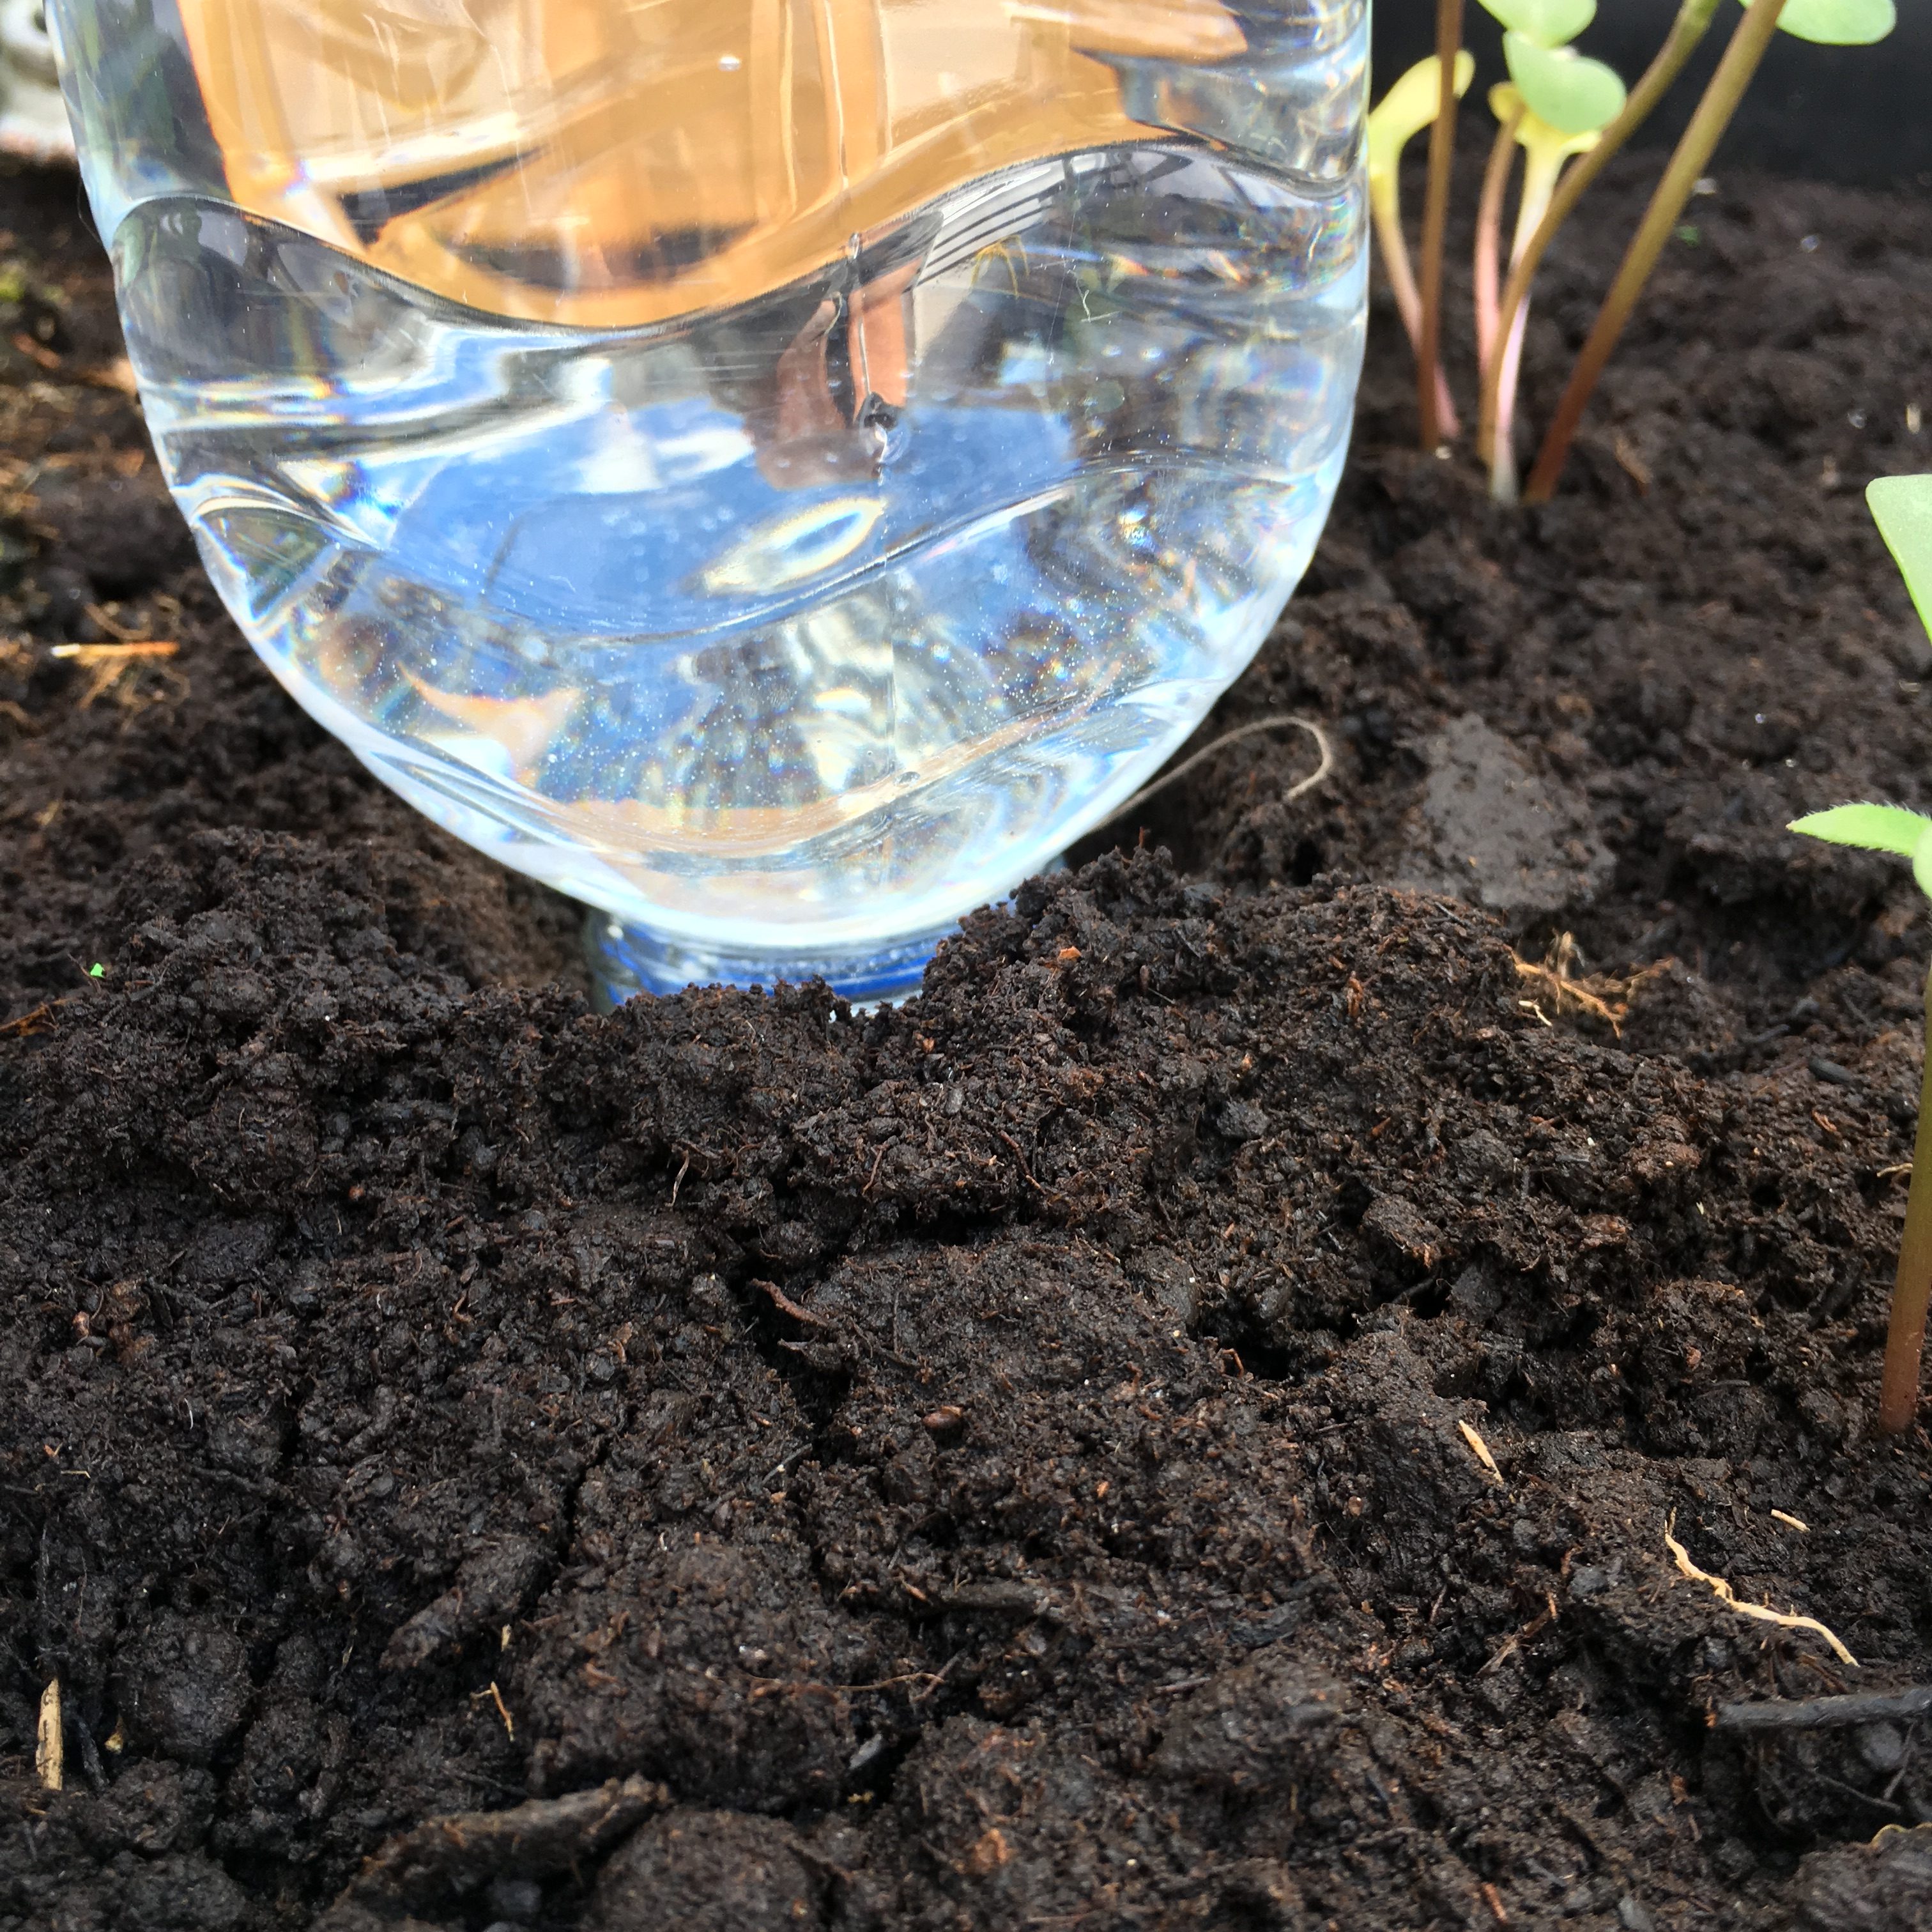
…check that the bottle is standing in 90 degress from the ground exactly in upright position to not fall over. Press some earth/dirt against the bottom surroundings to make it stand stable in the earth. Be careful that you keep the pieces of yarn below the surface so the dripping will happen below surface. Otherwise too much water will be lost to immediate evaporation.
System Monitoring
Not fetch your permanent marker.
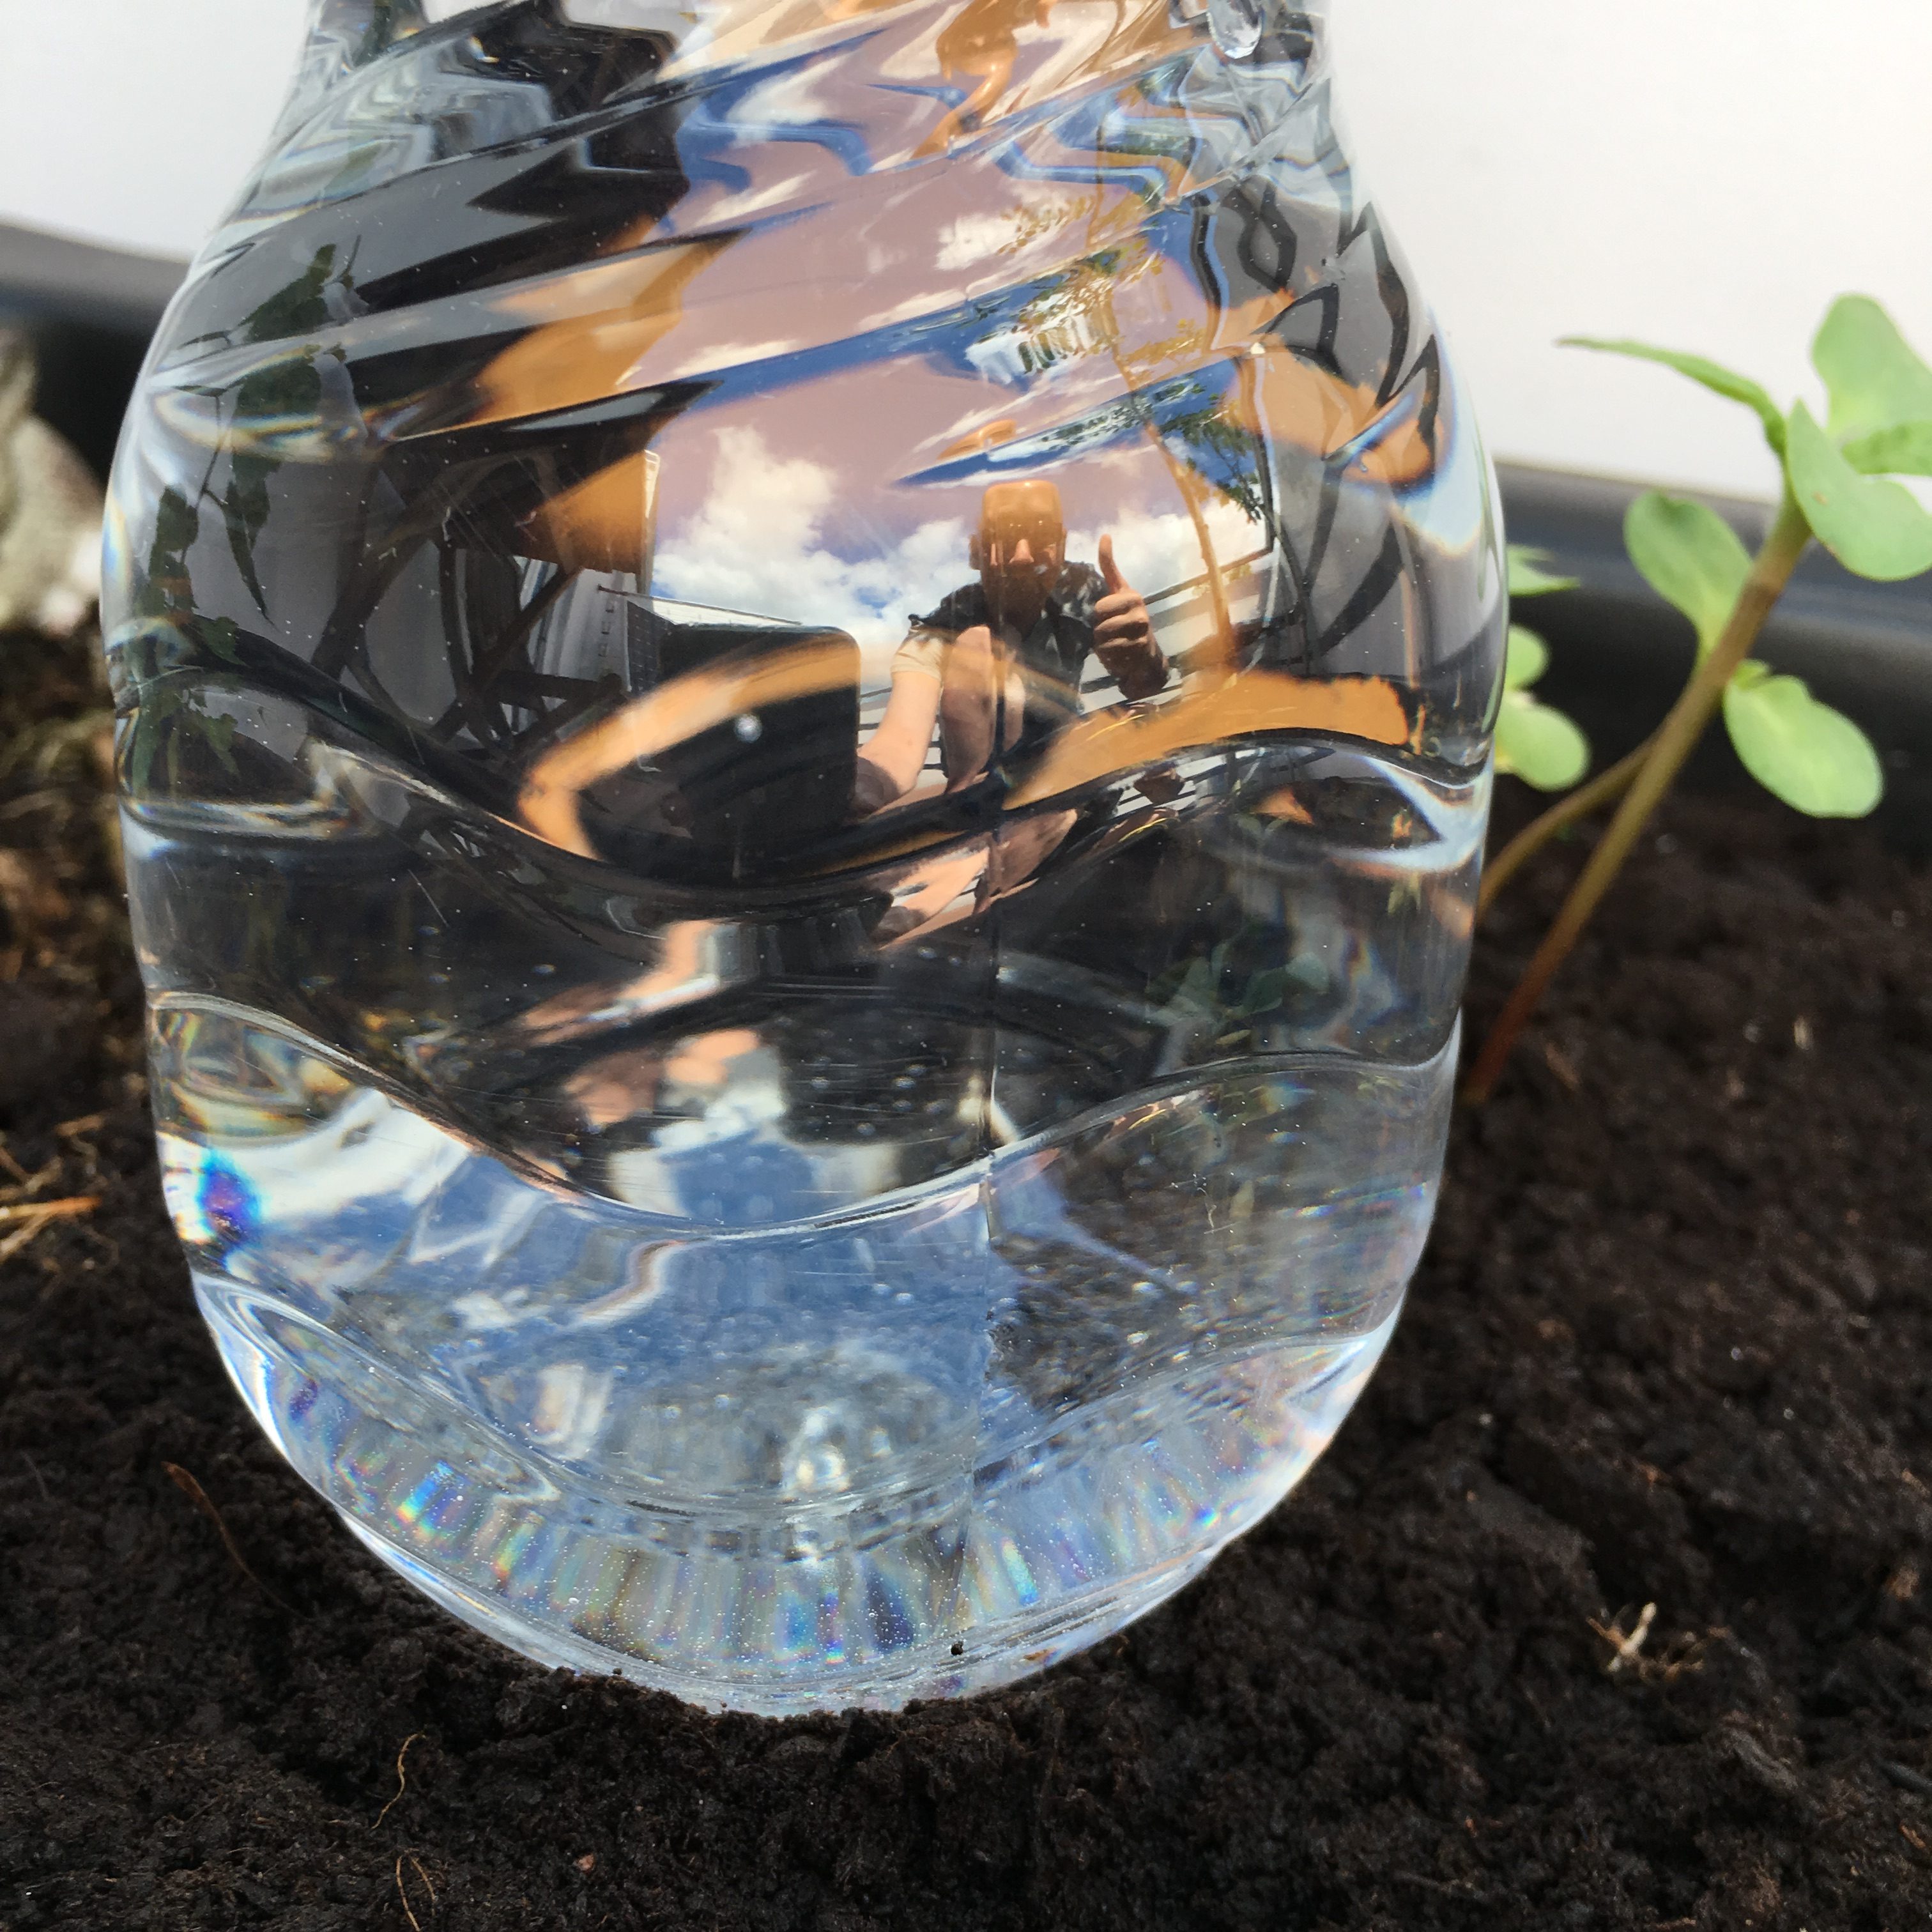
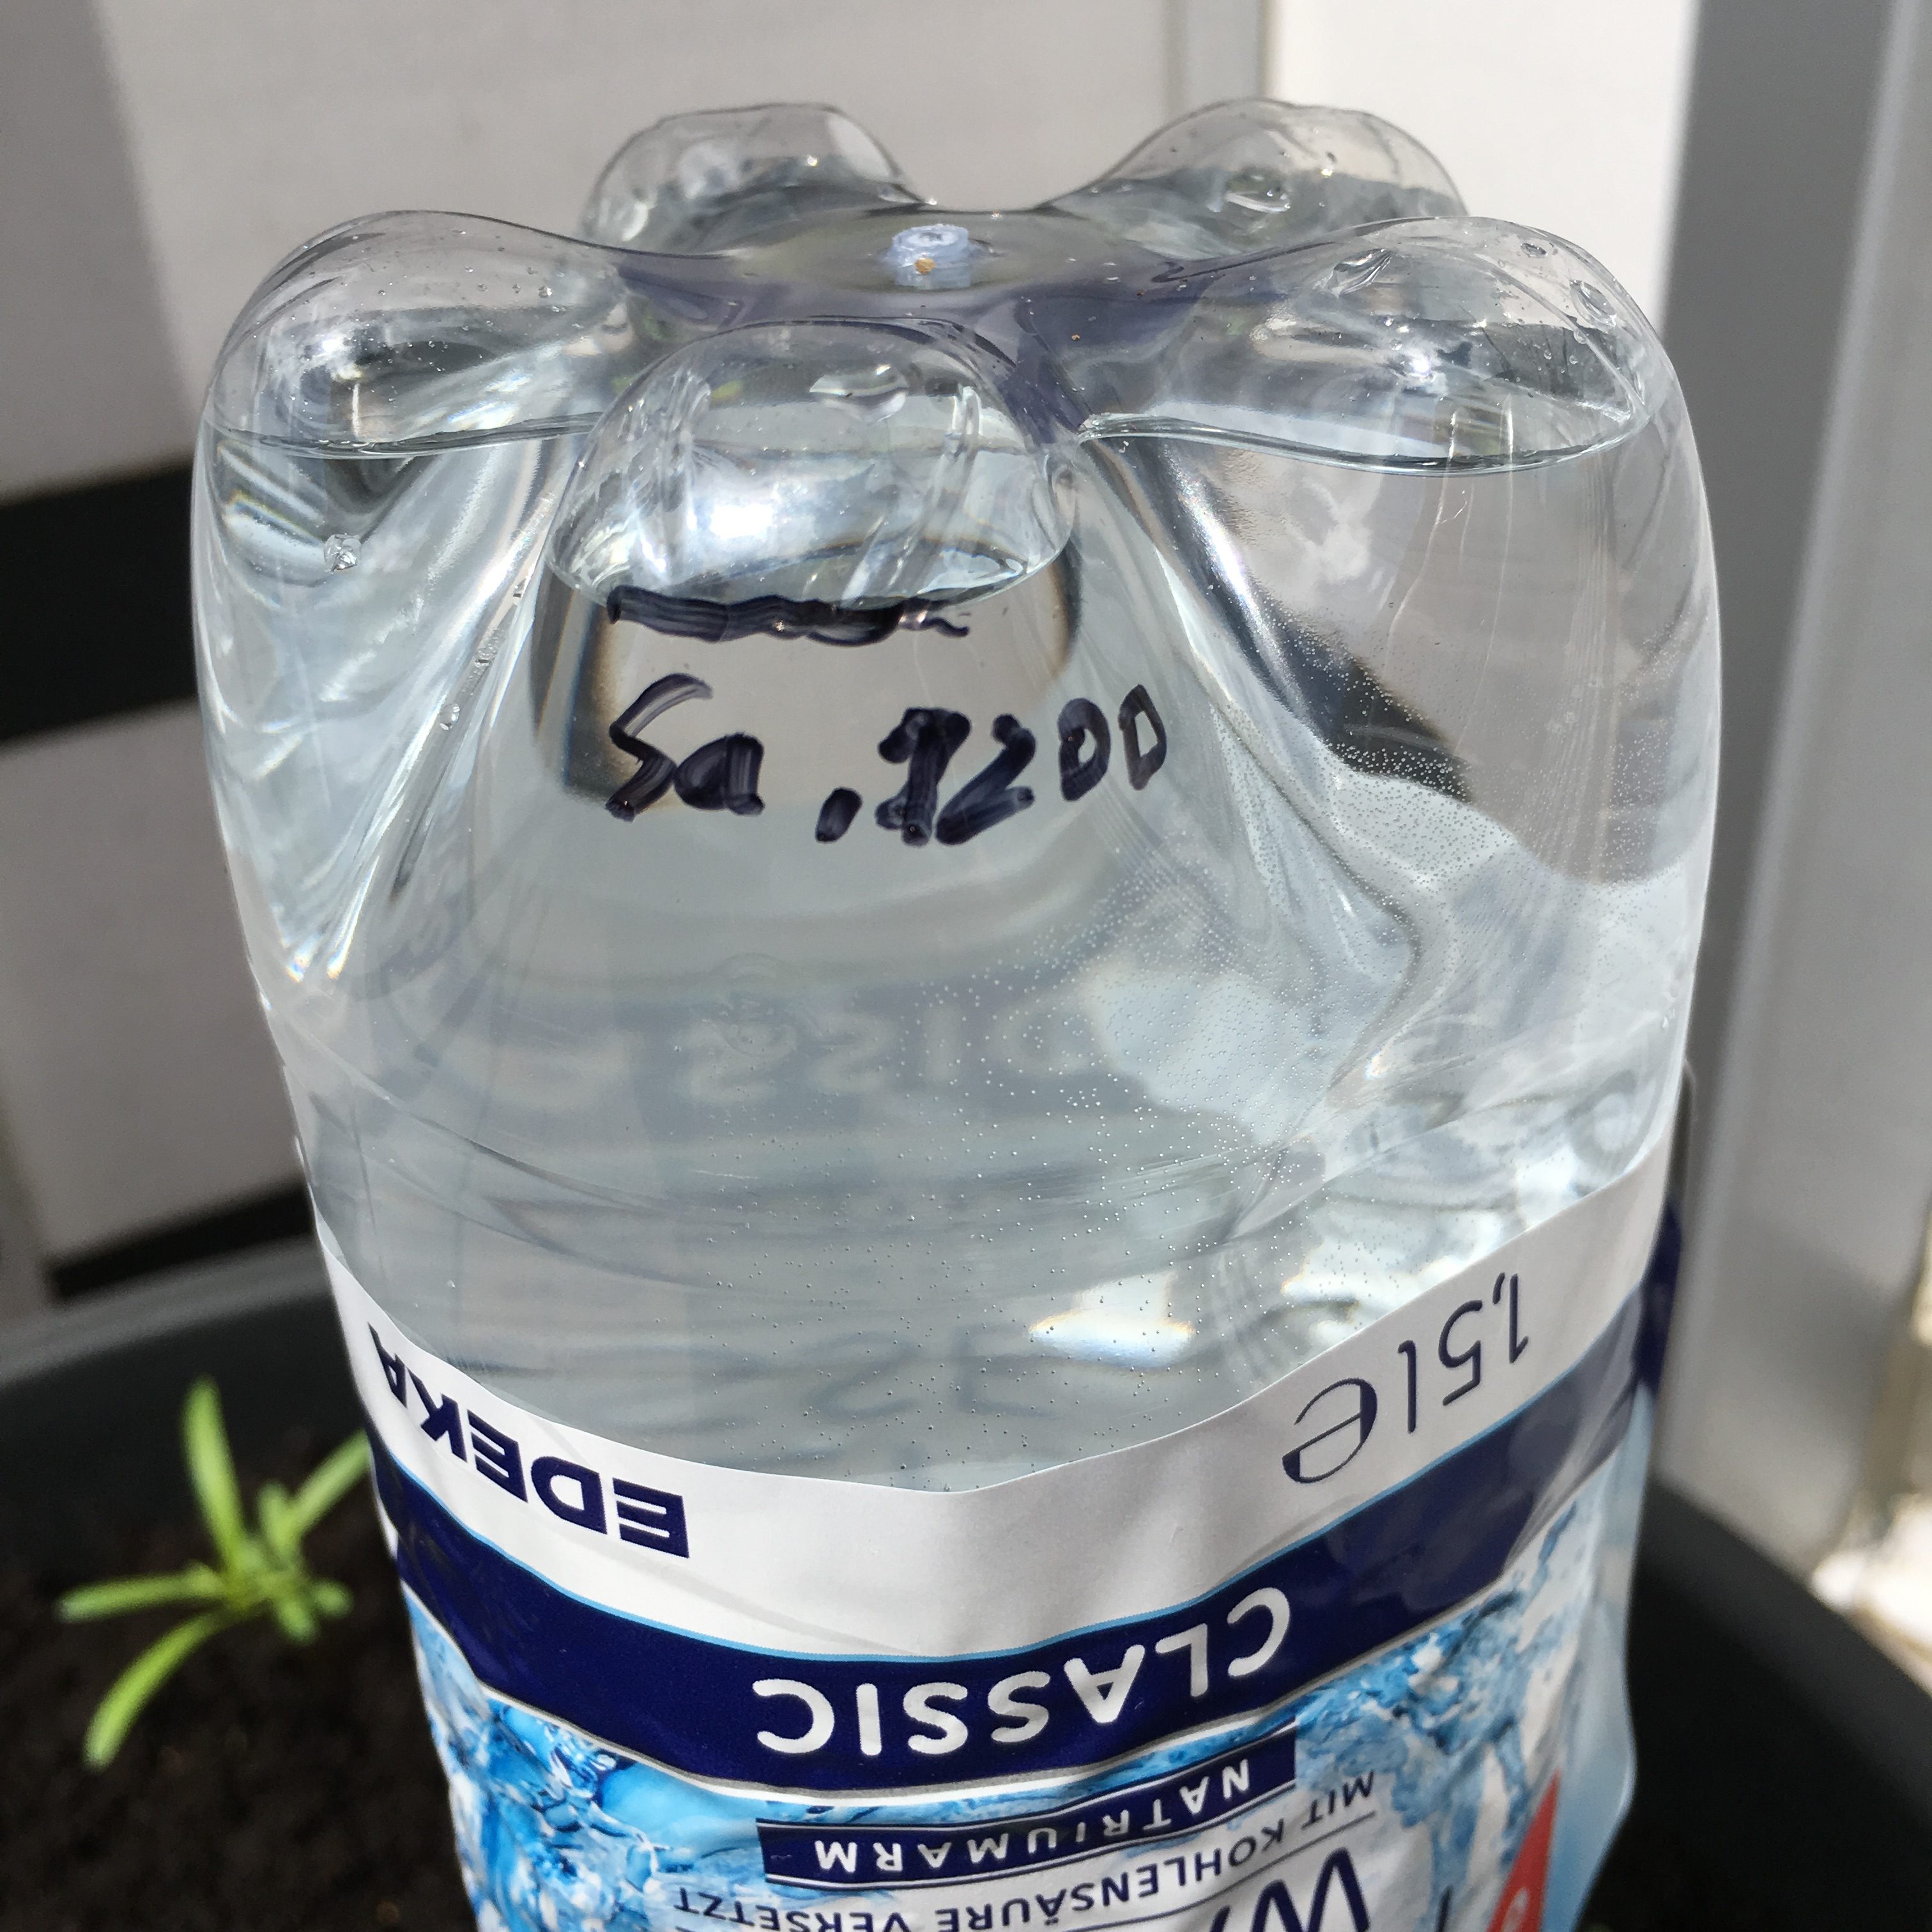
And apply a mark for the water level in the bottle. Put a date/time beneath the mark like so…

…you can even add the correct time to have exact data on your experiment.
Congratulations!
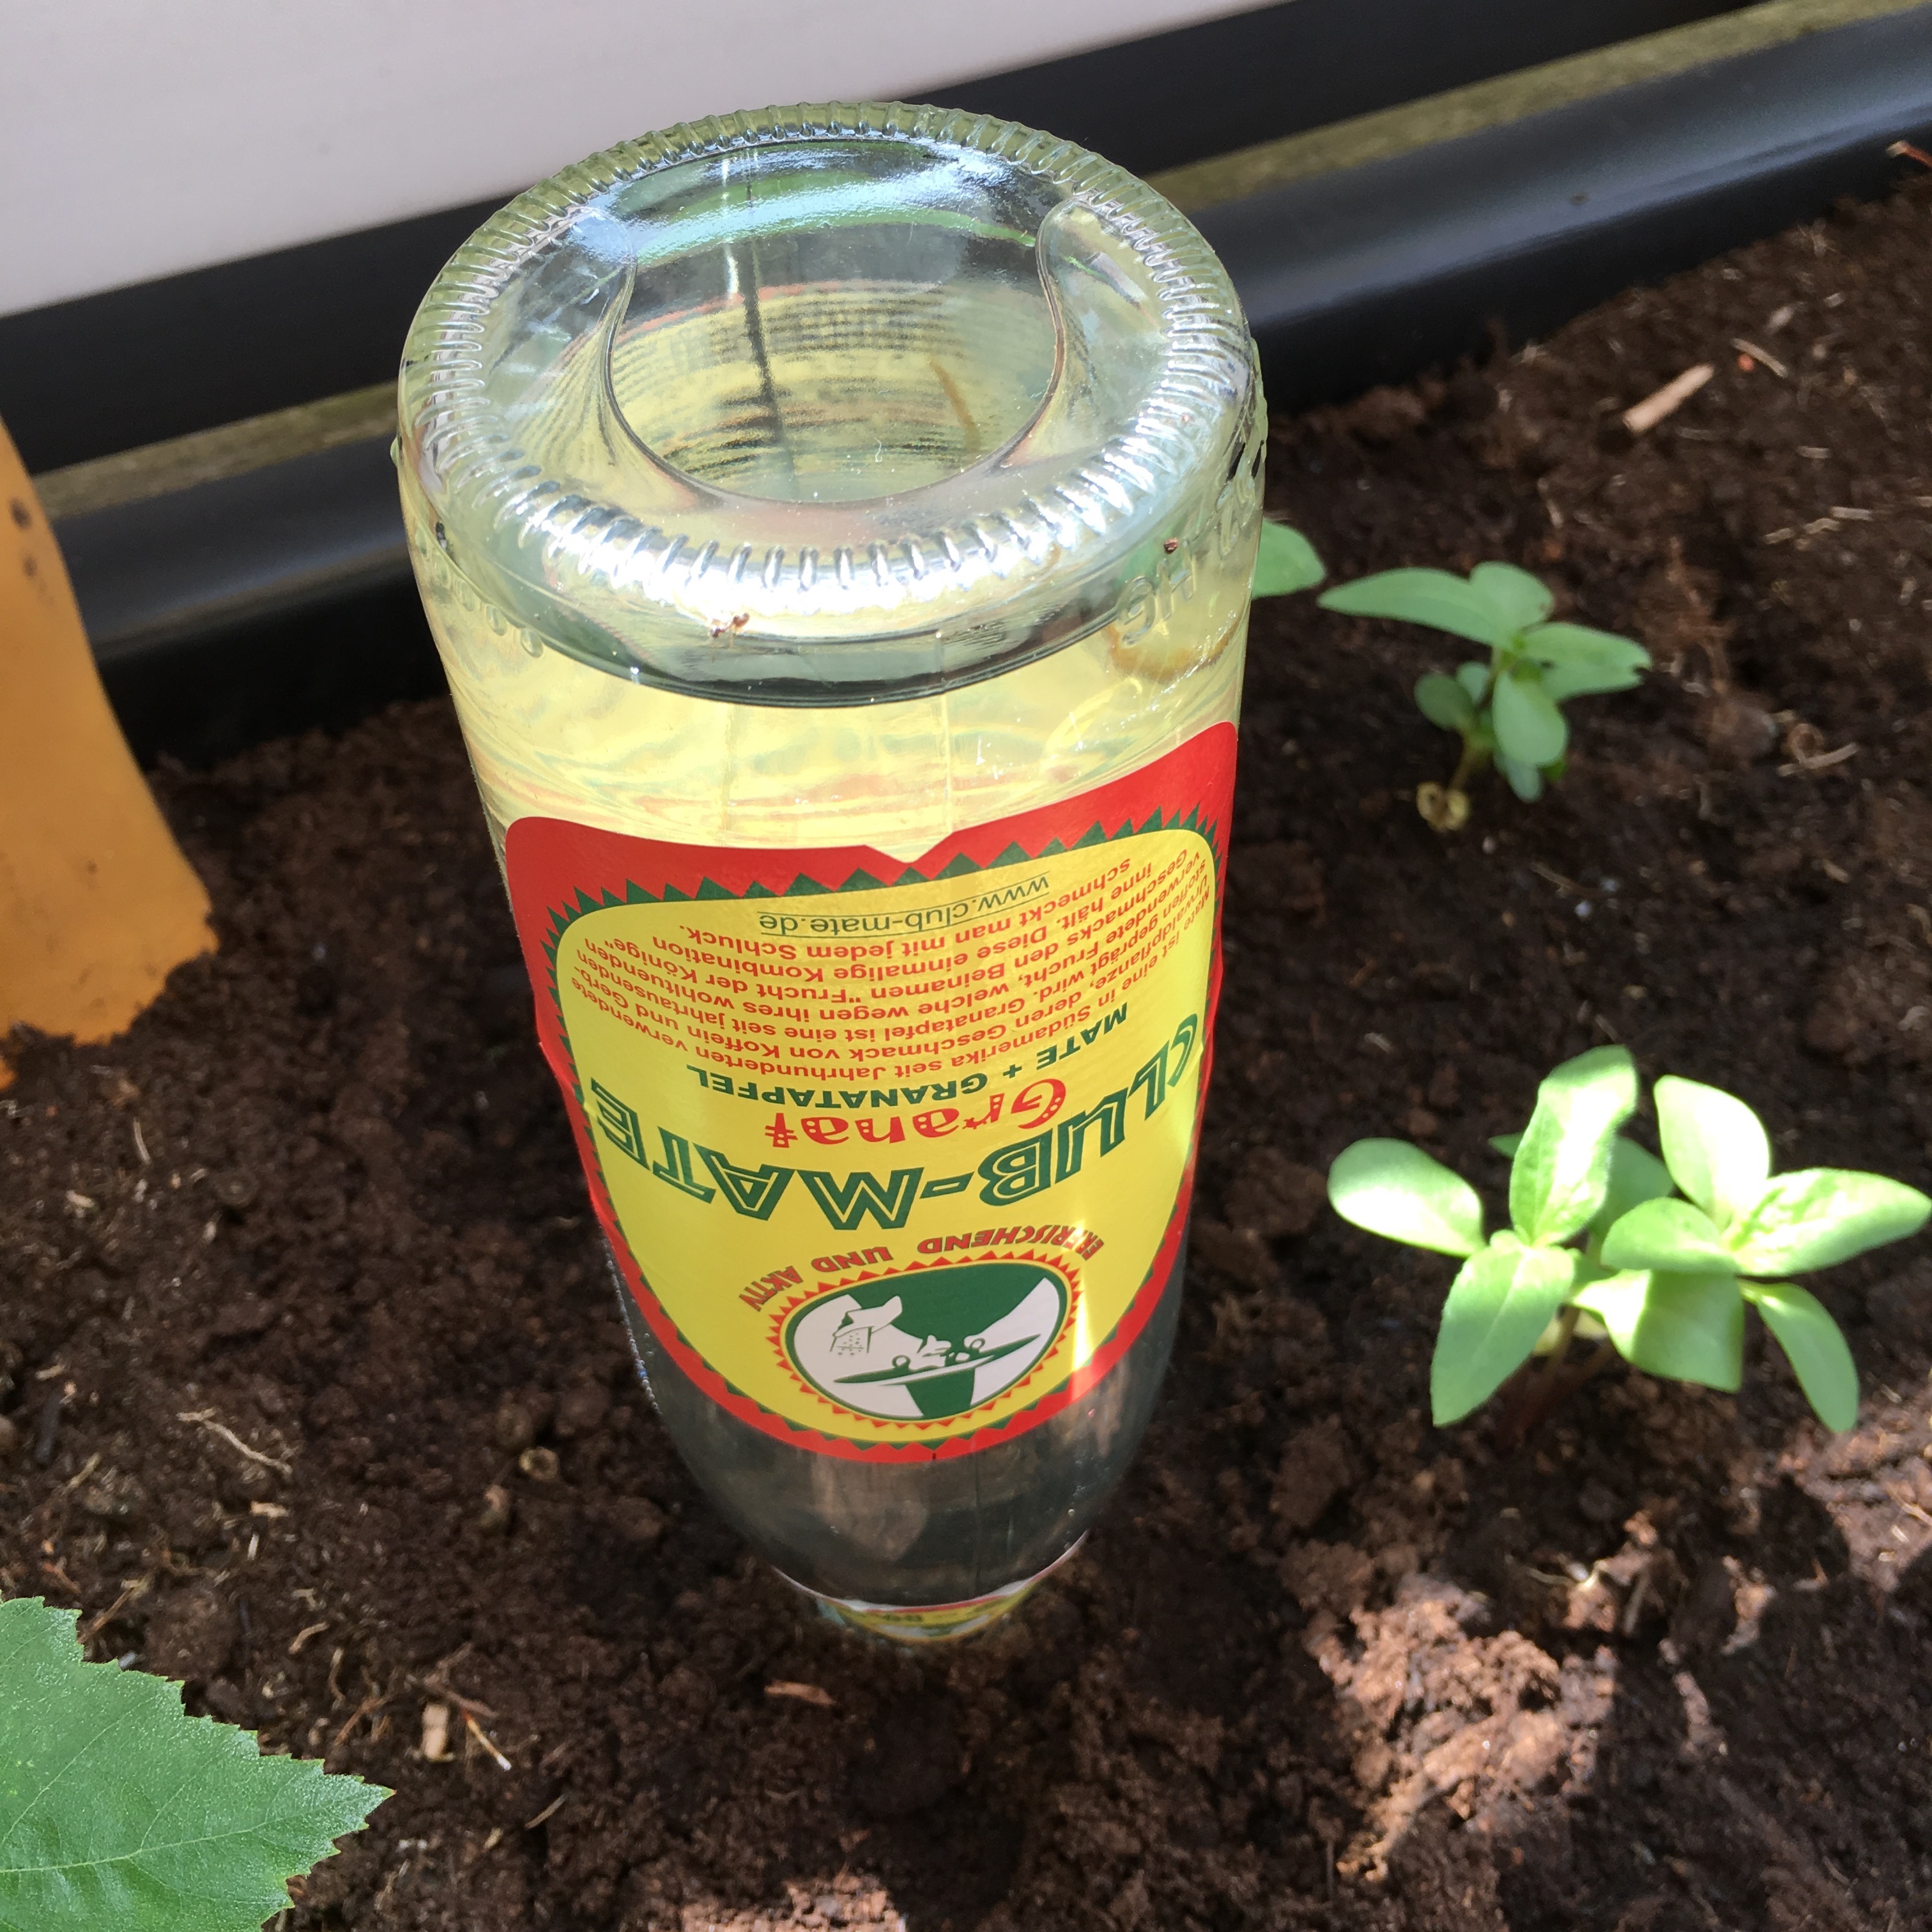
These plants can now self-service some 1,5L of water during your stay away. The final system looks a bit weird… but it works. Hopefully!

Update: Correction on bottle material
The plastic bottles I used were not fit for the purpose. After several hours of the watering system in operation the plastic bottles looked like this…
So plastic is not stable enough to stand the atmospheric pressure while the water is sucked out of the bottom opening. So as of today I replaced the bottles by 0,5L glass bottles to see if that helps. Until now it works.
To be continued…
Why do I blog this? I wanted a quick and failsafe solution. In the last really hot summer I went with a small clay jug to fit the bottle in and I hot-glued the hole at the bottom of the jug closed. But the clay jug broke with the time and it did allow too much water to be dispensed. So this time I will try this new approach.