beeline hacking: power off switch

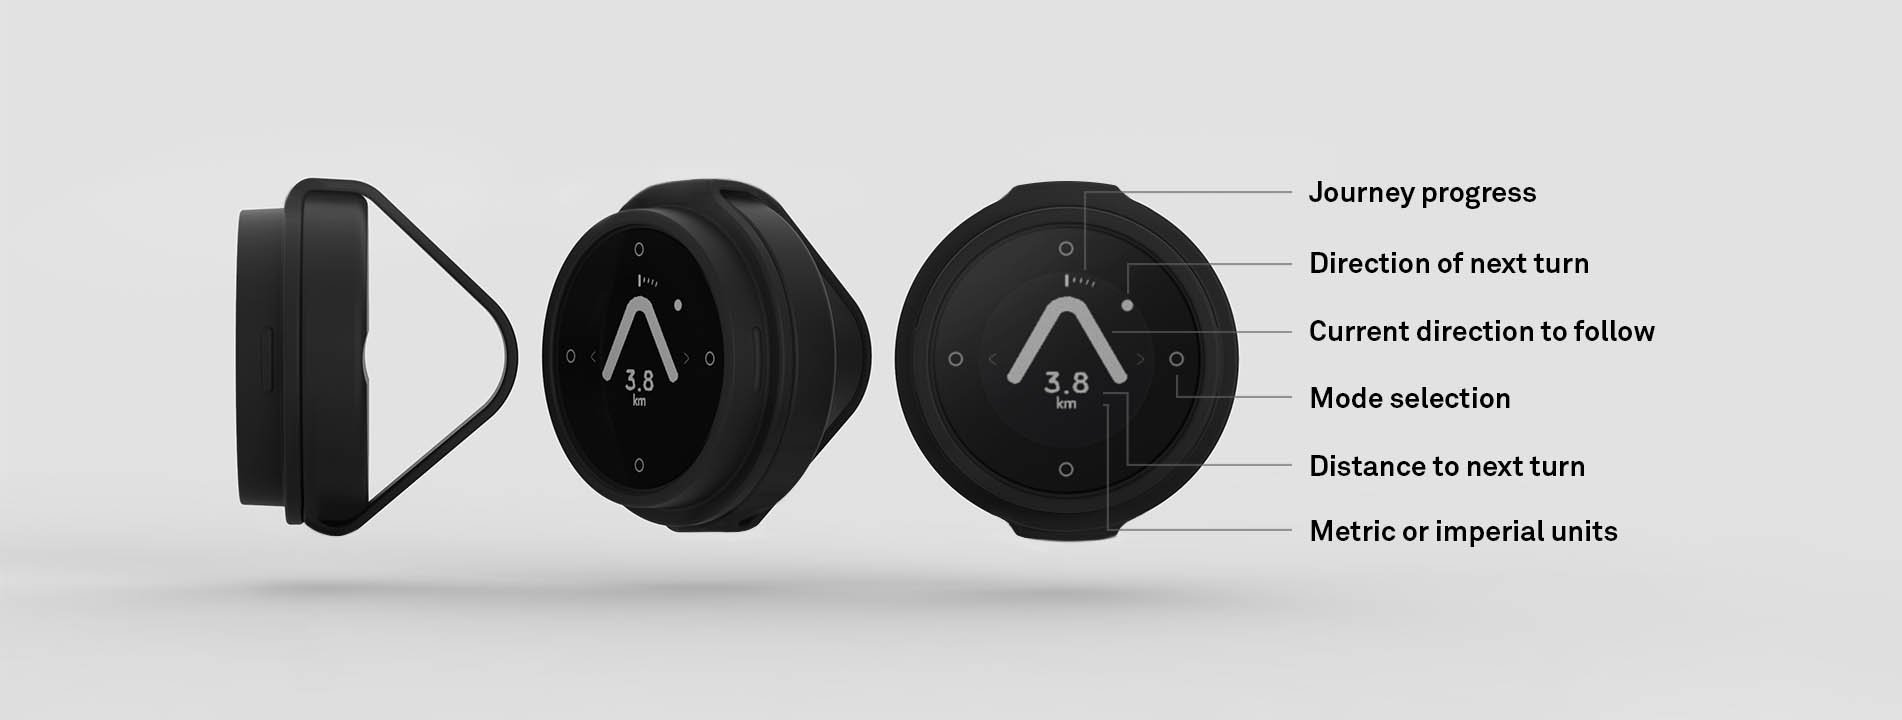
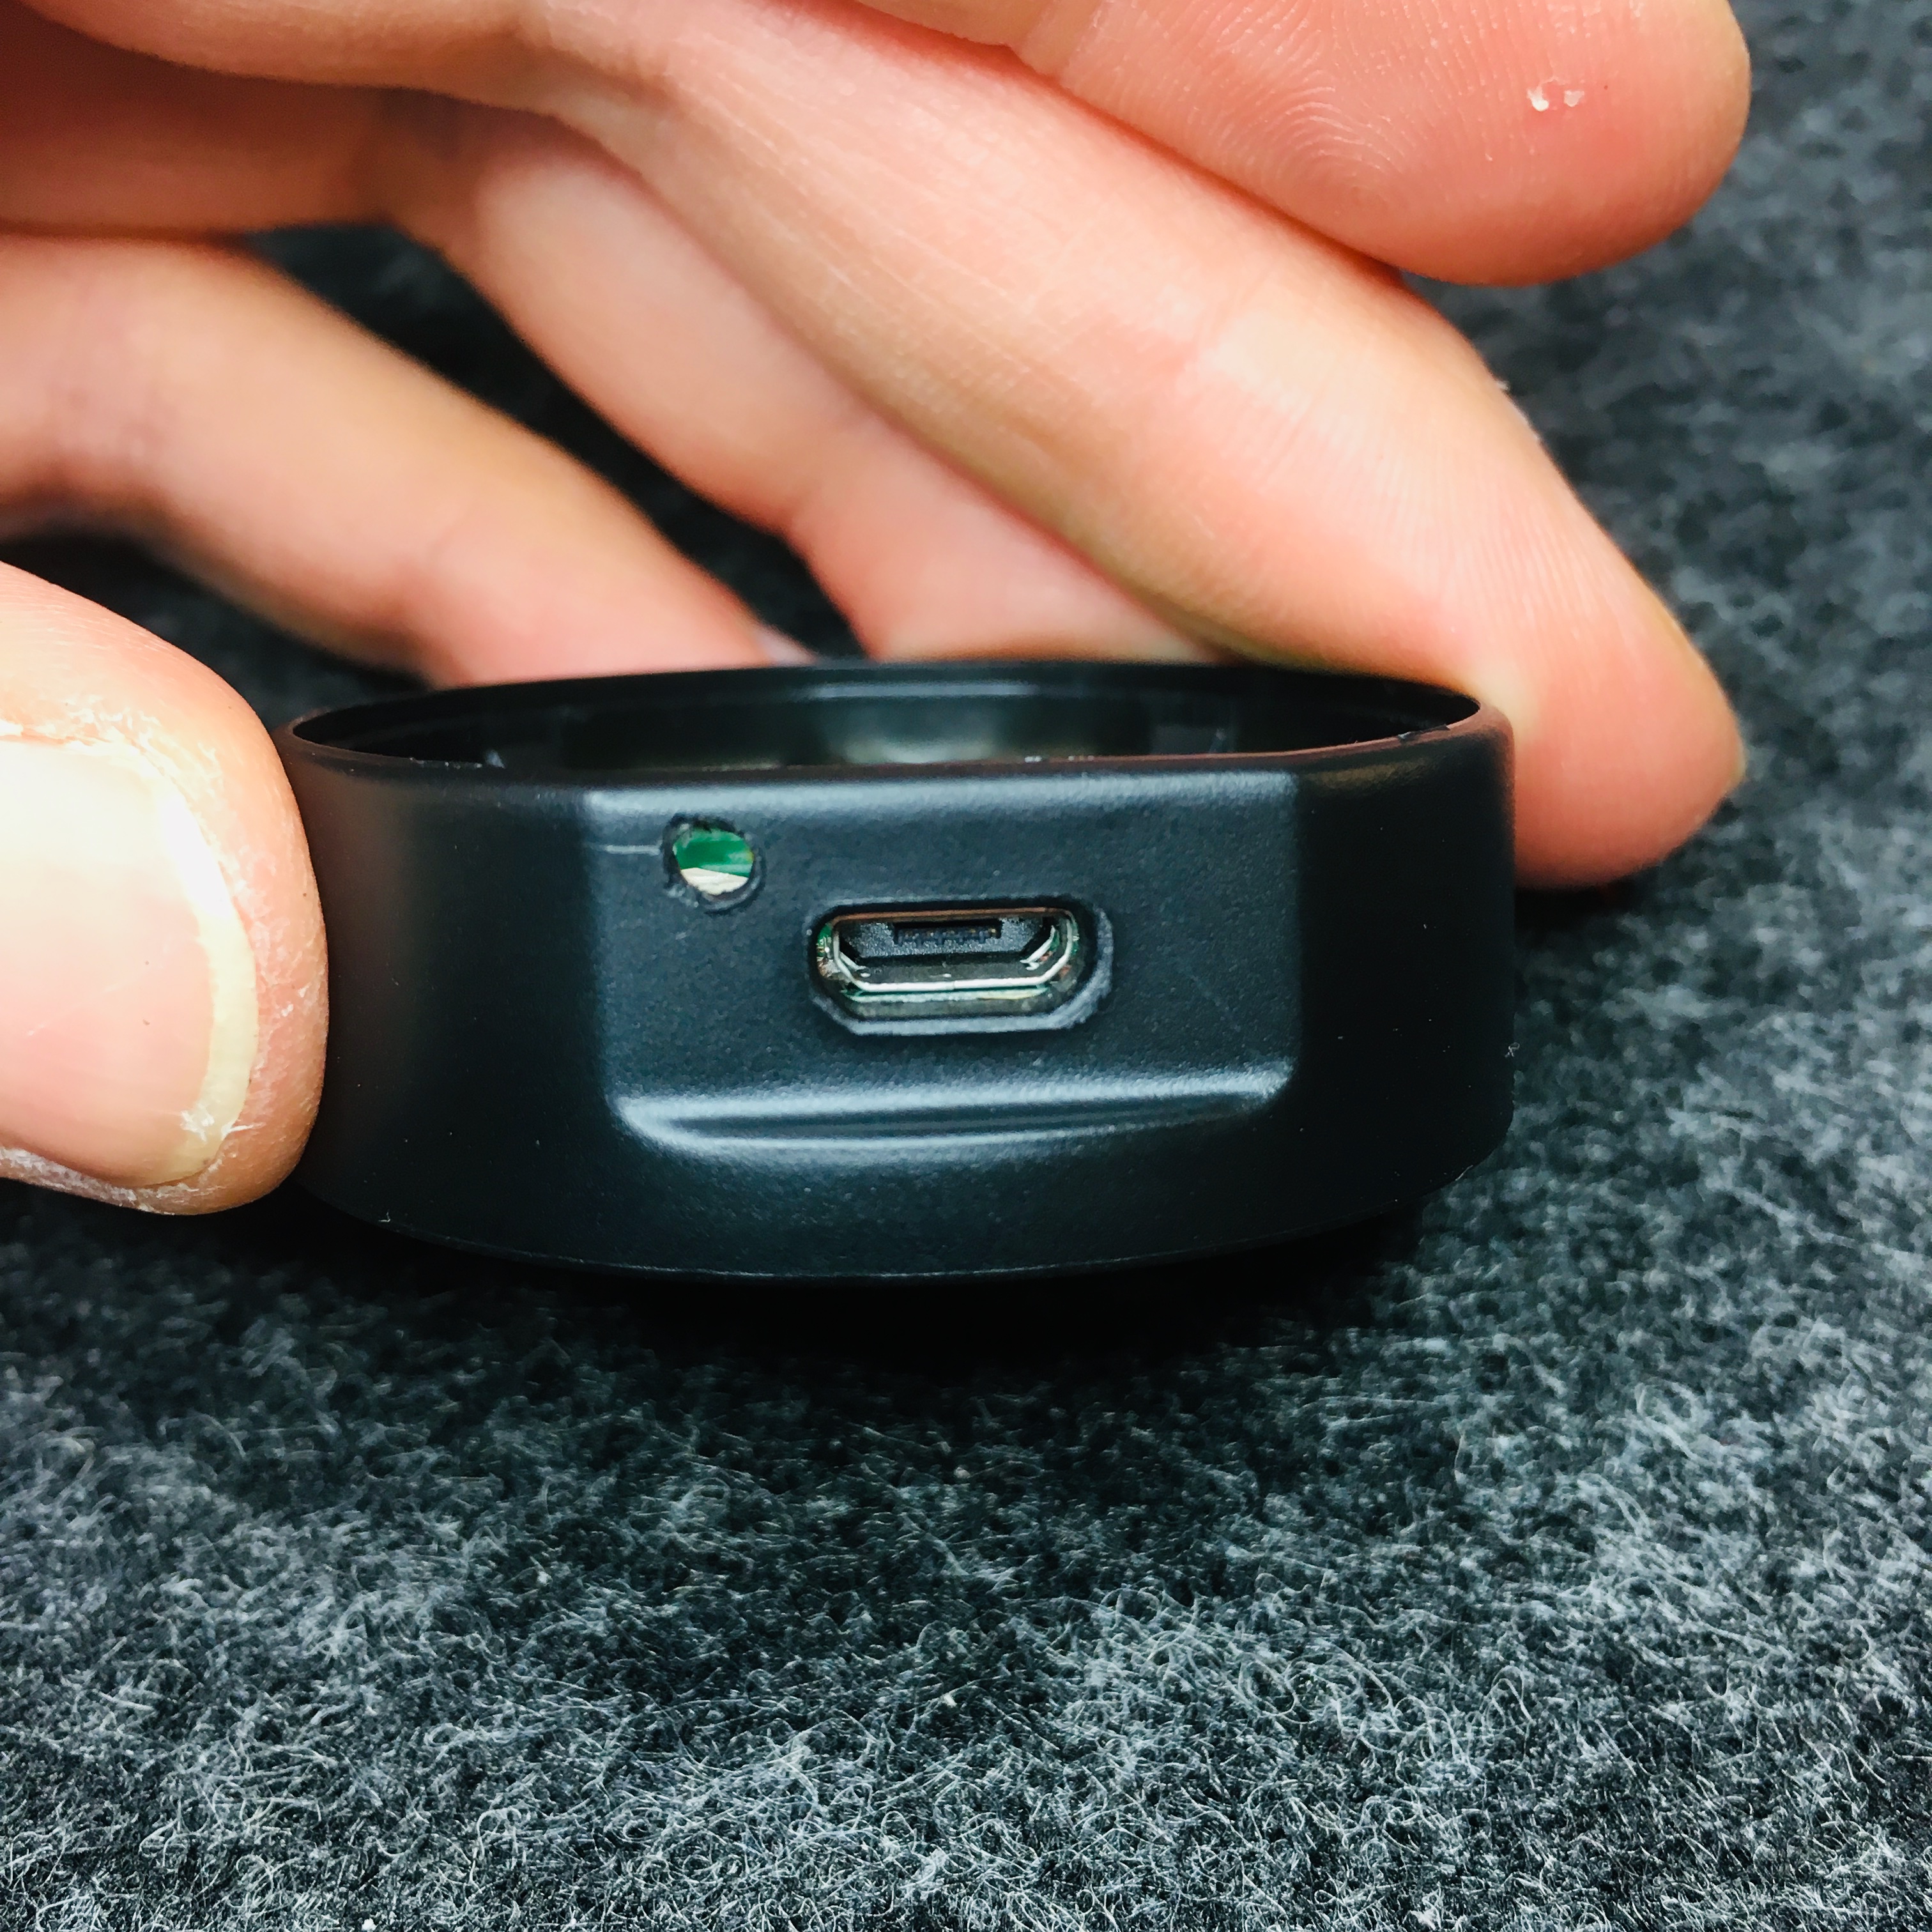
I was part of the beeline first users. Beeline is the fuzzy navigation assistant for biking in urban areas. The battery powered gadget needs to be charged via Micro-USB-port to be ready for use.

Beeline is the award-winning connected navigation device that puts you in charge and makes journeys fun again. Simply, stylishly and safely find your way around the town or city.

For some weird reason the engineers at beeline did not provide a power off switch but instead wrote in the manual that as long as beeline is not used it will stay „in low power mode“. This never the less meant for me to always have a device out of battery power when I needed it most.

Well… a power off switch… that would be great!

So I fixed it! And this is how I did.

1. Open the device

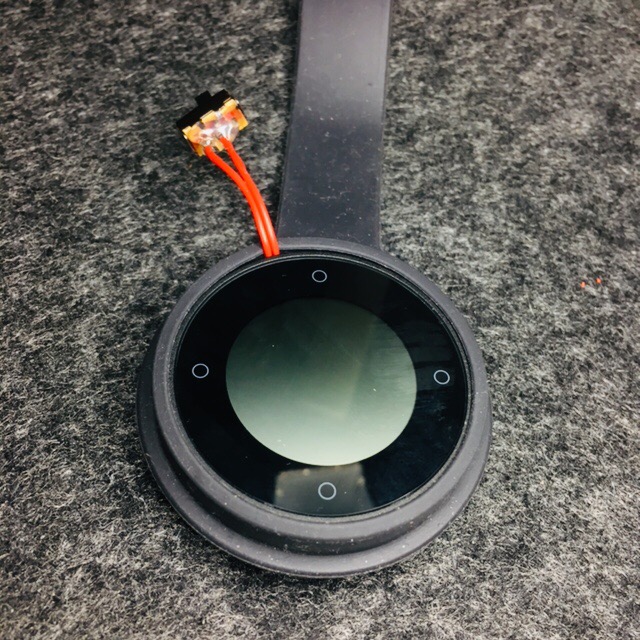
You can easily open the device at the two tiny slits at the back of the device after you removed the rubber-cover which holds the device on your bike.

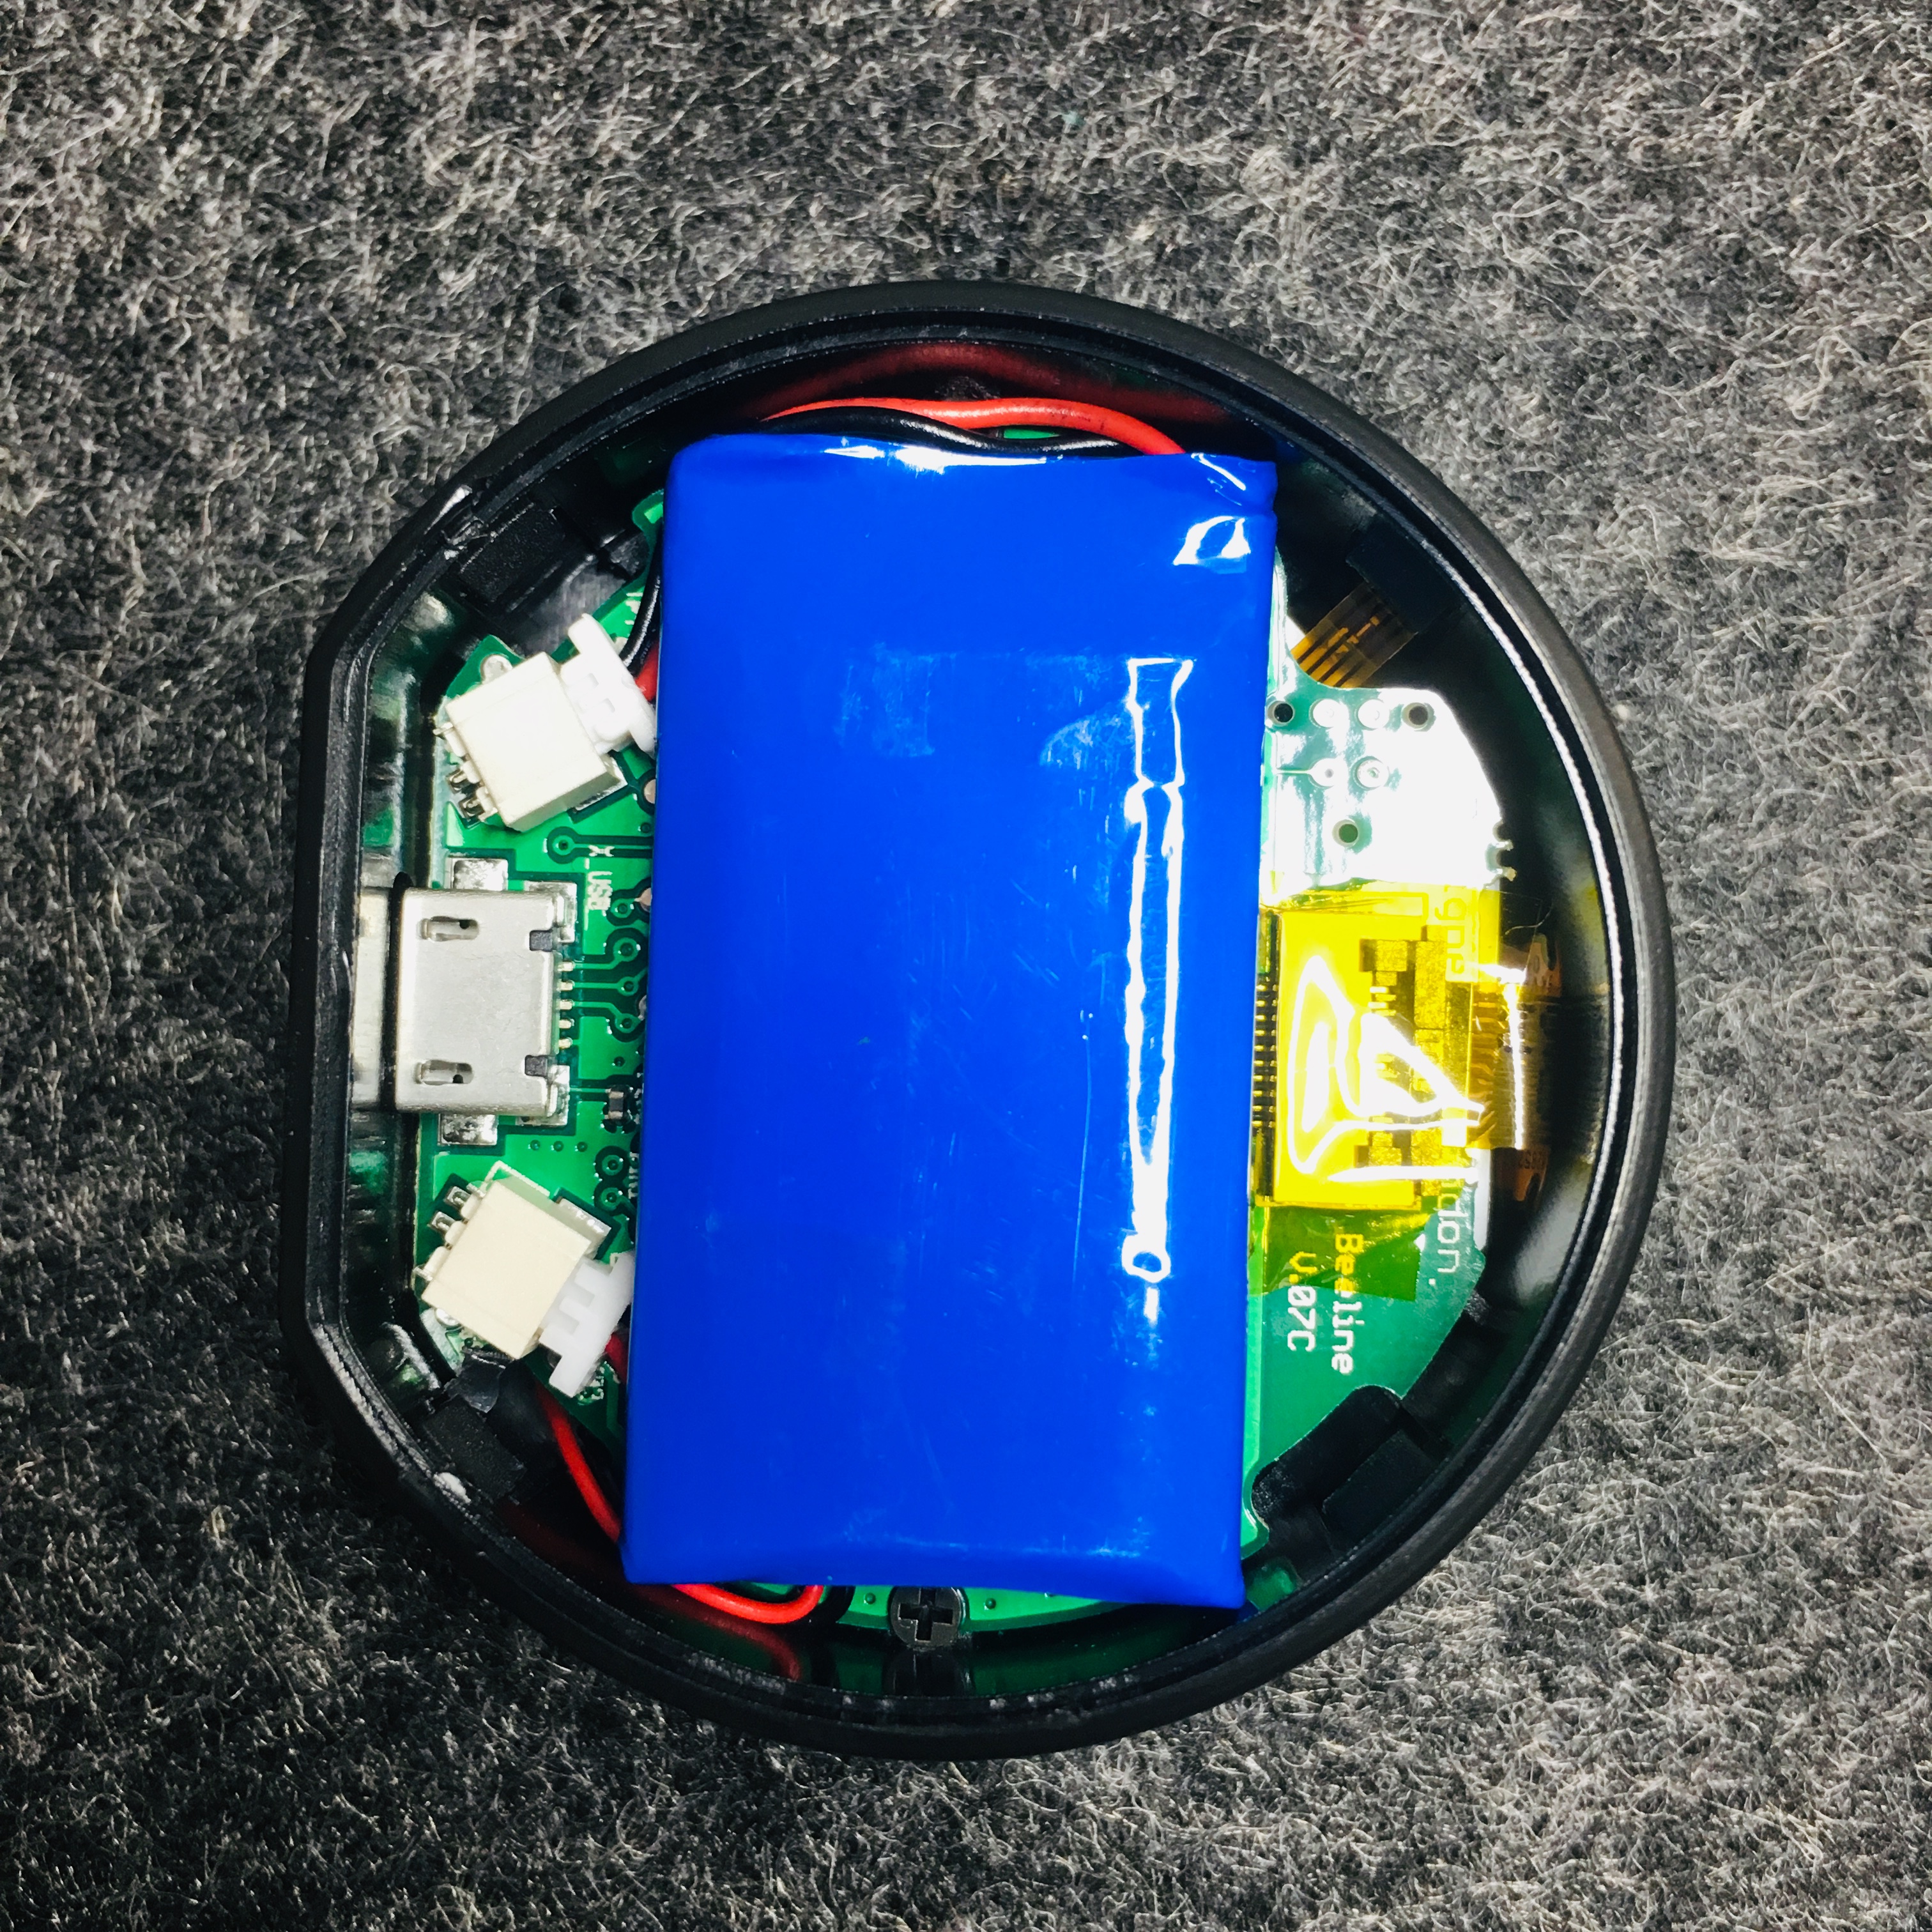
2. Remove the battery by slowly pulling the connector

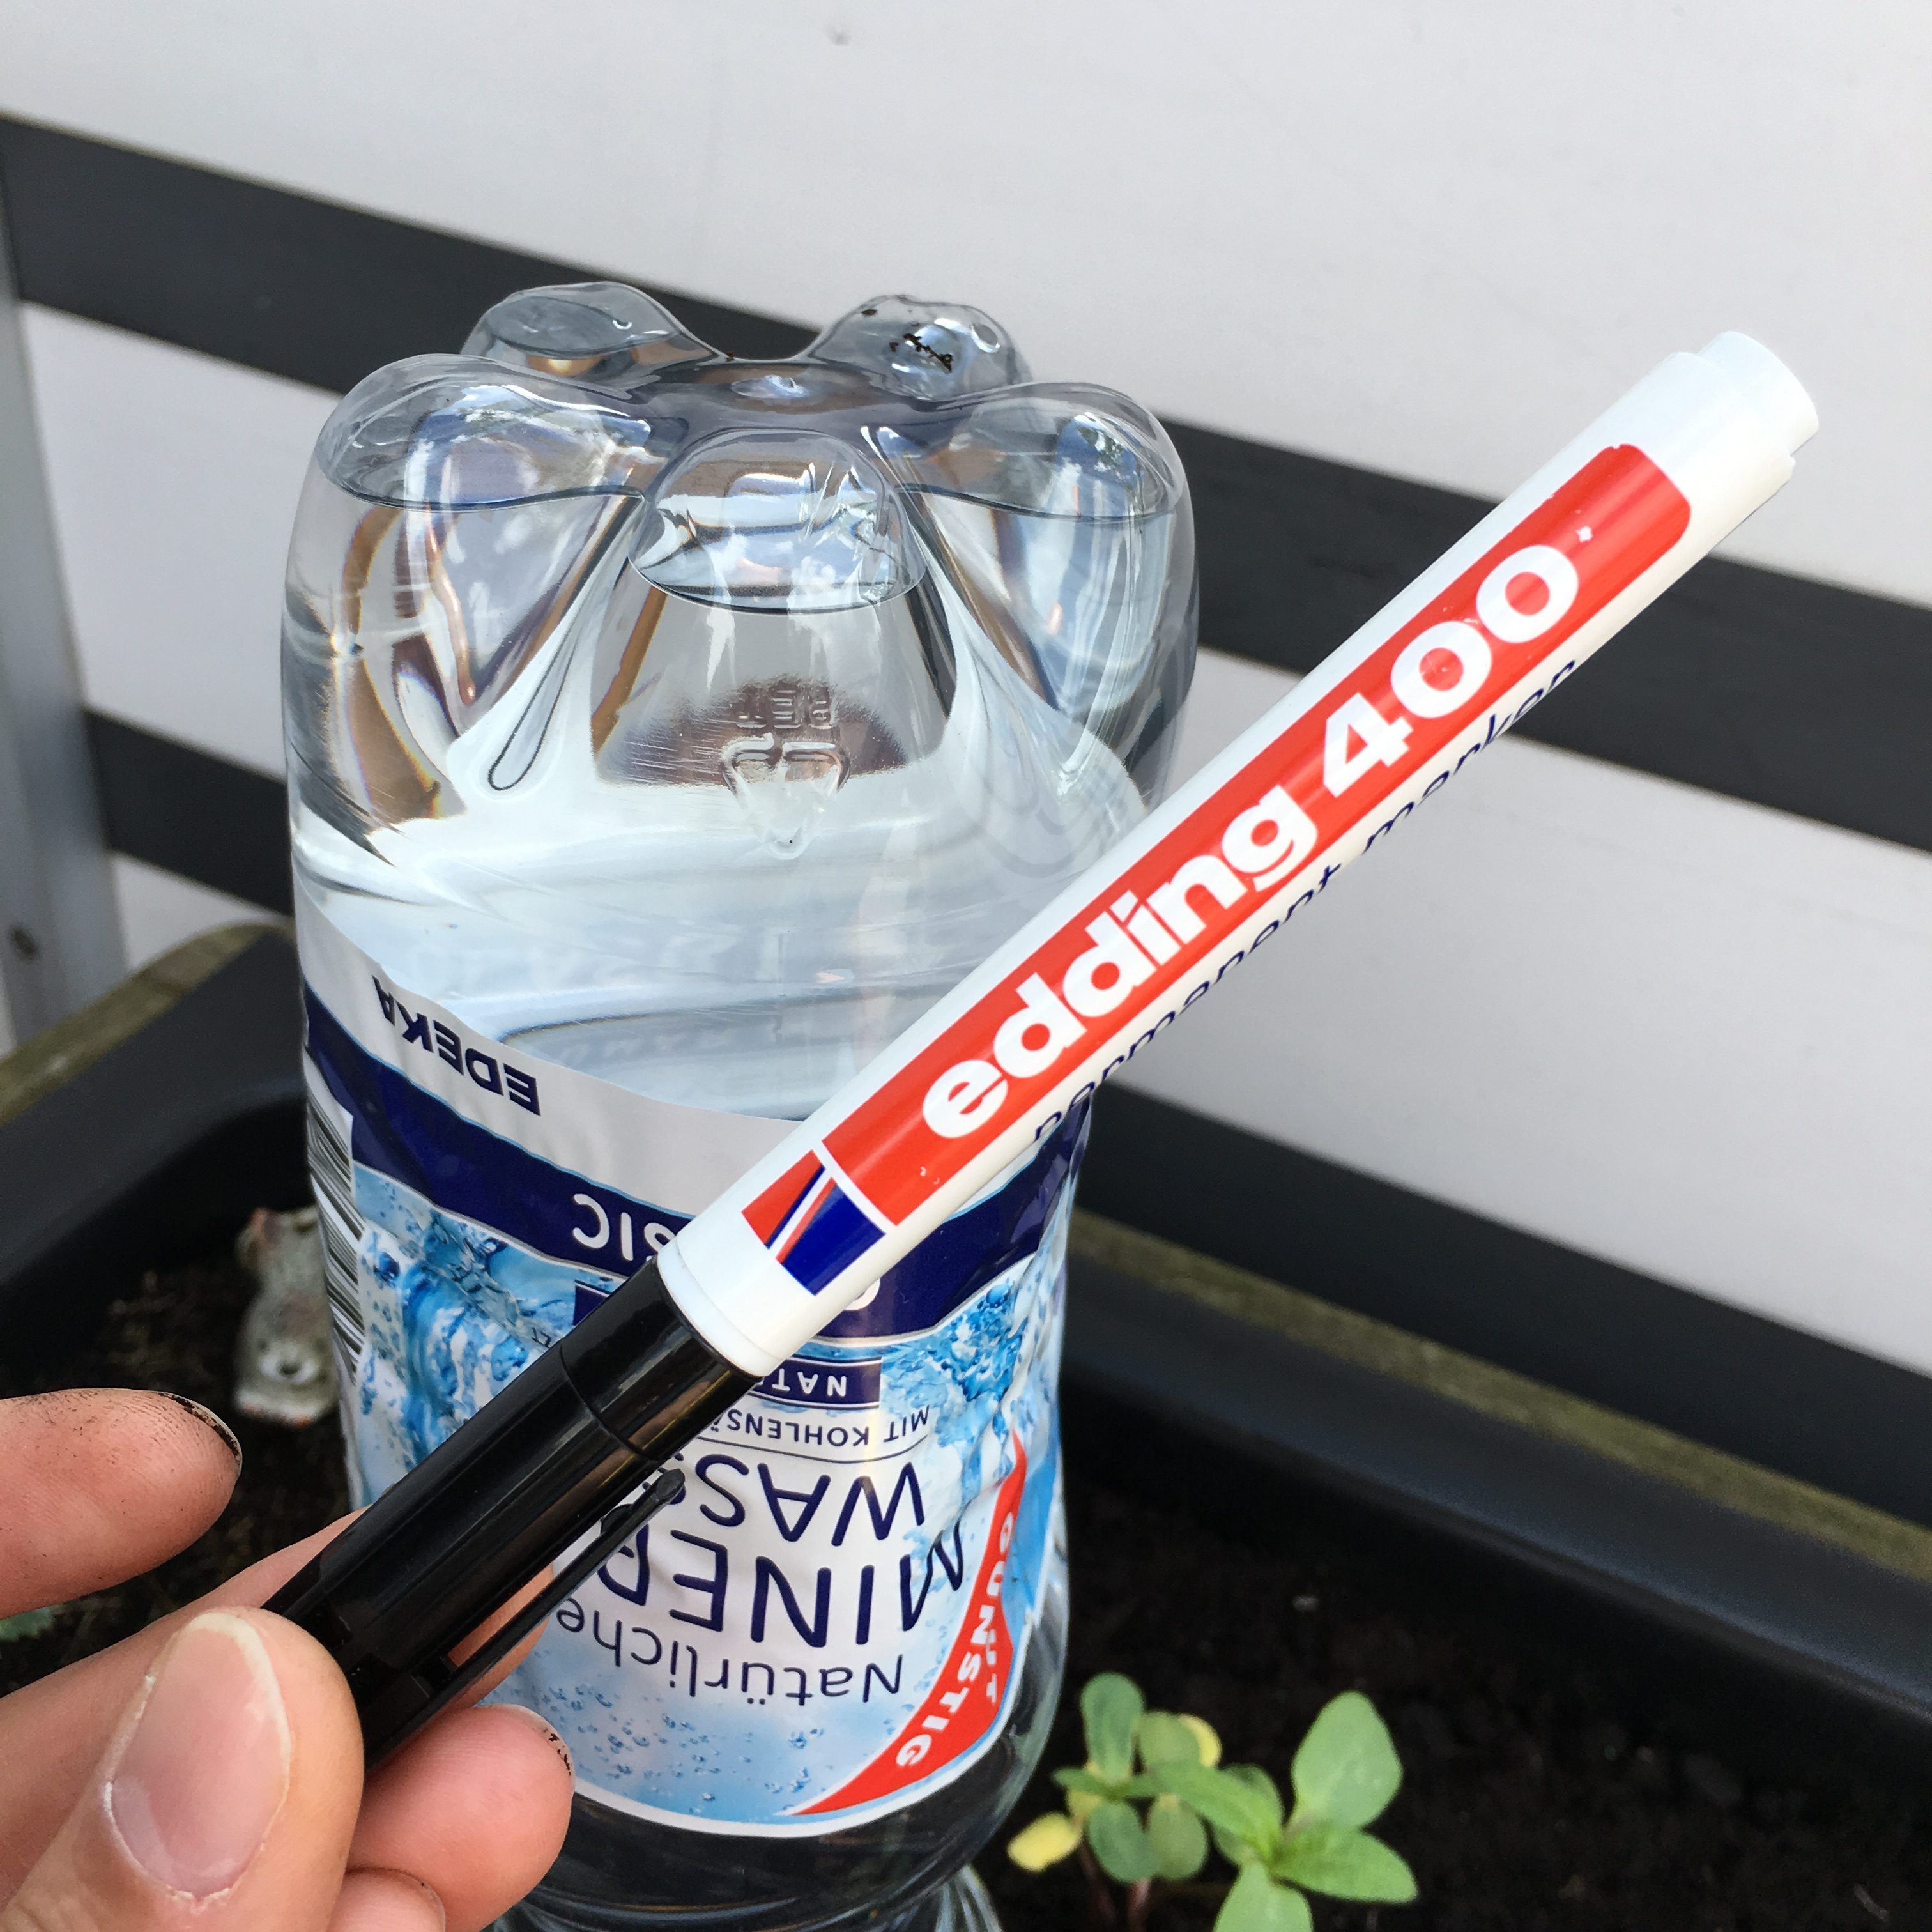
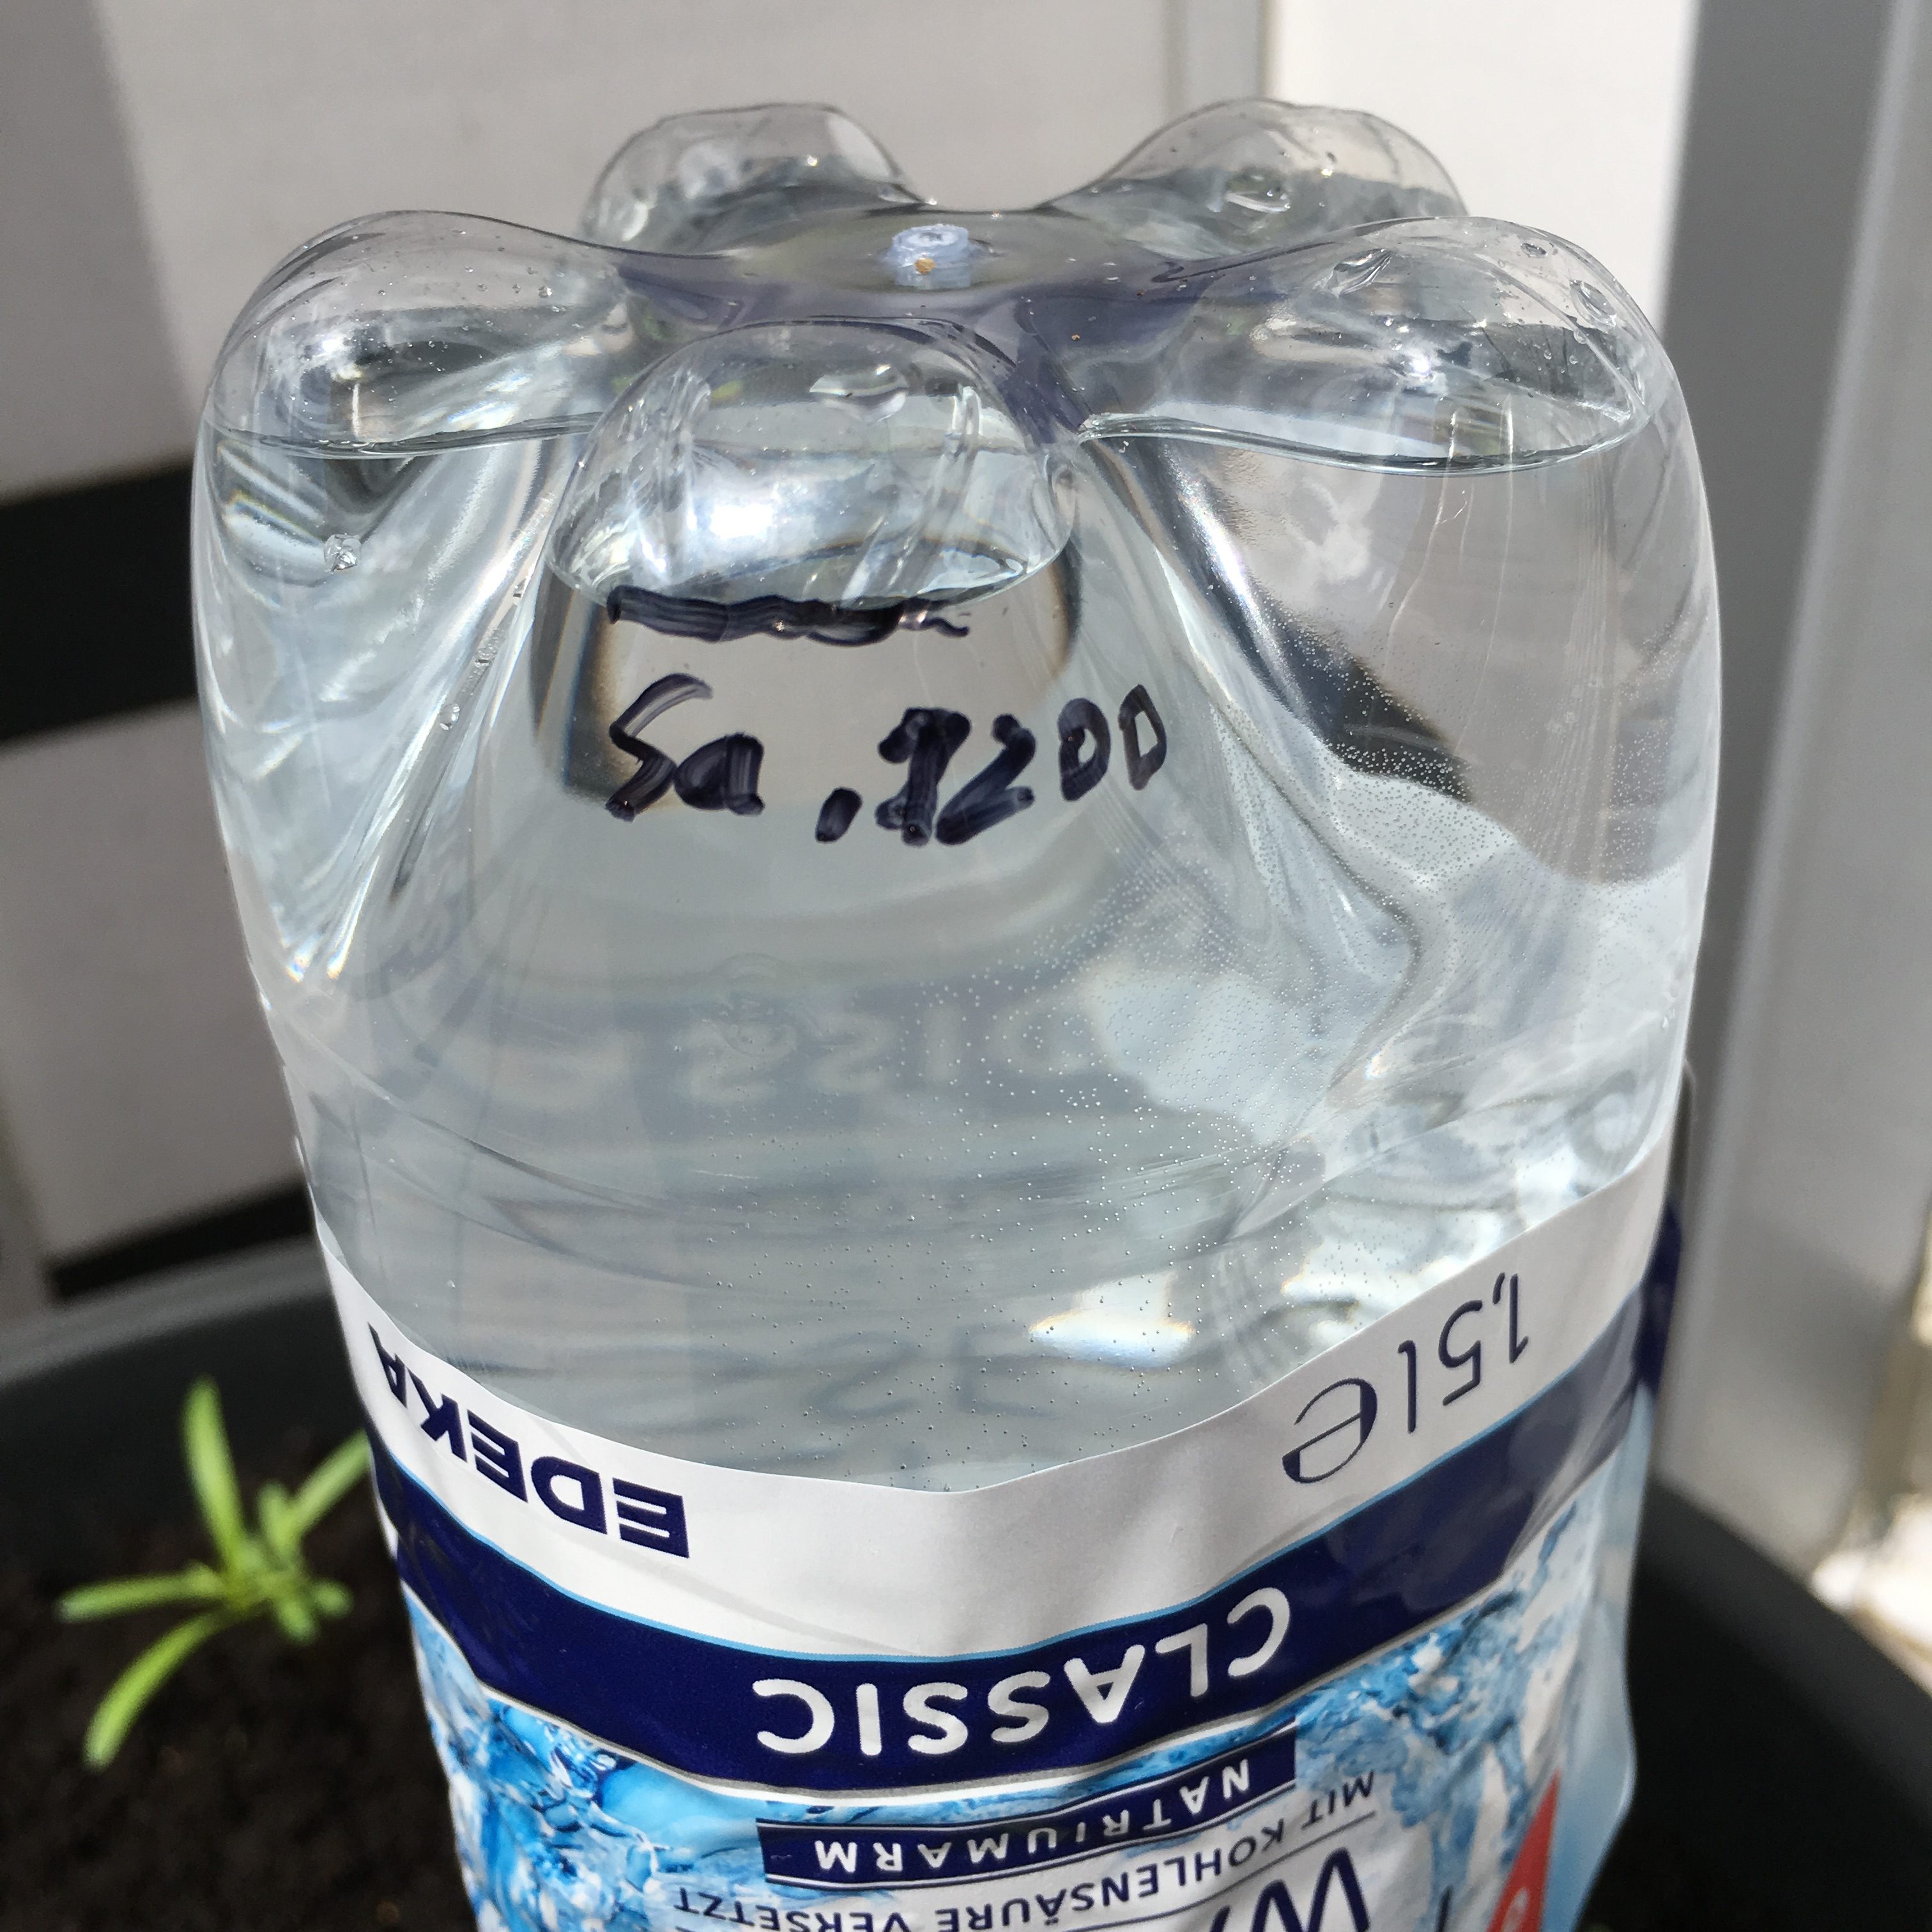
The white connector can be easily removed without a lot of force. Hint: Mark the upper side with a permanent marker to know which way is UP when you later on reconnect it.

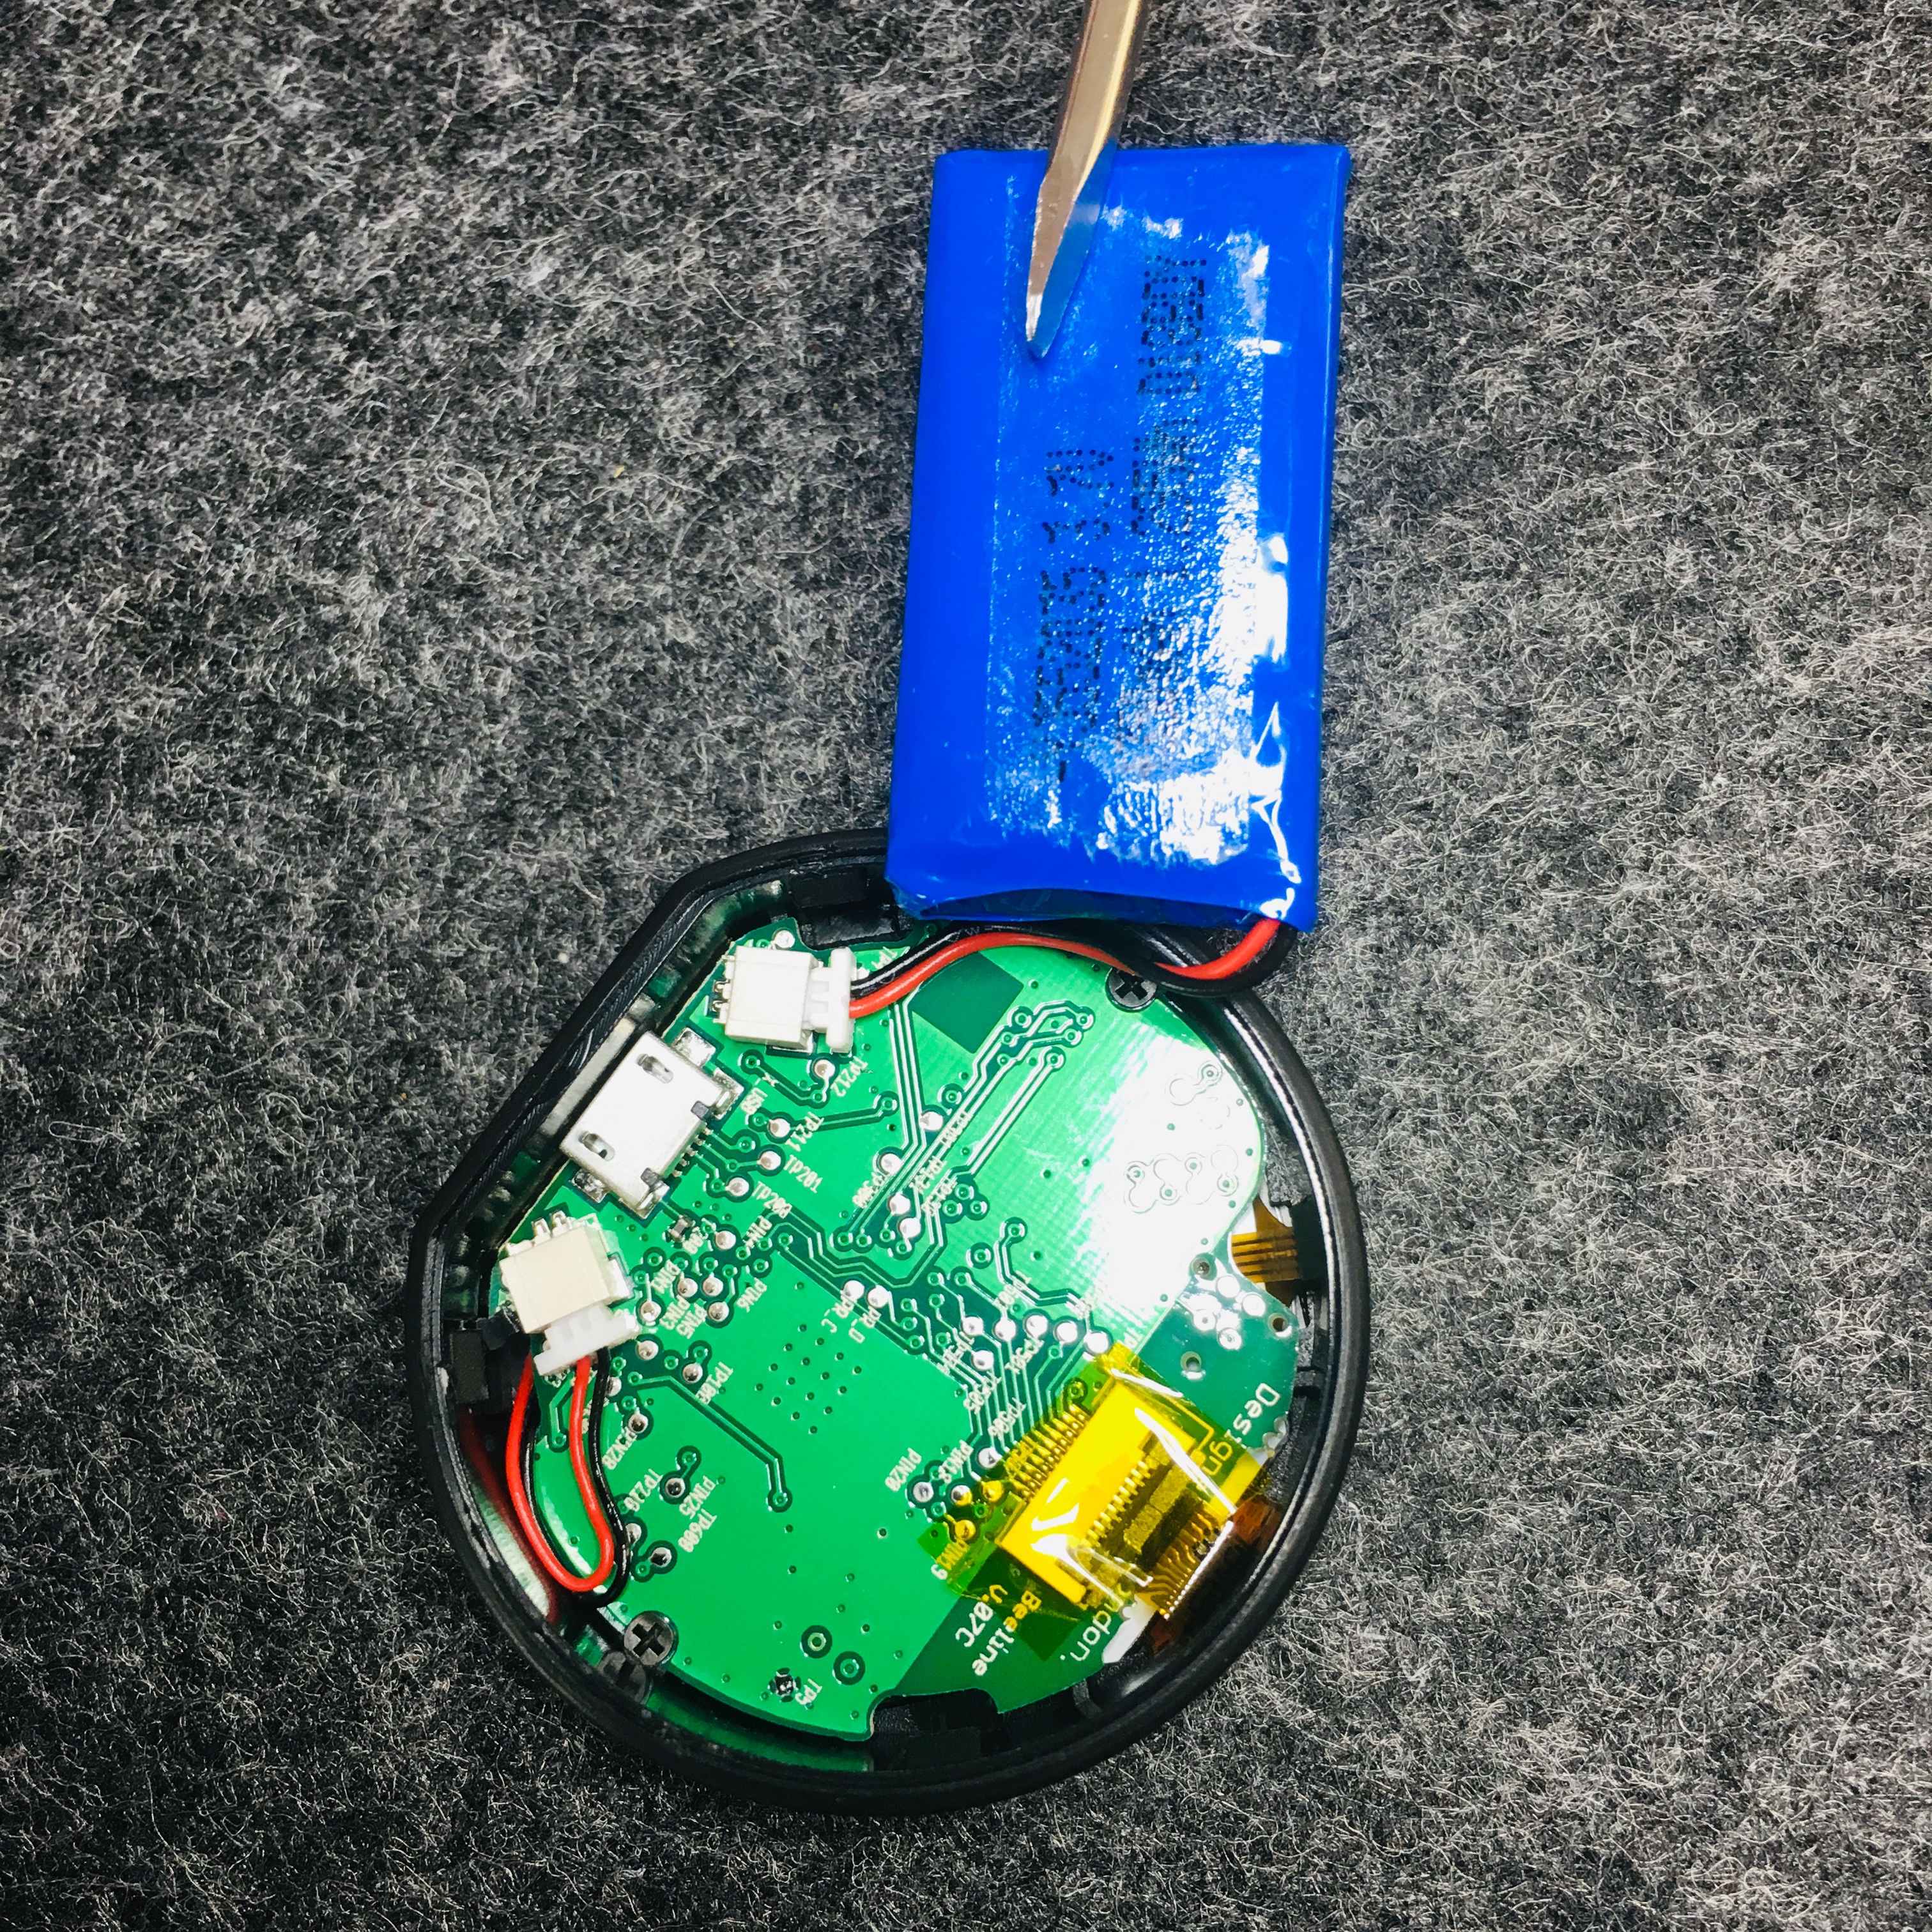
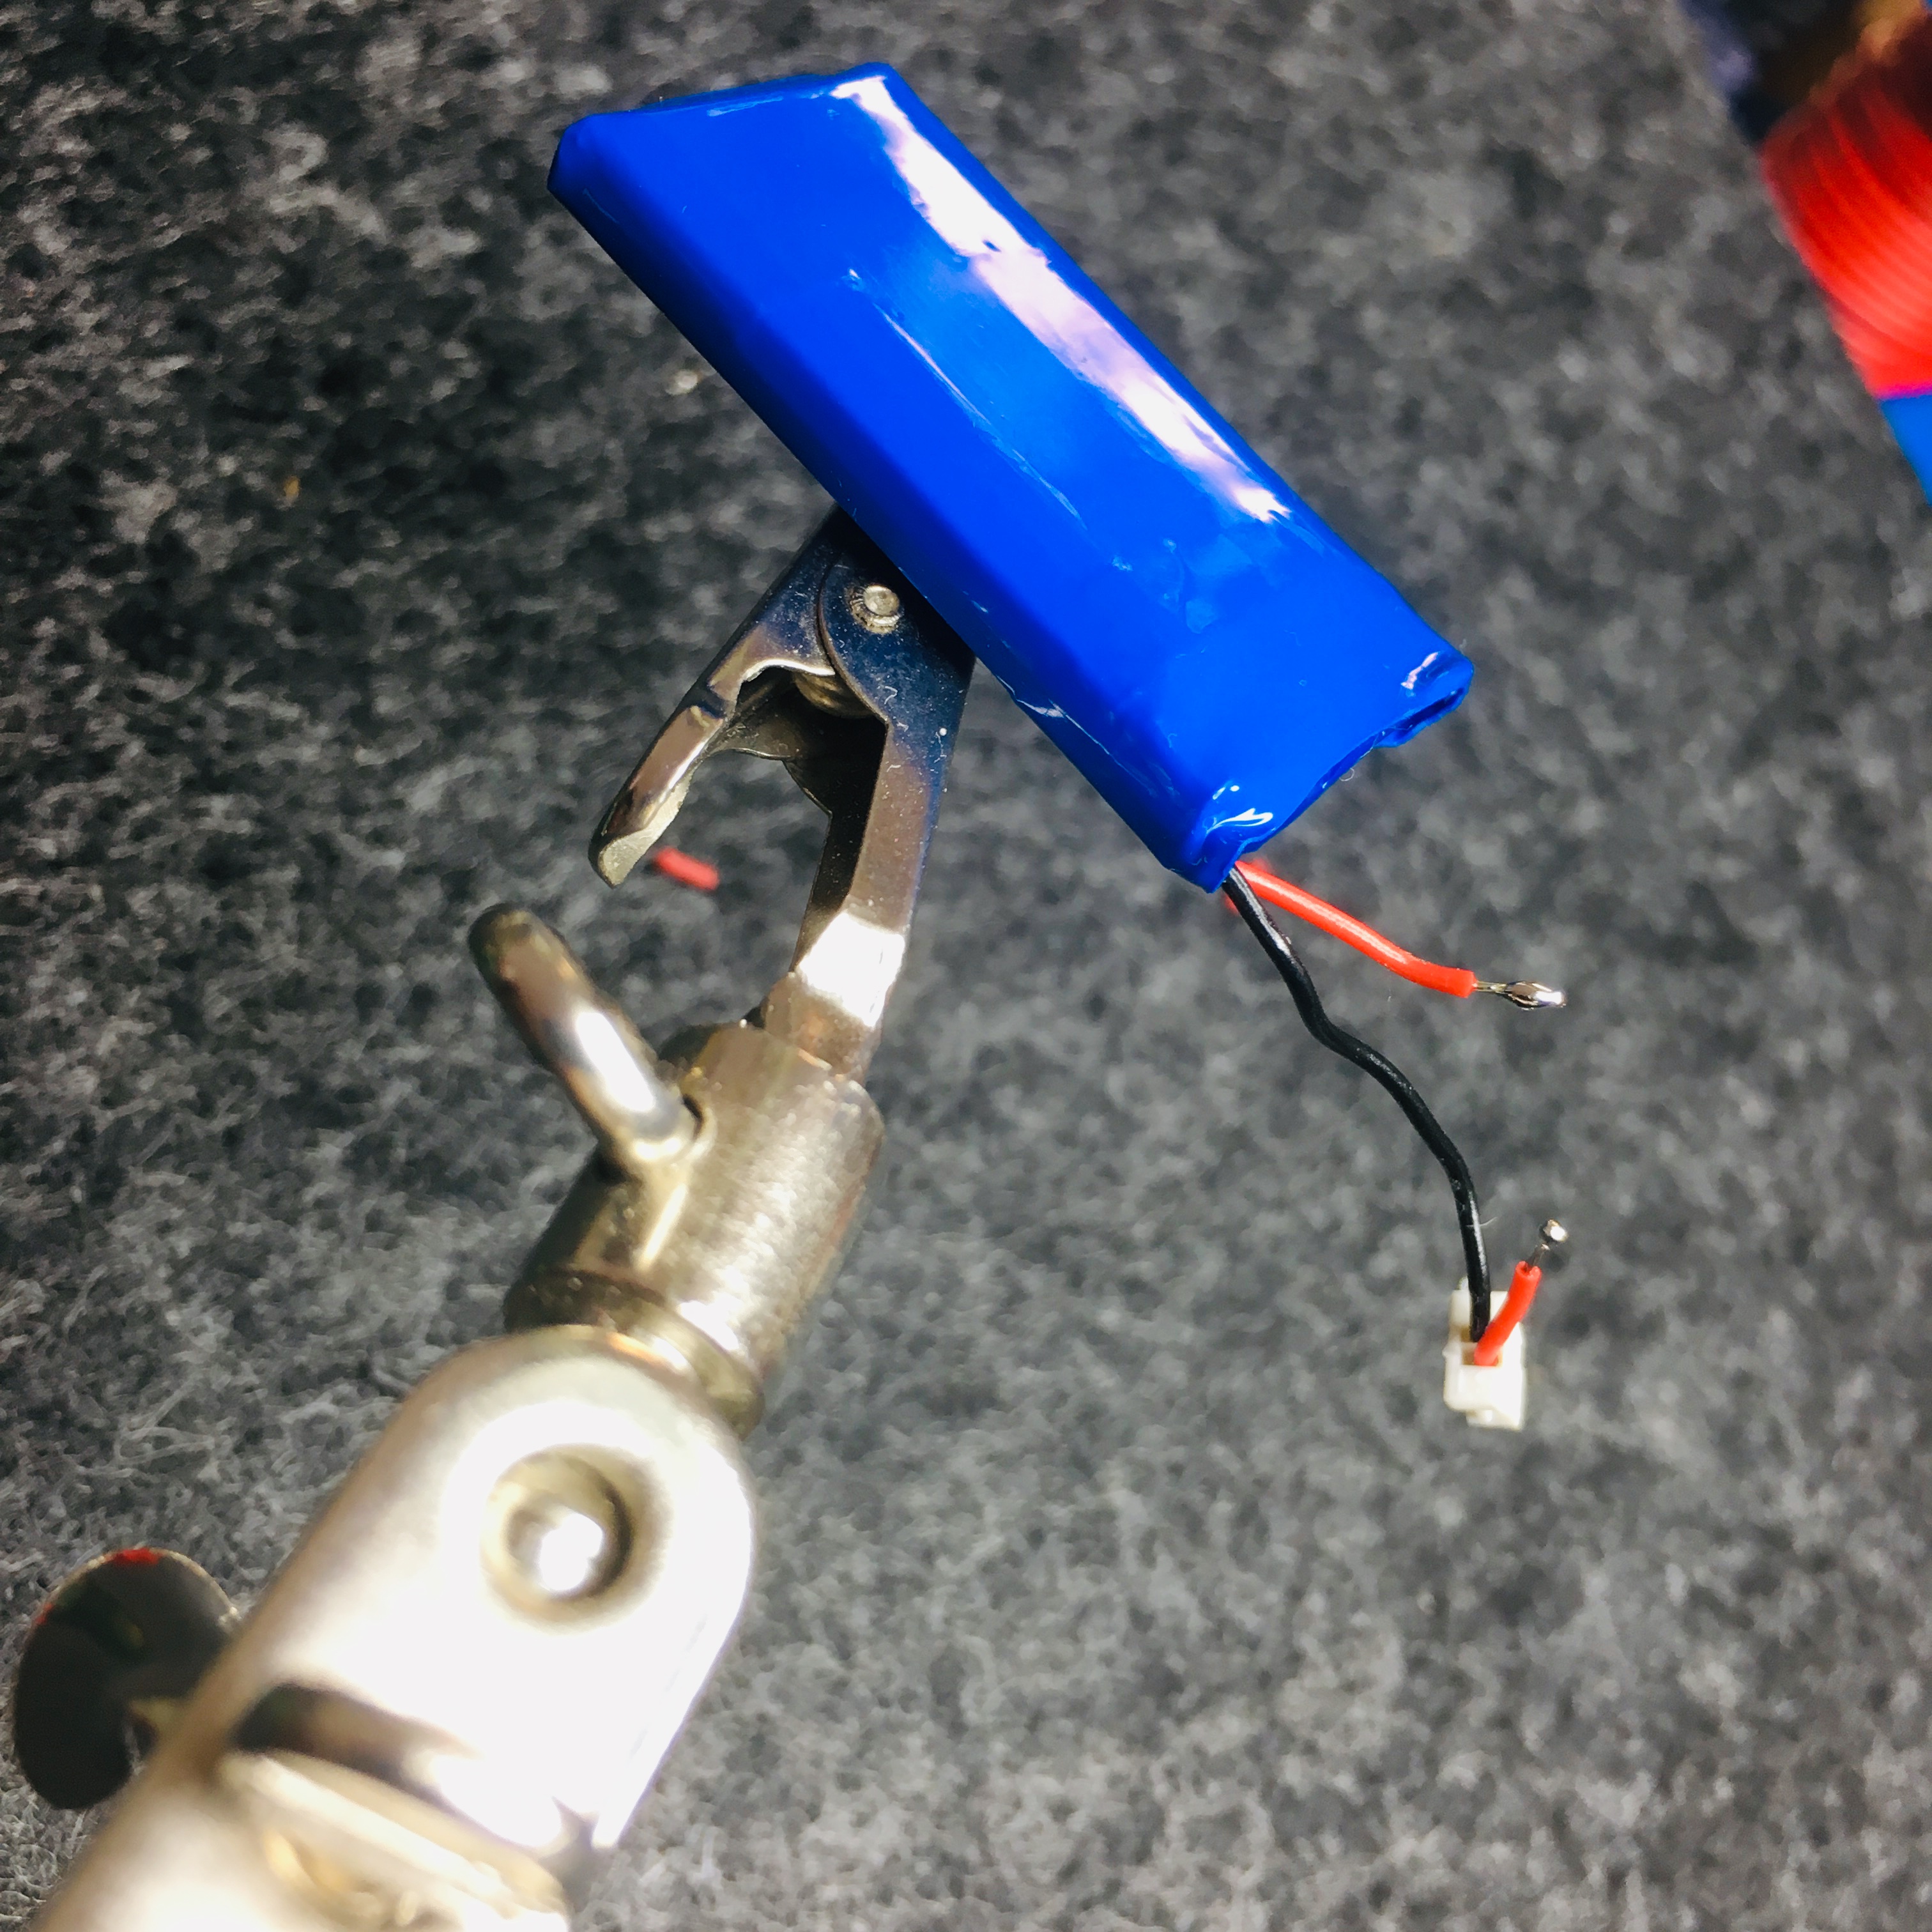
3. Cut the red cable on the battery in the middle

Since the cables are very short, be extra careful to cut in the middle. This leaves minimum reserves if for some reason your soldering the cables needs another try after screwing the cable on one side. Be extra careful with removing the isolation from the cable ends.

4. Drill a small hole next to the USB port hole

I used a tiny electric drill machine for this and needed to enlarge the hole after the first hole was too tiny for the cables to go through. NOW: Pull the cables you wired to a switch through the hole to the inside of the device BEFORE trying to connect it to the battery again.

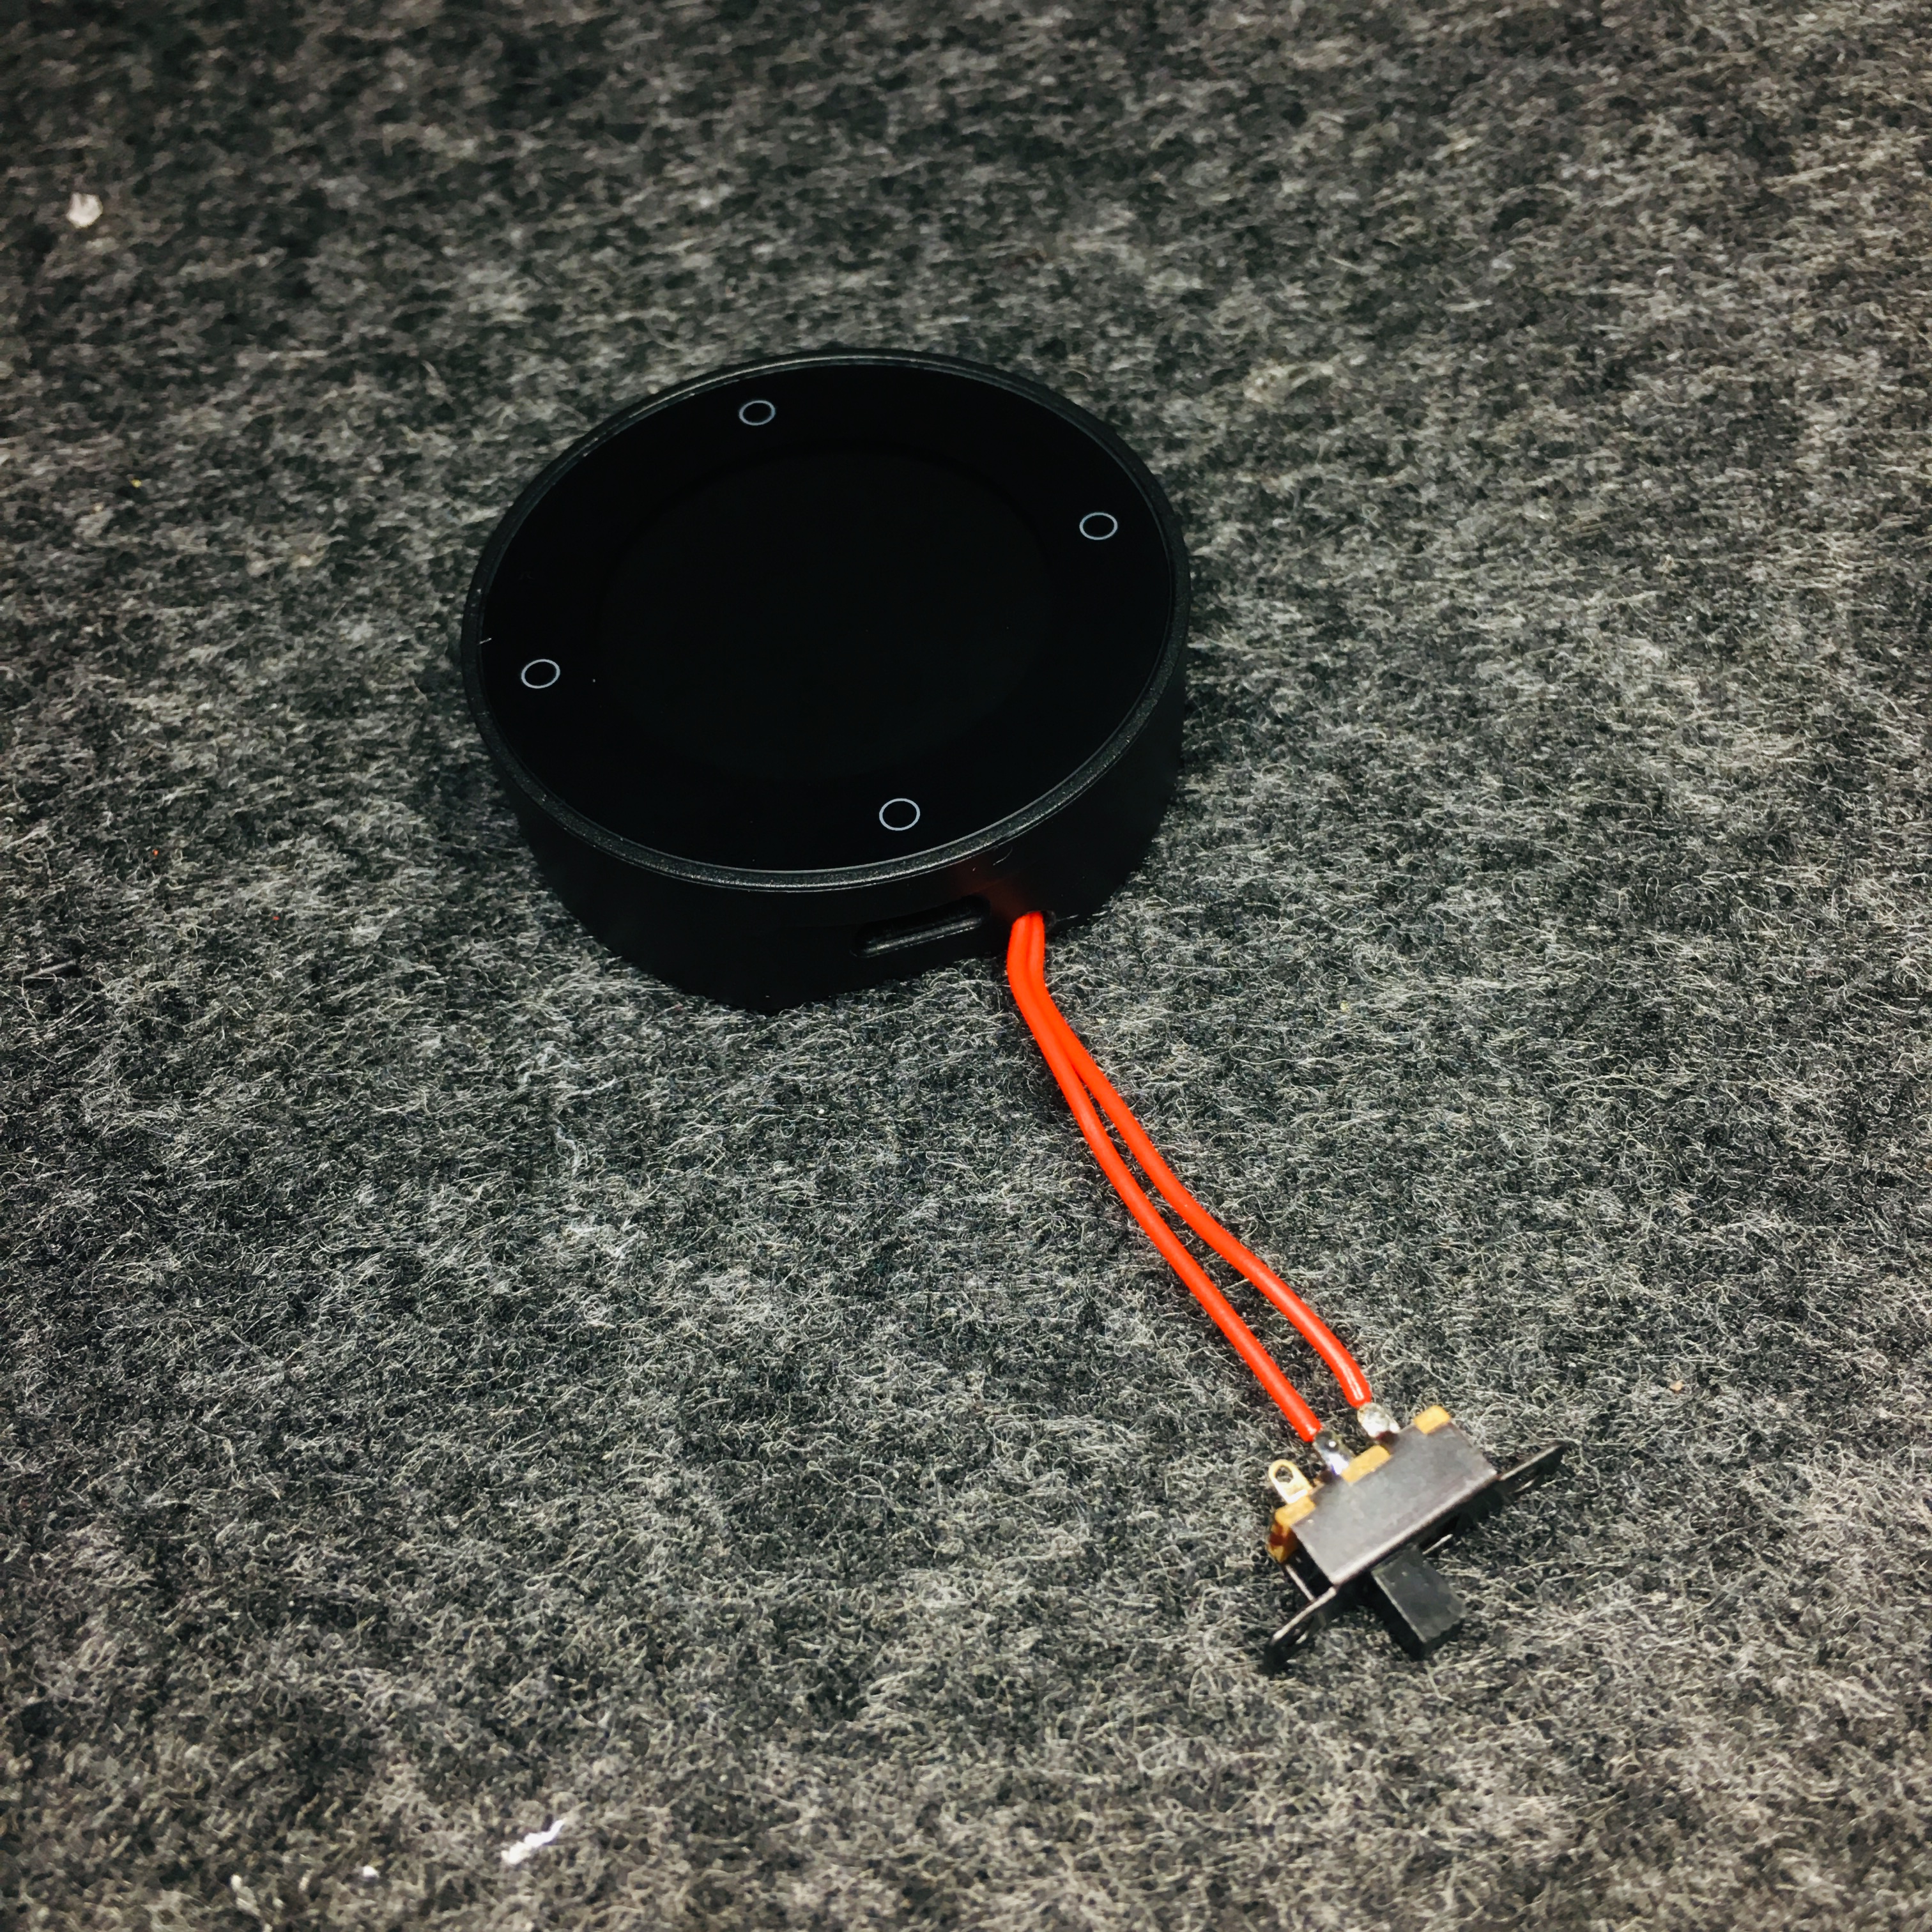
5. Take a common switch and wire it up between the red cable ends

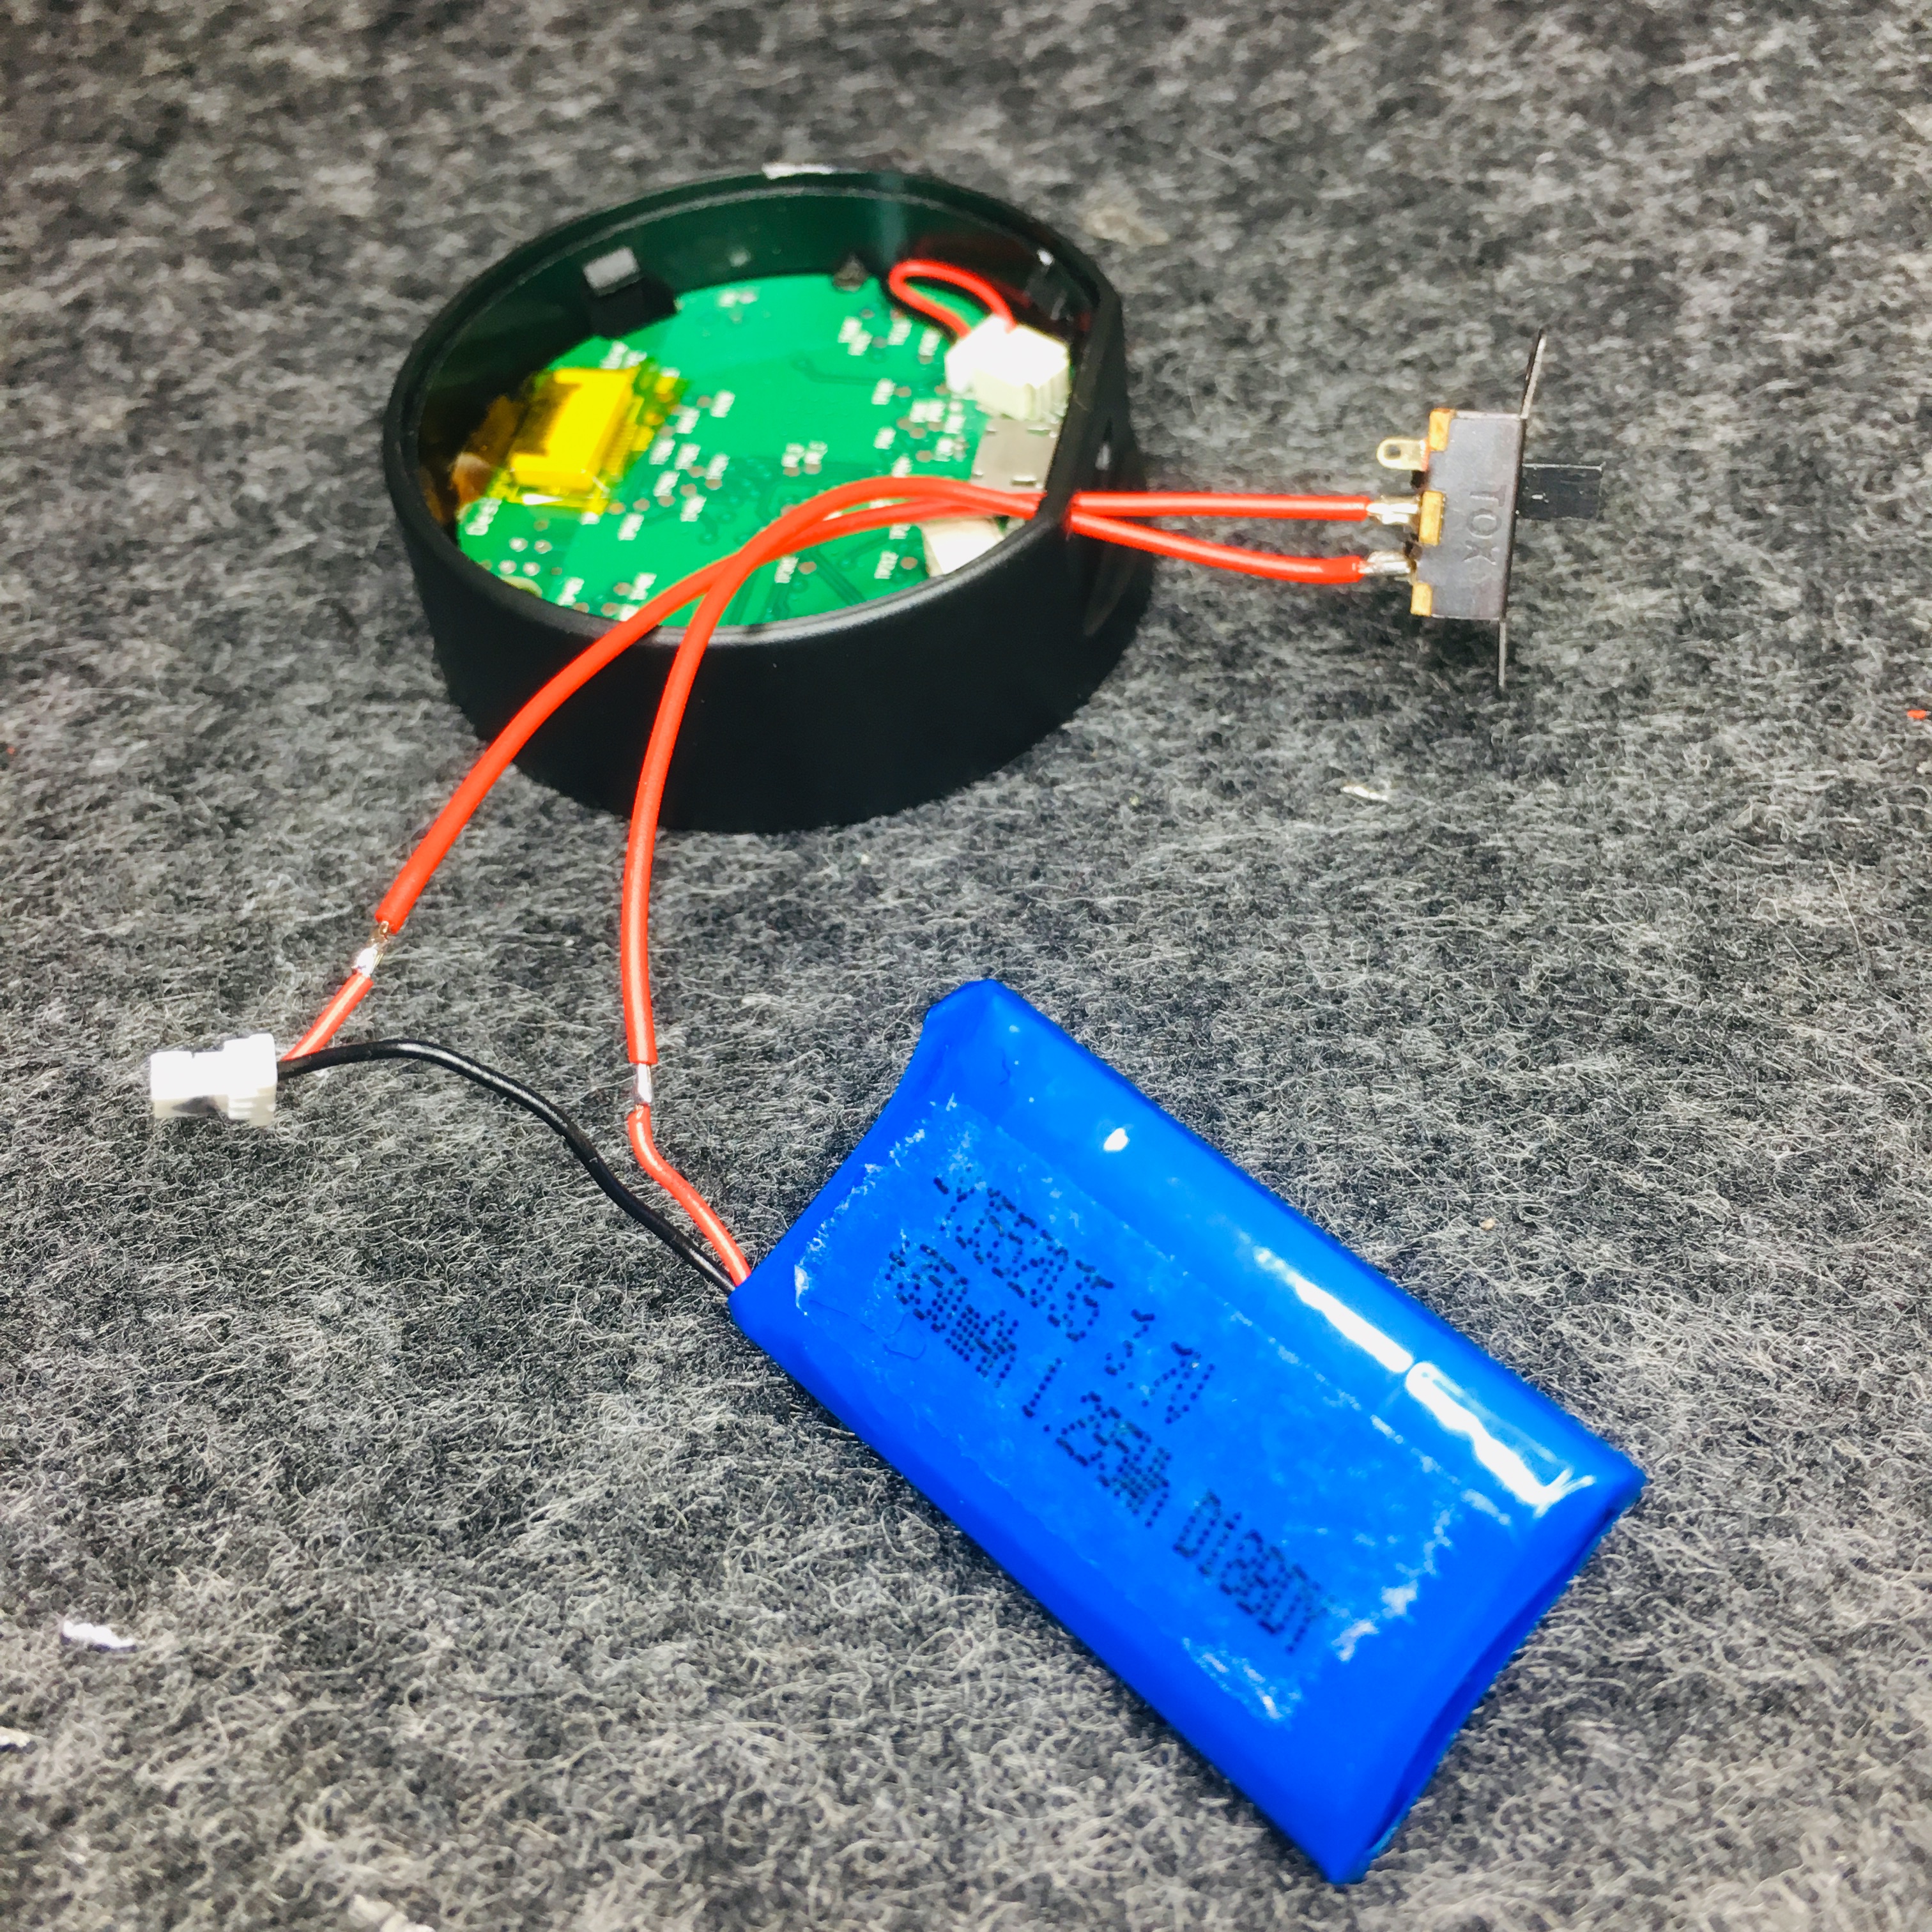
6. Put the cables and the battery back into place

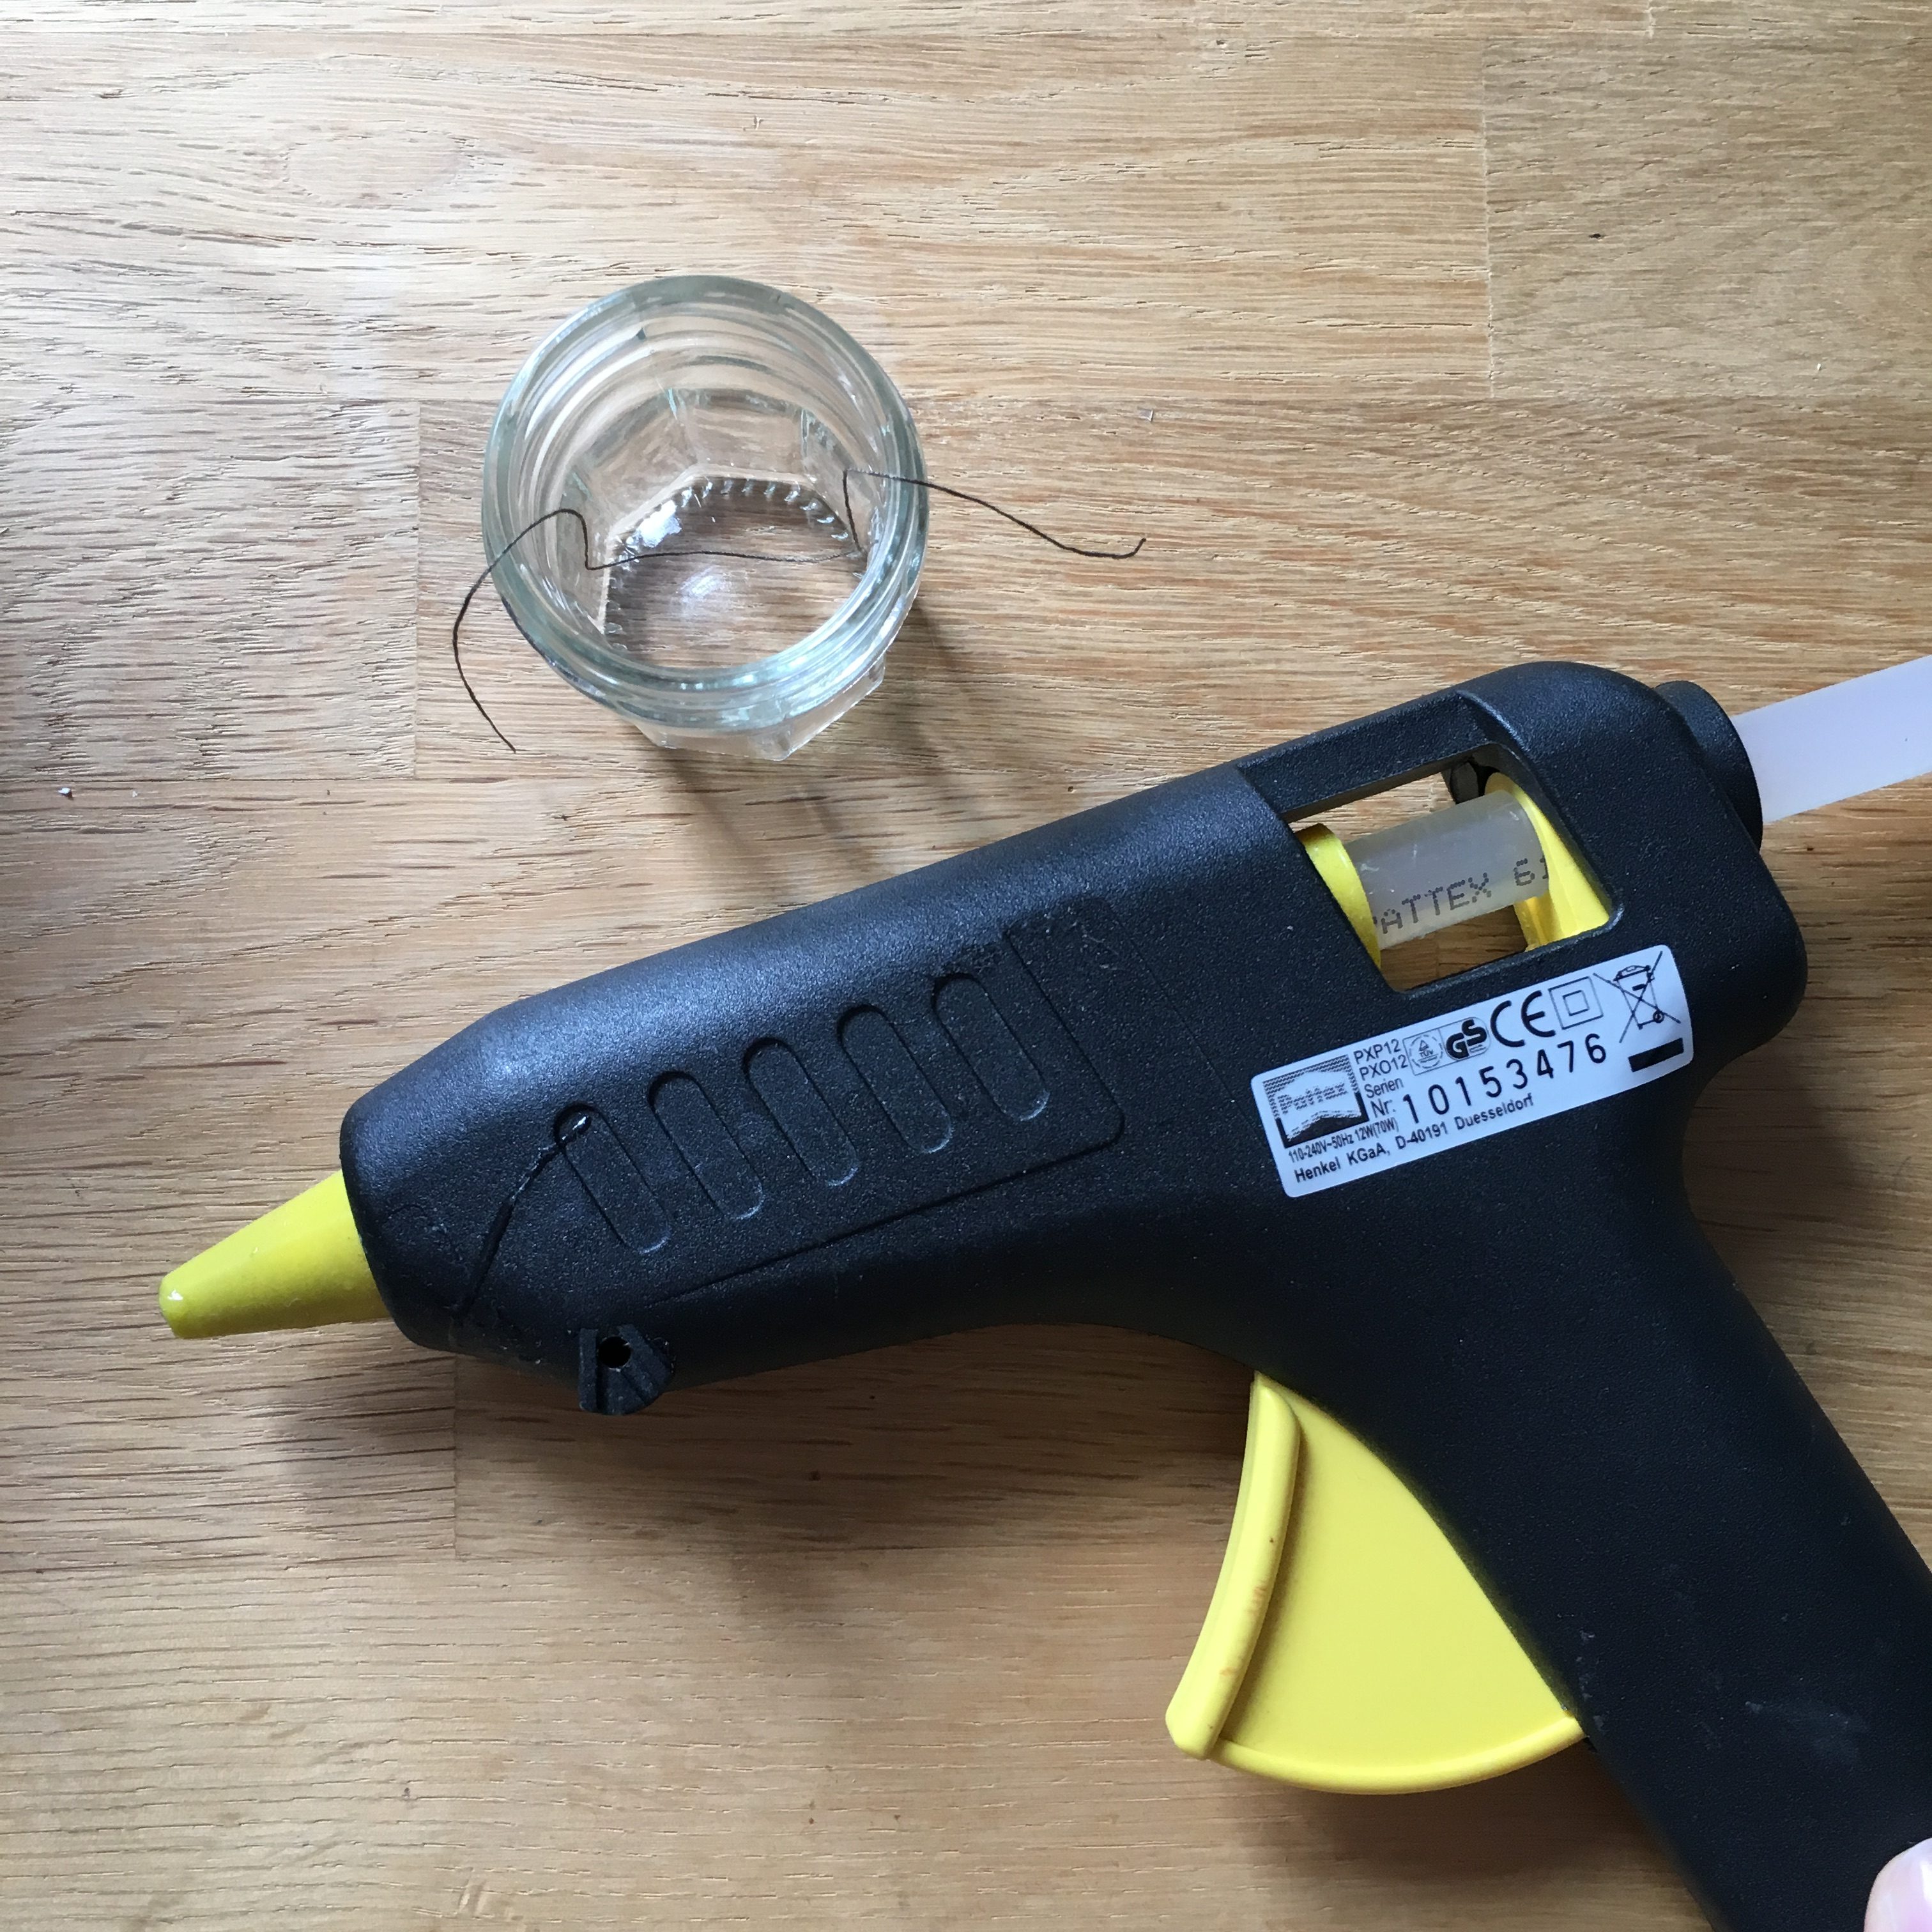
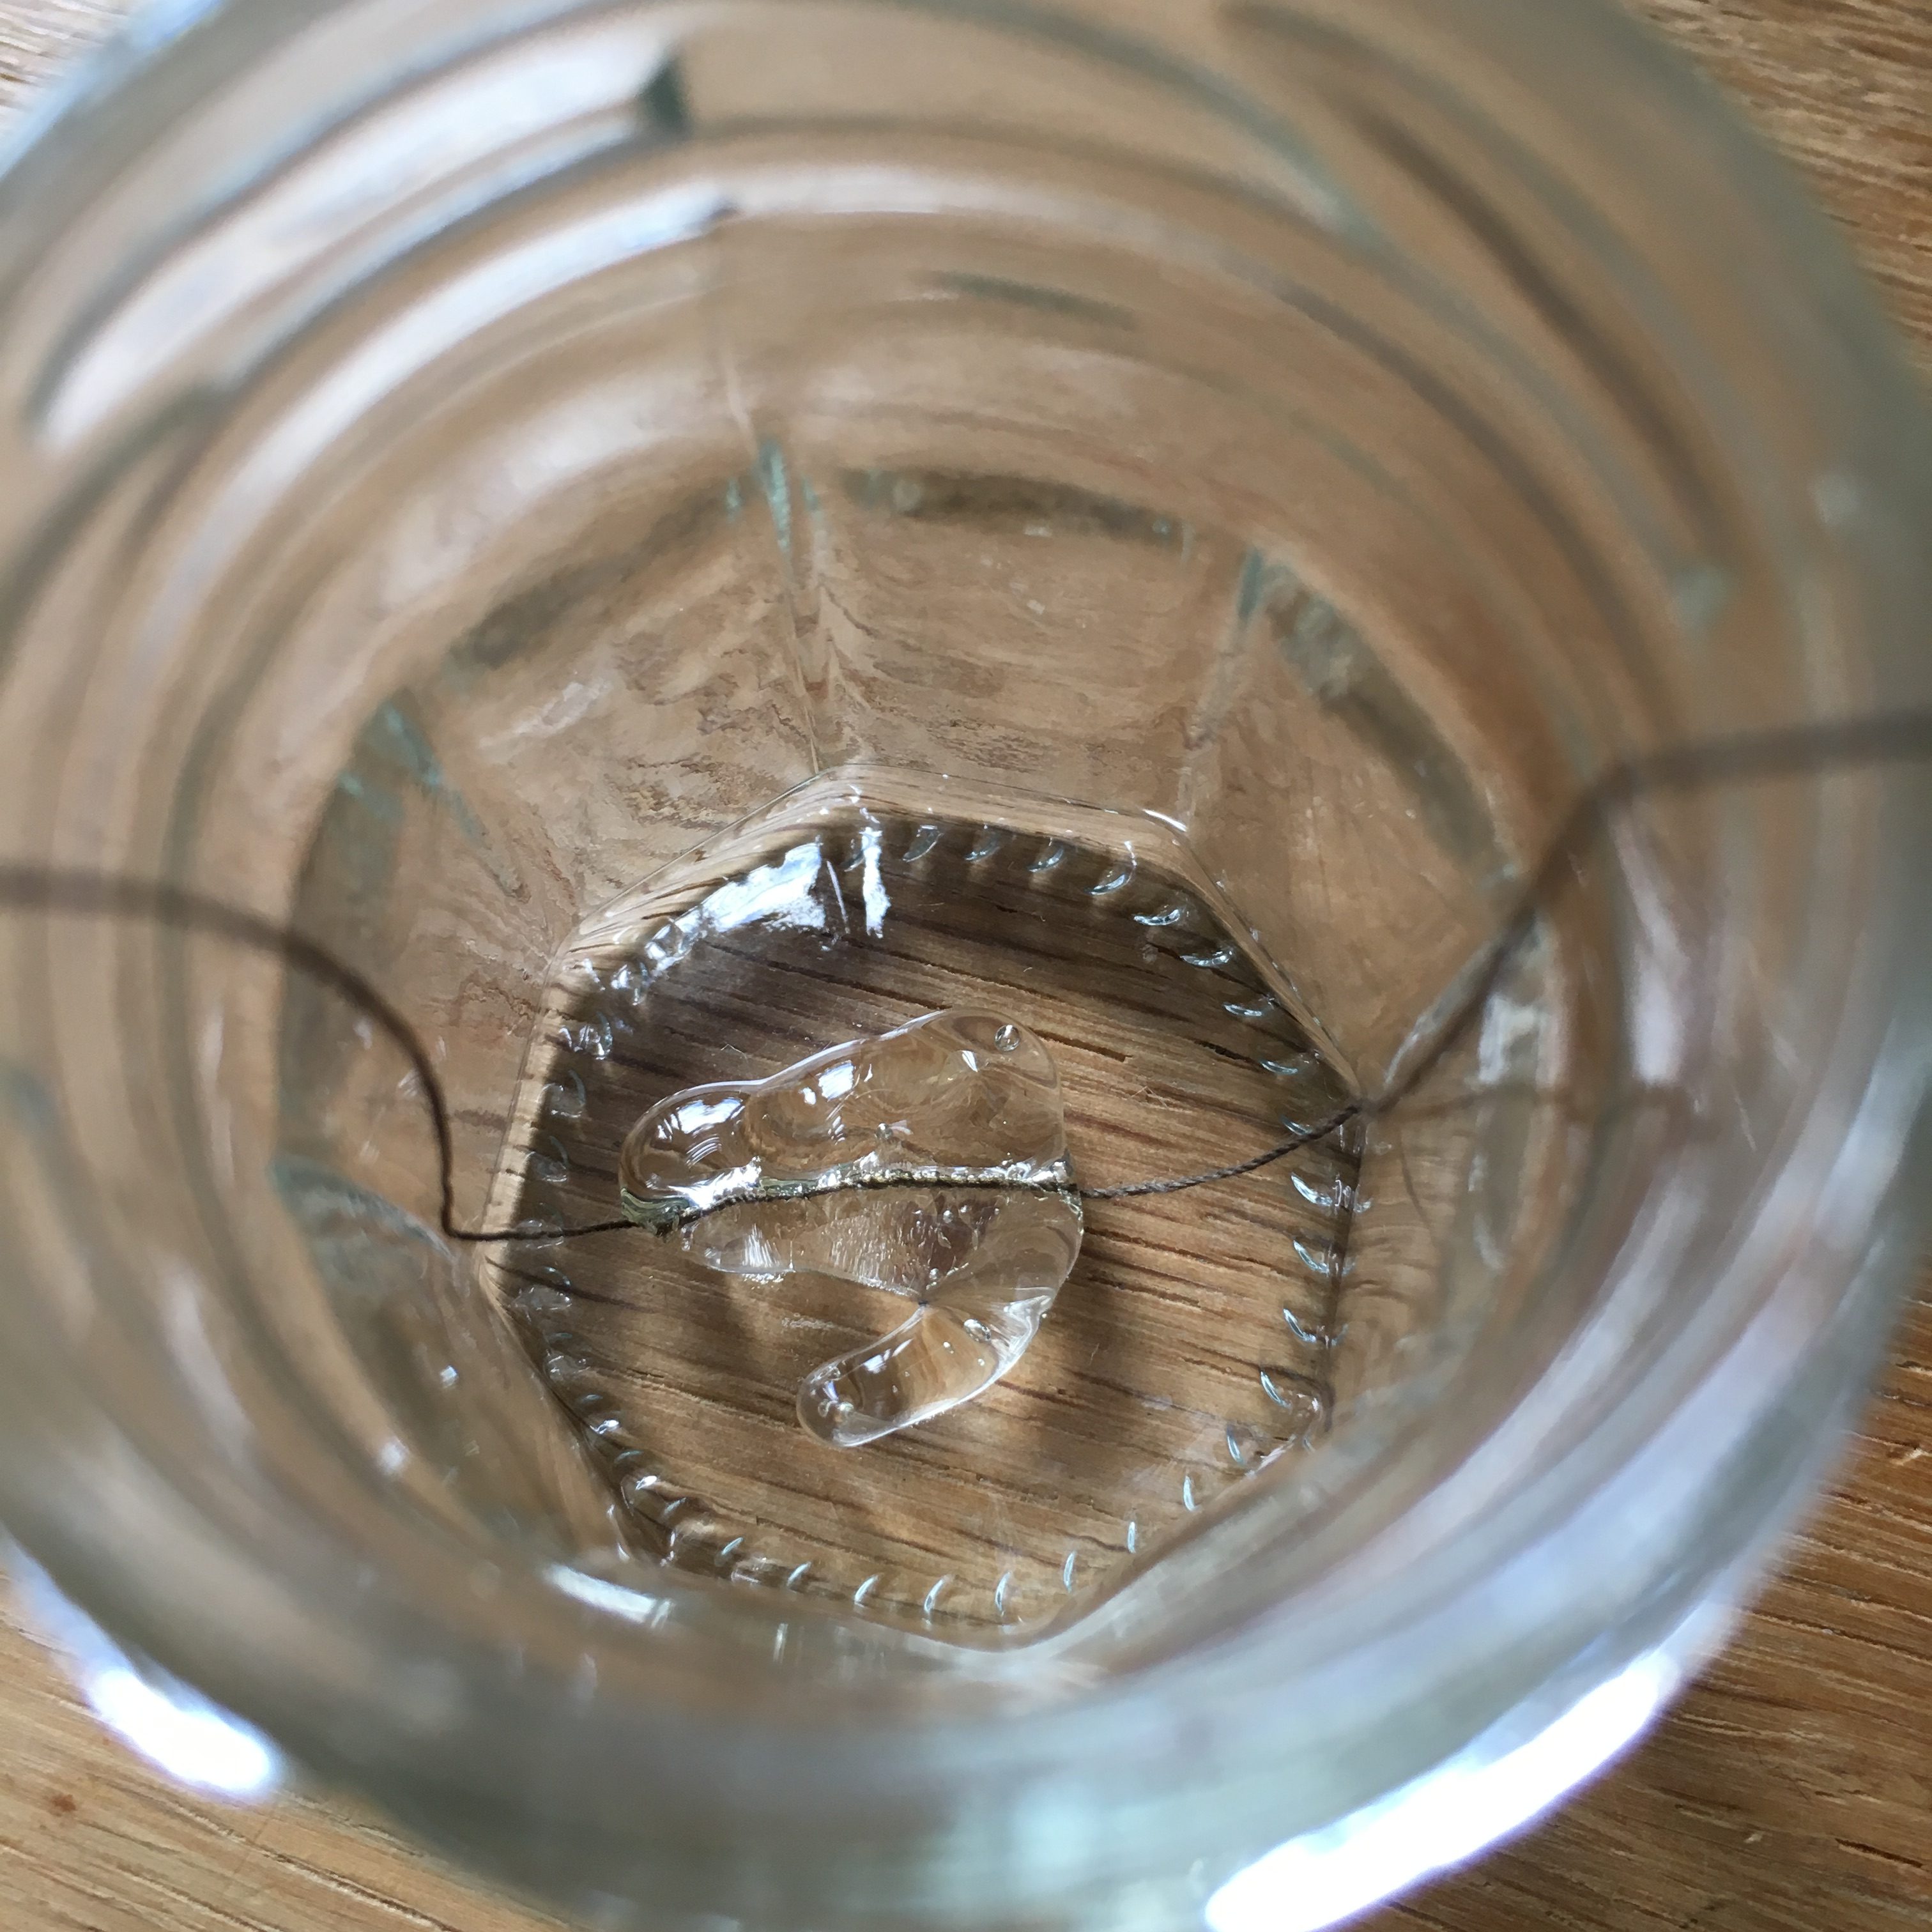
Please isolate the connections. I used hot glue to isolate the cables you may be more ambitious here.

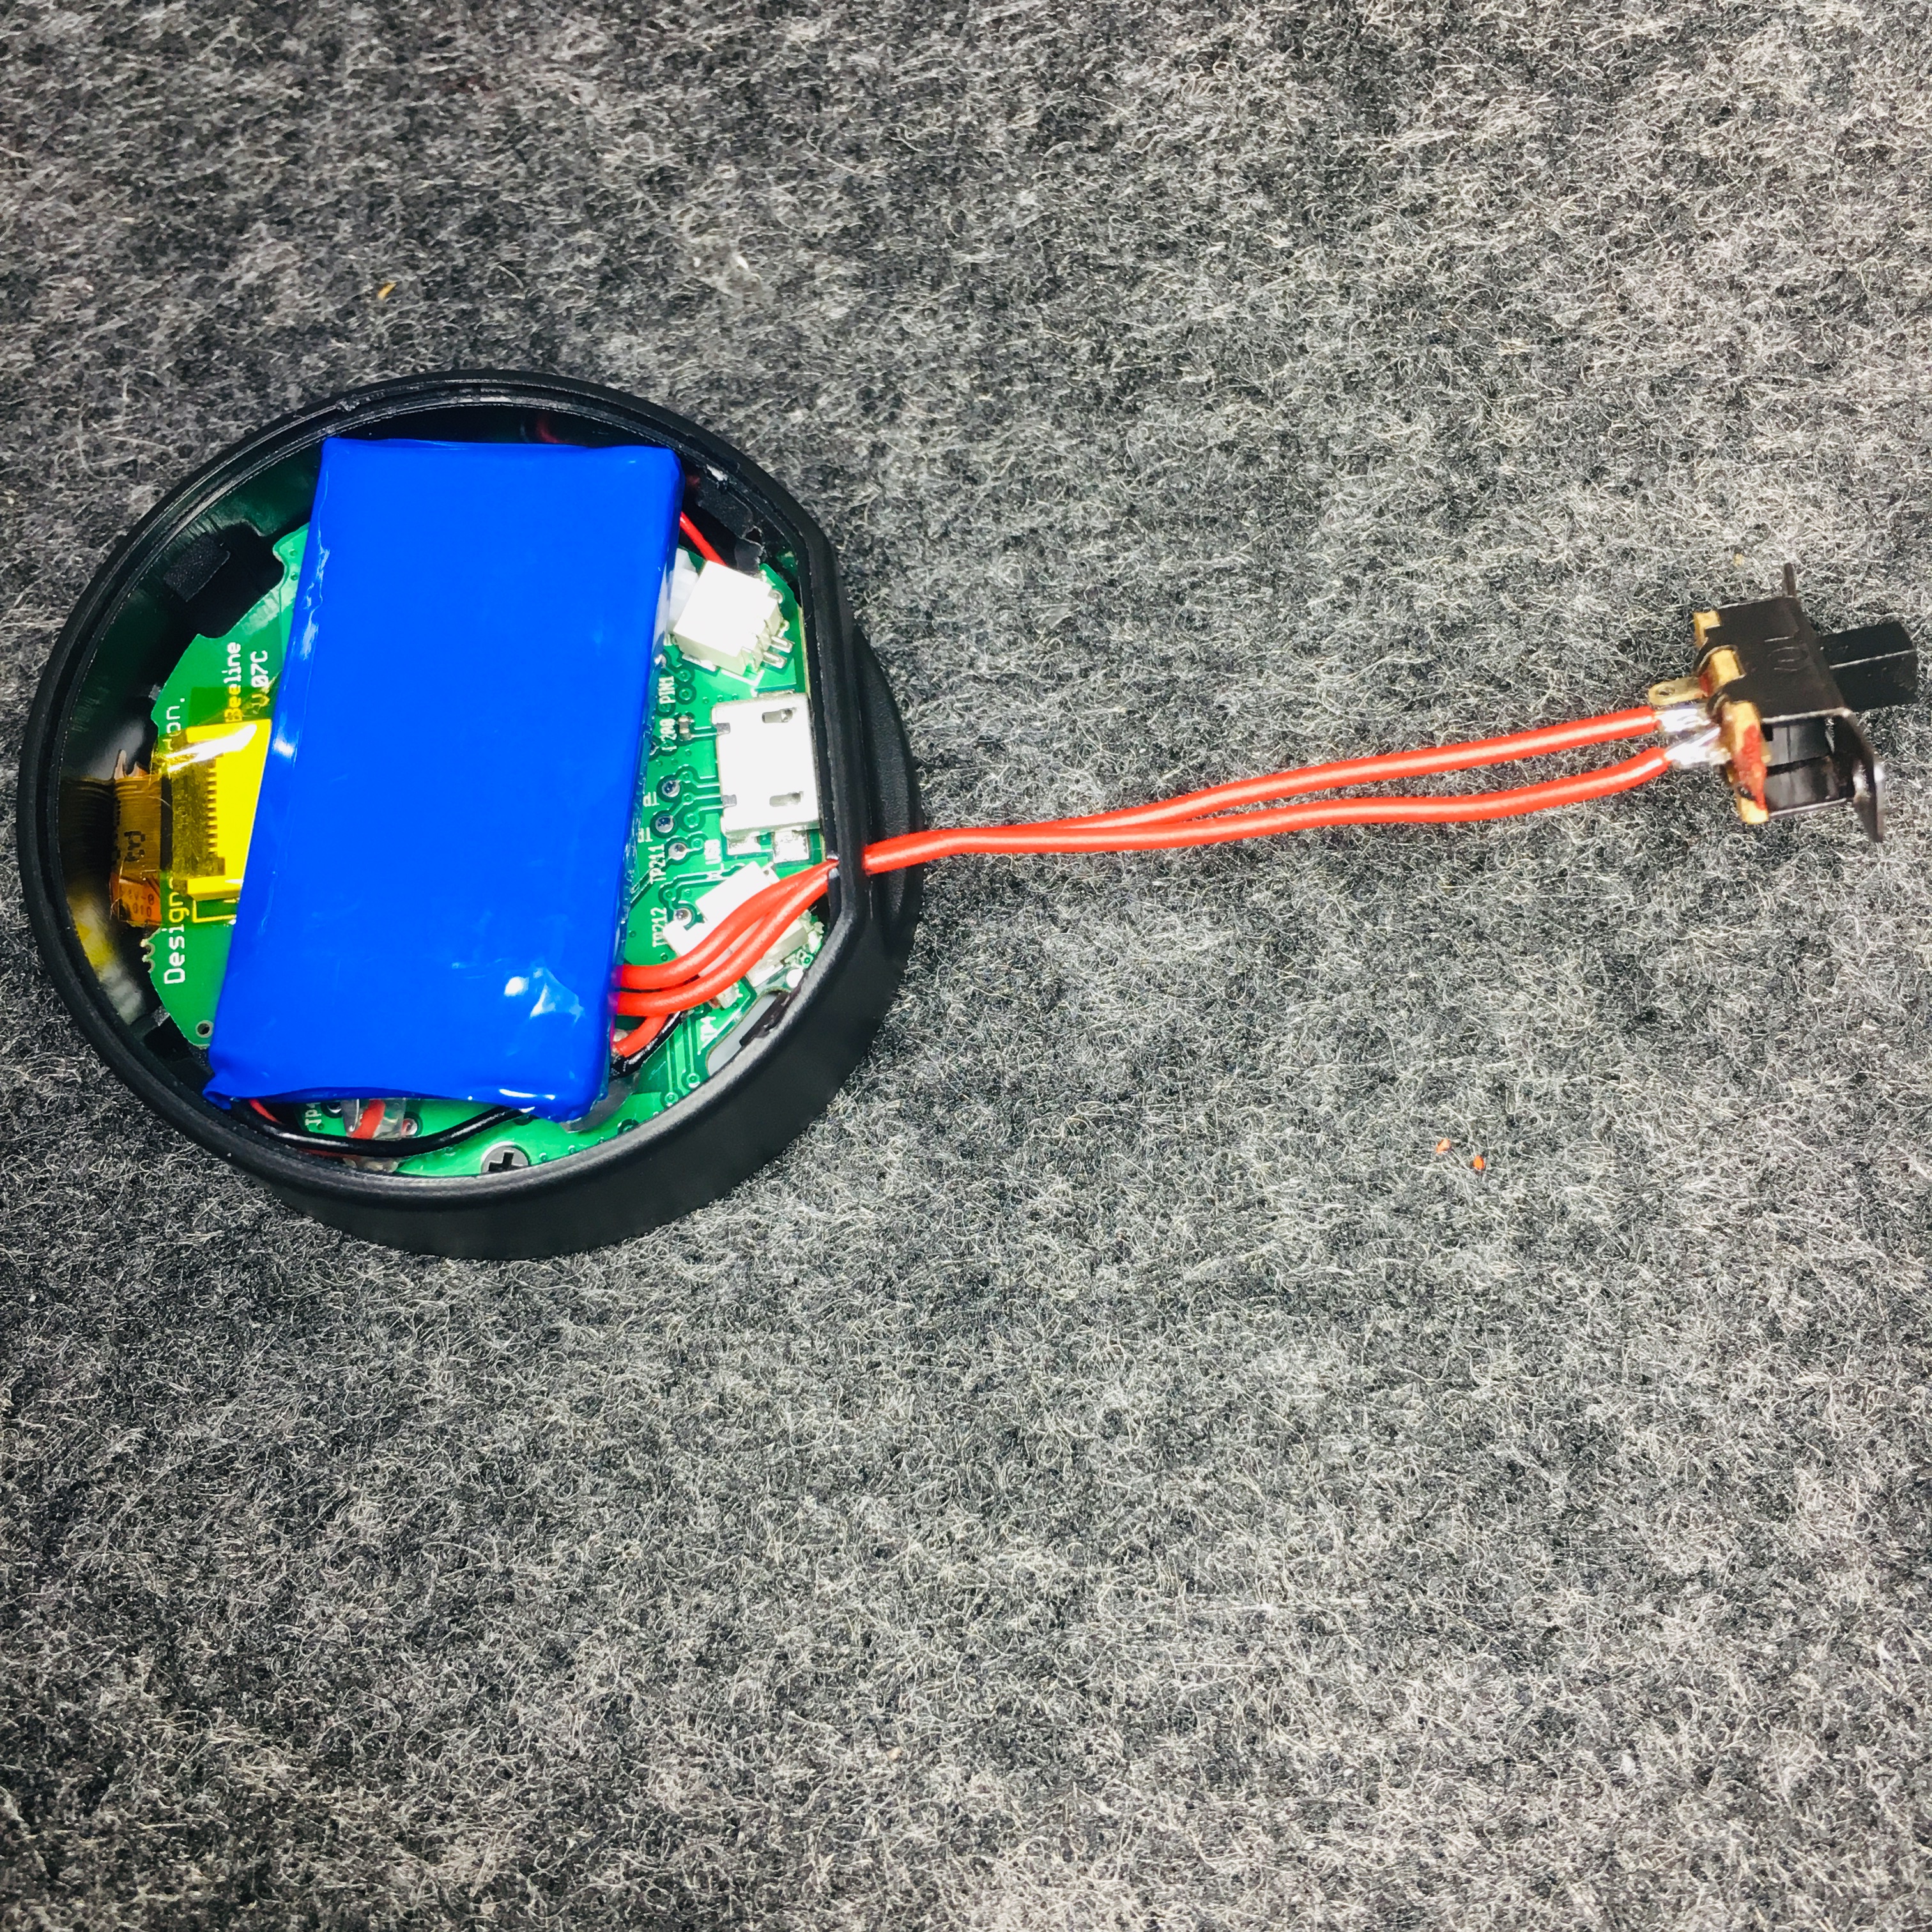
7. Be careful that everything fits well, do not use force/pressure

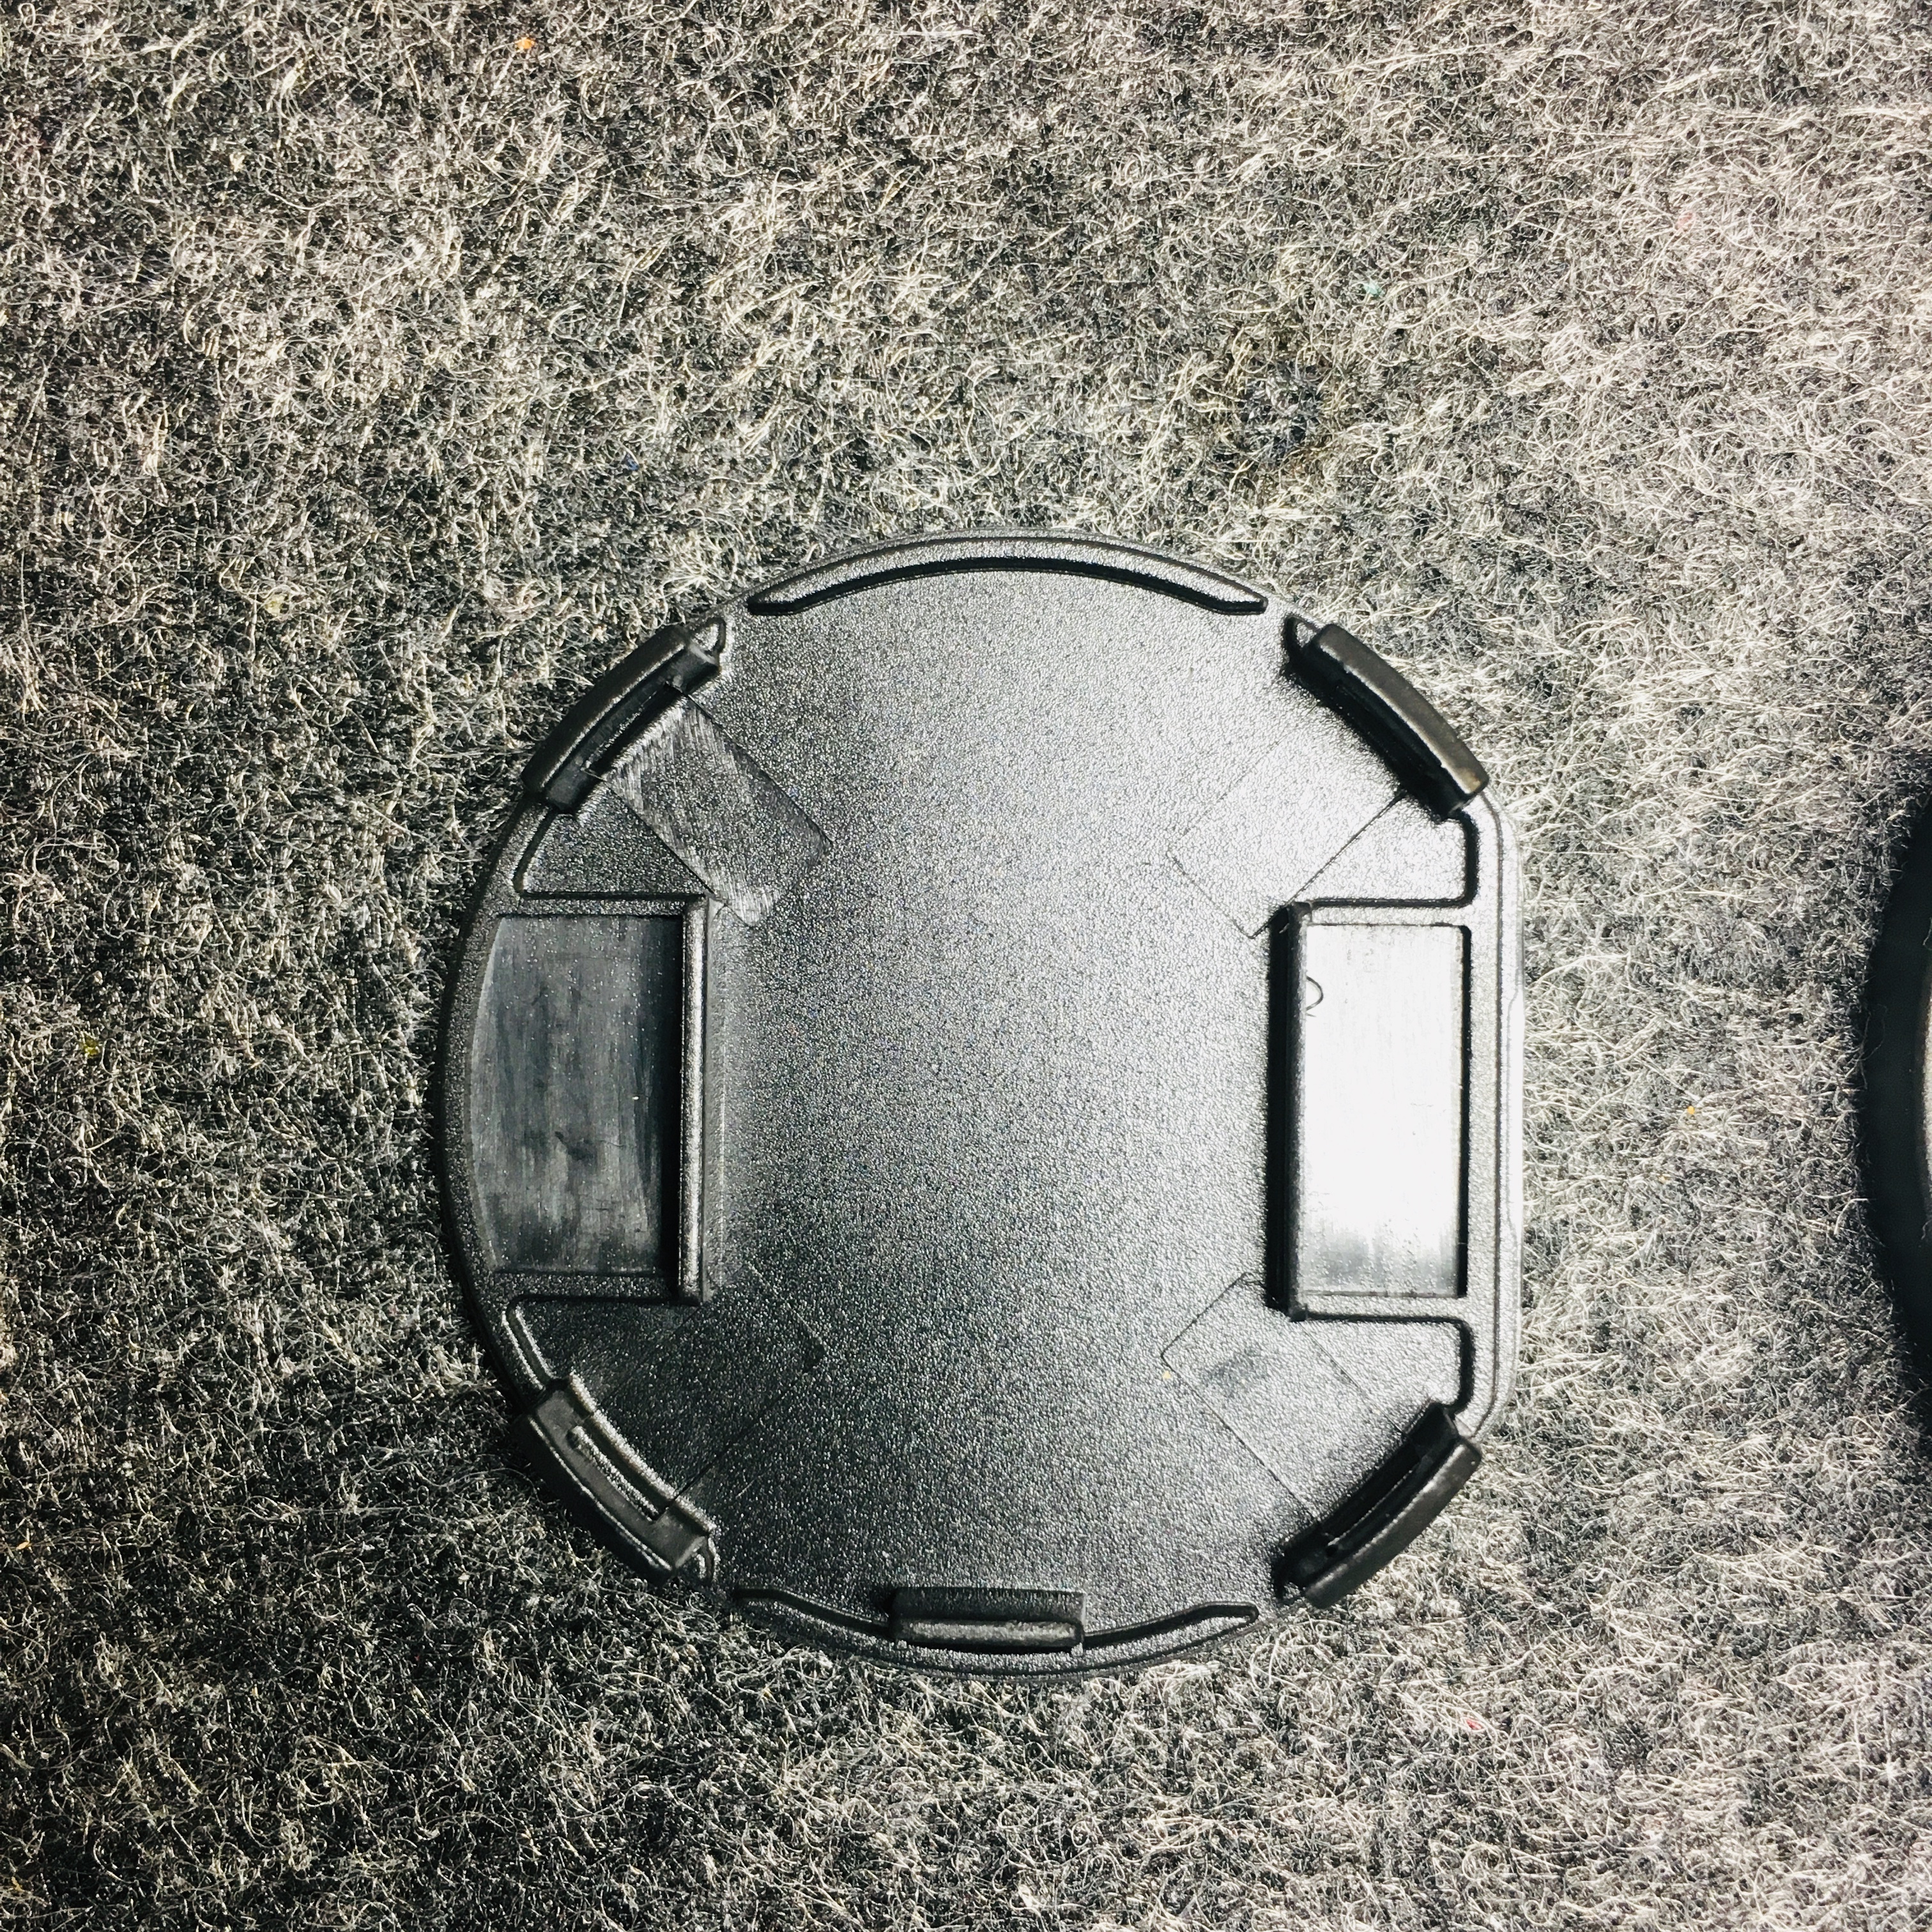
8. Put the closing back on the device

9. Connect the device to the charging cable to see if everything works well

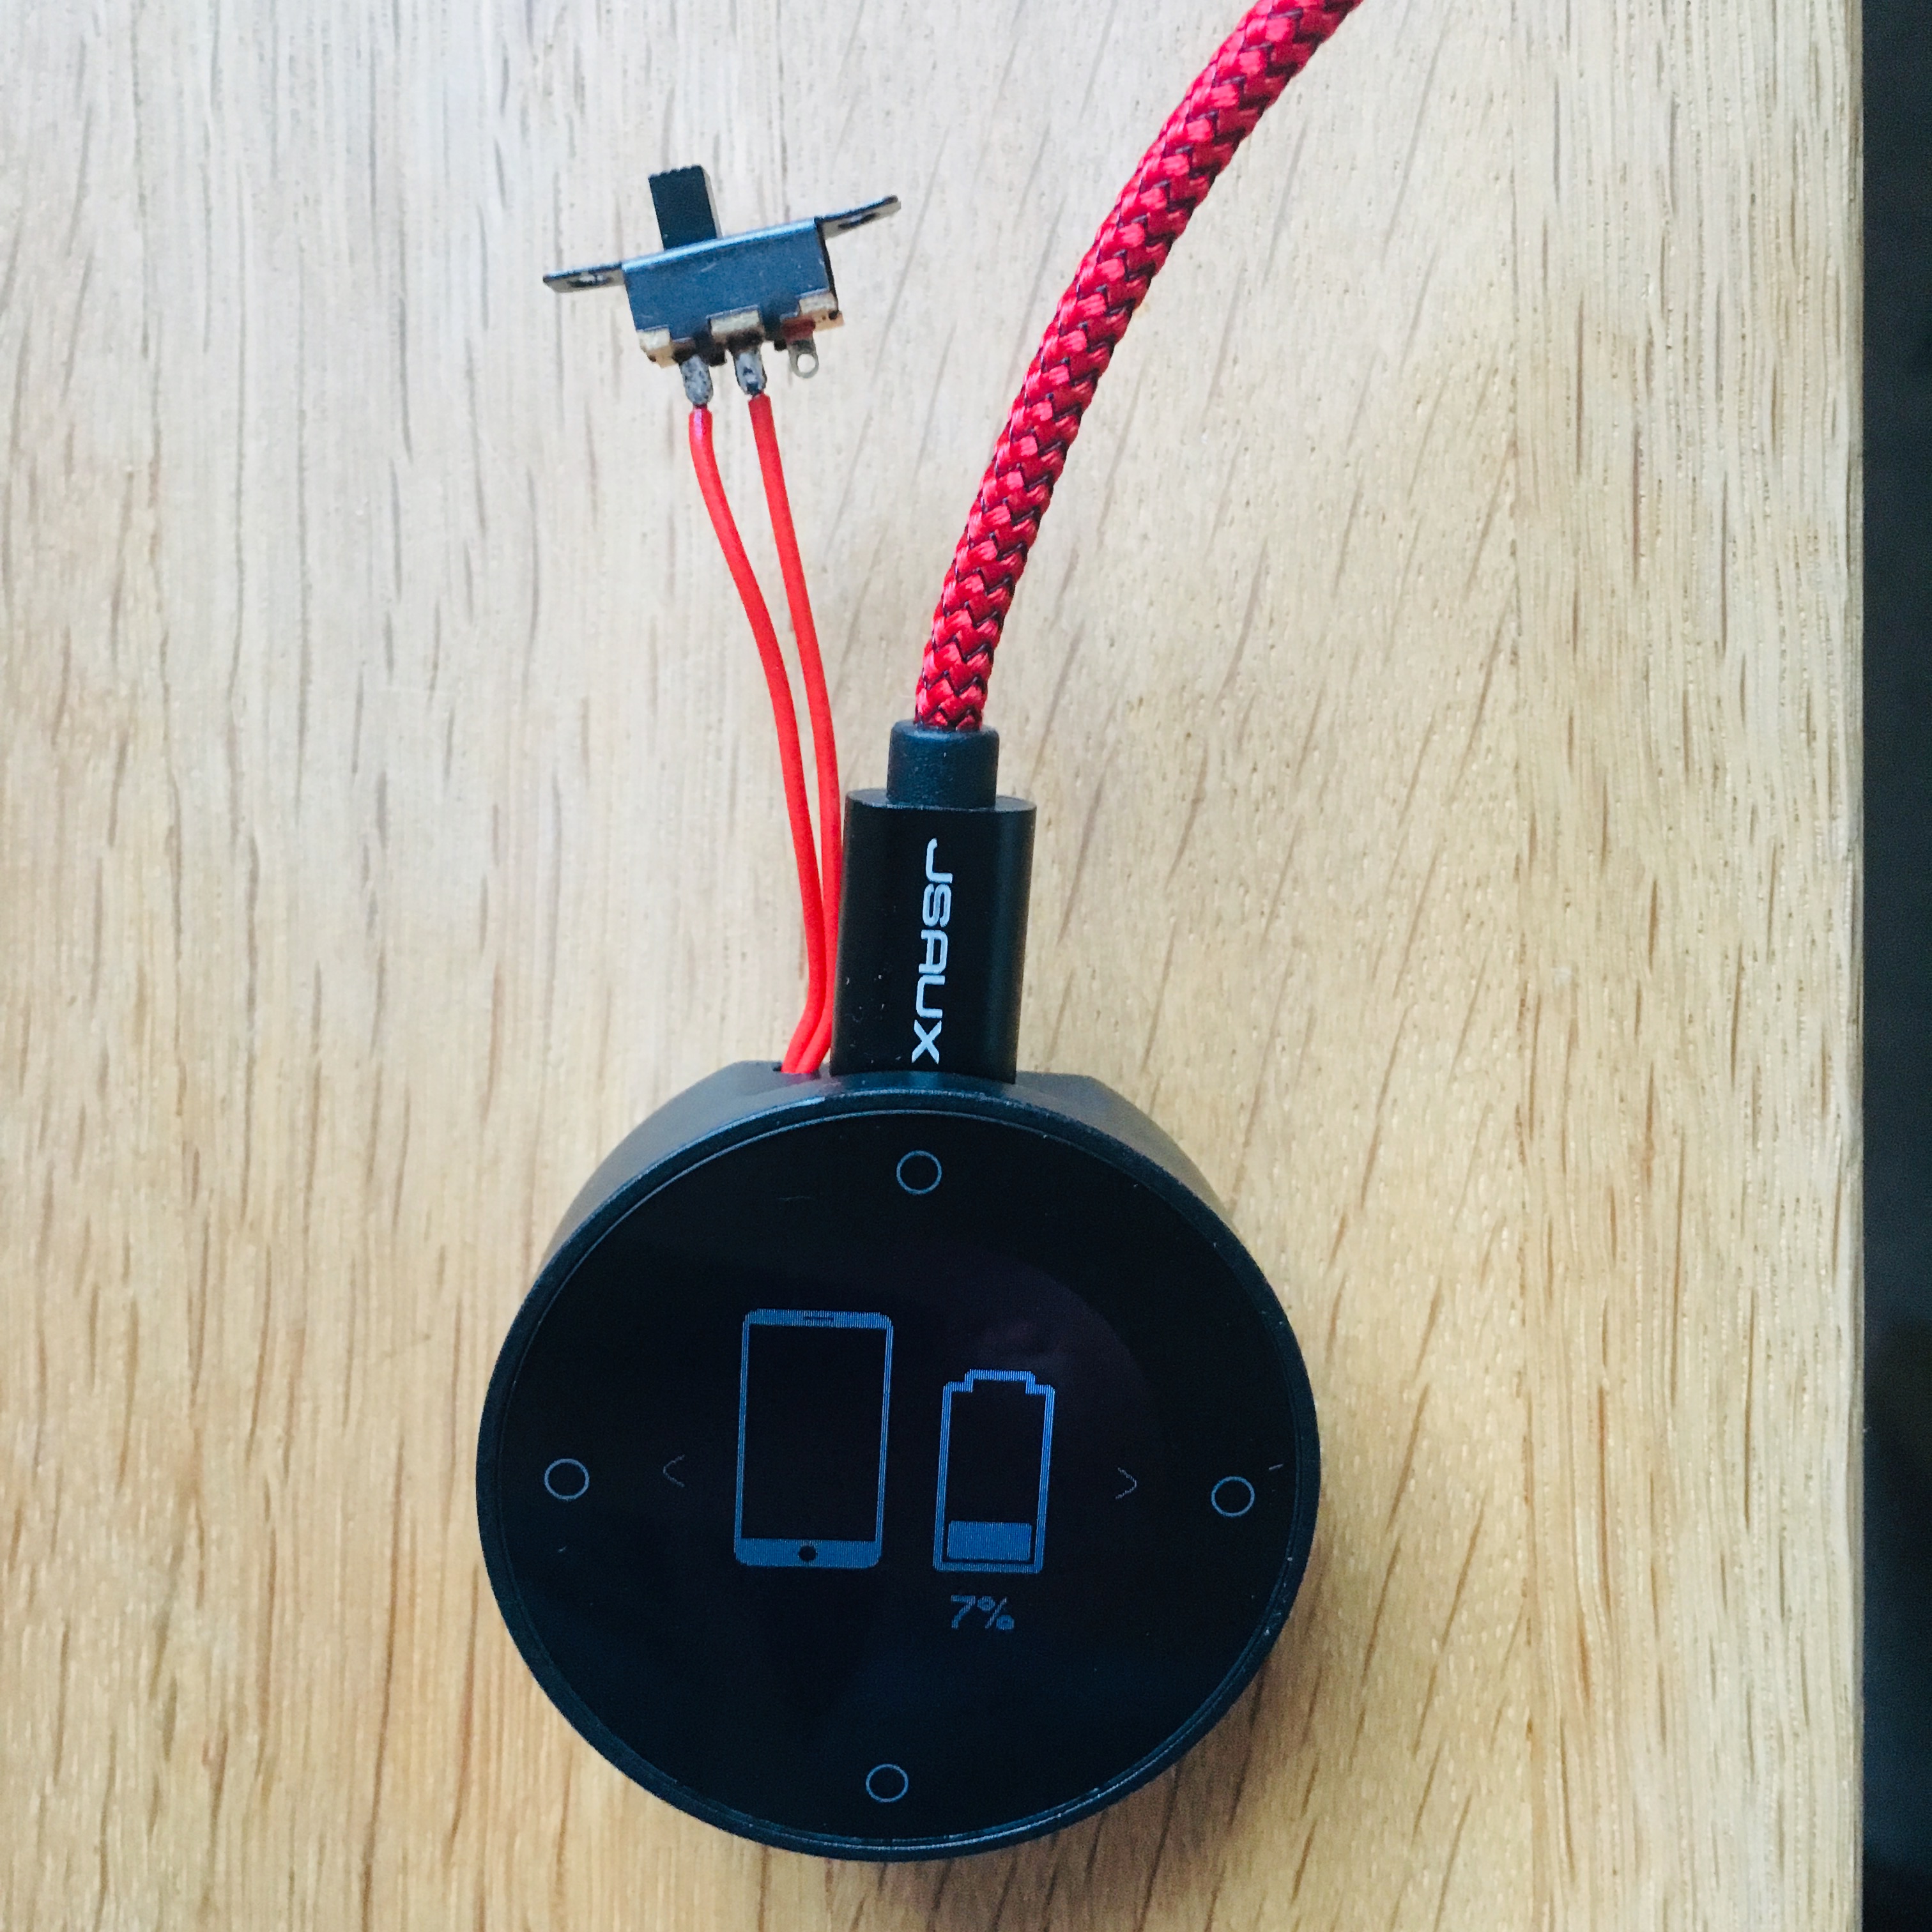
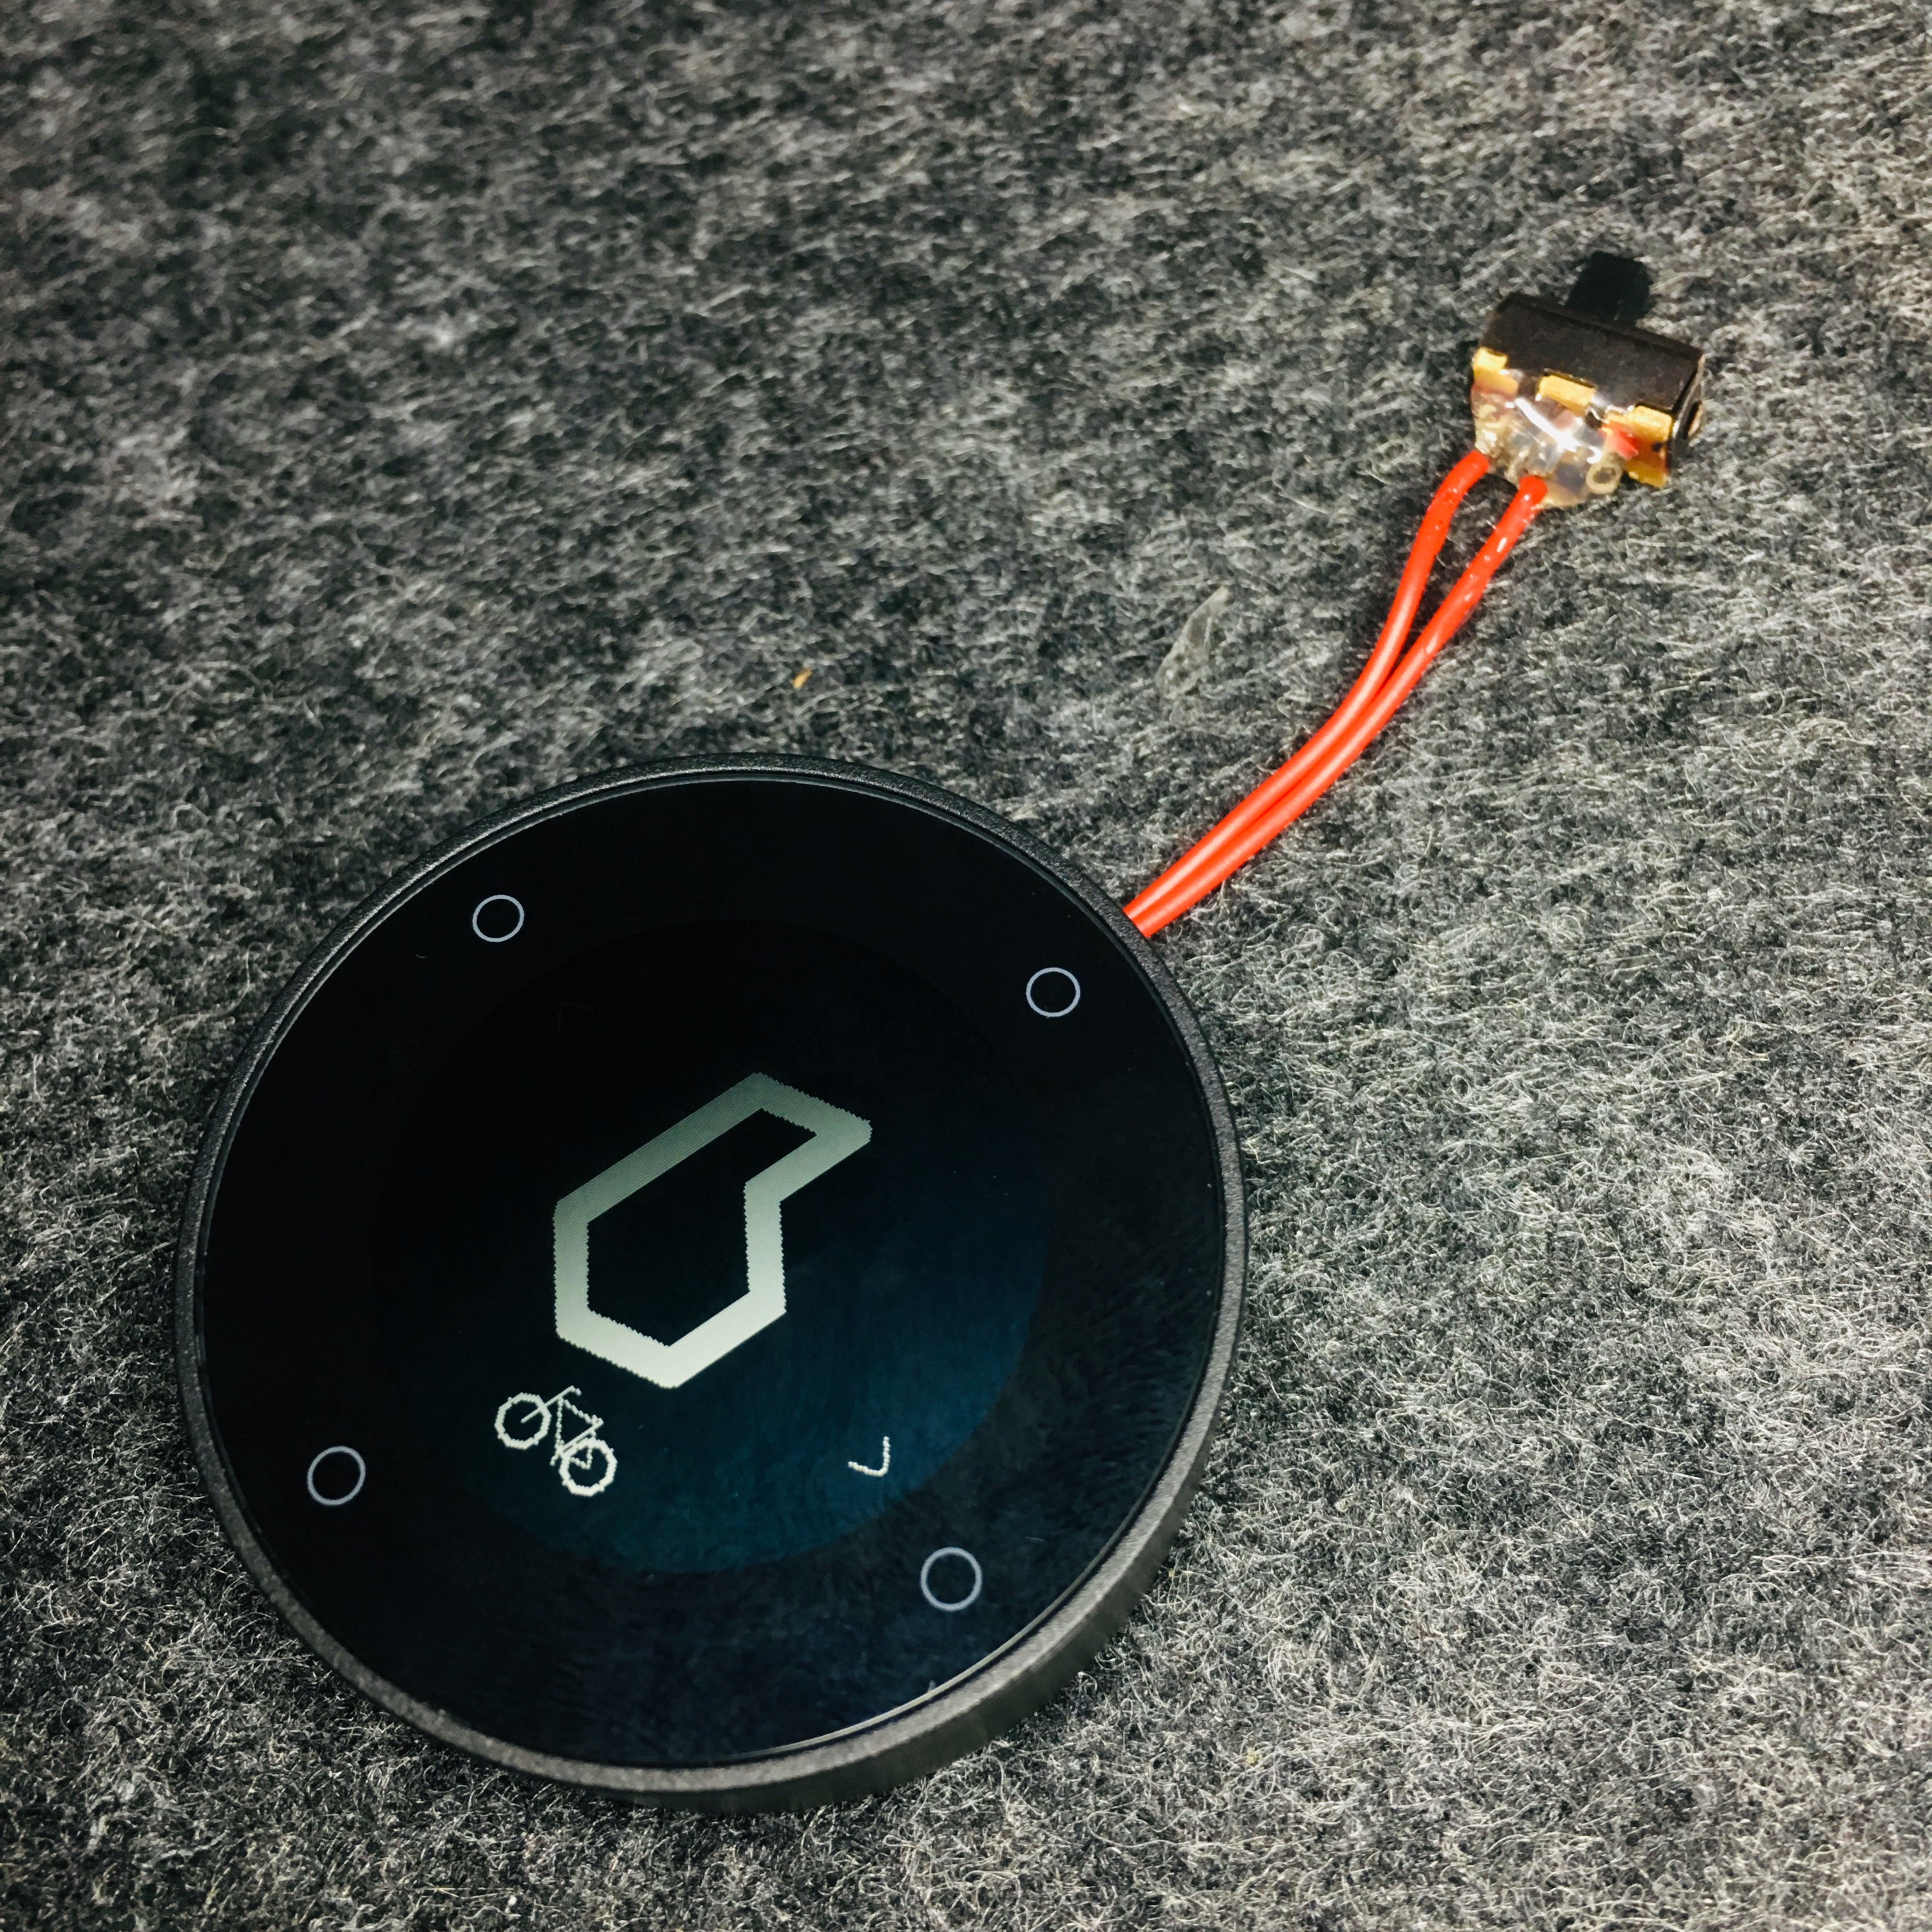
10. Switch your beeline ON and OFF as you like

Hell why did I need to fix this manually? Please be aware that you disconnect the whole battery by switching the device OFF. This means that for actually charging the battery you need to CONNECT so put the device in ON mode. After it was actually charged to 100% you can switch it OFF and leave it that way until you actually need it.

Now beeline is ready when you are!

Beeline in the rain

Update 10.2.2019
Today I used the modified beeline in the rain outside. Oh, well and it had power and worked so well. But I find the display still difficult to read. Basically due to the high amount of reflections the screen gives. And the visual distortion of even a small amount of raindrops is quite puzzling to me.

Why do I blog this? I really was fed up with the device being always out of battery power when I needed it. So this was a more than necessary move.

Note-2-Self: PocketCHIP

I just want to remind myself I want a PocketCHIP to play around with an idea I have.

Ordered this item long time ago on 30th of august 2017. nothing yet here. (Depublizierungsschutz) I guess I will not see this thing arriving here in 2017.

WARNING:

Looks like the guys at Next Thing Co. just do not deliver anything. So I guess my money is gone. :(

Why do I blog this? This one project (not a game) can be realized with this easily.

DIY Gravitation-Vacuum-Dripping-Valve as a Plant Watering System

In a few days I will go on holiday. Someone has to either look after my plants on the balcony while I am away or some kind of automatism should ensure that my plants are still alive when I am back.

So I did some googling around and found nice hints, but nothing that really kicked me enough and often I did not have the required things in the household. So I went with something quite common, a 1,5L plastic bottle of water, an empty mini glass of jar, a short piece (about 10cm) of yarn, a hot glue pistol and an edding permanent marker.

Things required

  • 1,5L plastic glass bottle (could also be a glass bottle)
  • mini jar glass (which fits the neck of the bottle tightly)
  • 10cm of yarn
  • Hot glue pistol
  • Edding permanent marker

Mini Jar Glass

Empty a mini jar glass and make it clean and dry.

Piece of yarn

Get some yarn and cut off a piece of about 10cm or longer (not too short).

Like about this size…

1,5L PlasticGlass Bottle

Hot Glue Pistol

Prepare the piece of yarn like in the photo then fetch and turn on the hot glue pistol.

Glue the yarn to the bottom of the inside of the glass like in this photo.

The gravitation-vacuum-dripping-mechanism

The bottle should now fit perfectly into the glass by putting it in upside-down. The yarn should leave the edge between bottle and glass on both sides (this is where the water should slowly drip from). The yarn should actually only ensure that there is a small opening where water can escape from the bottle.

System Installation

First dig a small hole in the earth beneath your plants. The hole can be slightly bigger than the glass itself, so the bottle will have full contact with the surrounding earth to stand stable.

Apply the prepared glass on the top of the water filled bottle like so…

…then rotate the whole thing upside-down and slowly insert it into the digged hole. Like so…

…check that the bottle is standing in 90 degress from the ground exactly in upright position to not fall over. Press some earth/dirt against the bottom surroundings to make it stand stable in the earth. Be careful that you keep the pieces of yarn below the surface so the dripping will happen below surface. Otherwise too much water will be lost to immediate evaporation.

System Monitoring

Not fetch your permanent marker.

And apply a mark for the water level in the bottle. Put a date/time beneath the mark like so…

…you can even add the correct time to have exact data on your experiment.

Congratulations!

These plants can now self-service some 1,5L of water during your stay away. The final system looks a bit weird… but it works. Hopefully!

Update: Correction on bottle material

The plastic bottles I used were not fit for the purpose. After several hours of the watering system in operation the plastic bottles looked like this…

So plastic is not stable enough to stand the atmospheric pressure while the water is sucked out of the bottom opening. So as of today I replaced the bottles by 0,5L glass bottles to see if that helps. Until now it works.

To be continued…

Why do I blog this? I wanted a quick and failsafe solution. In the last really hot summer I went with a small clay jug to fit the bottle in and I hot-glued the hole at the bottom of the jug closed. But the clay jug broke with the time and it did allow too much water to be dispensed. So this time I will try this new approach.