Since iOS 8 revealed YADS (Yet another device size), things start to become too fragmented and way to complicated to optimize the display of your app on all those devices down to the pixel. I mean there never was a pixel, only a point and subpixel antialiasing, but up until @2x we were able to optimize for pixel perfect alignments with a little bit of extra effort in Photoshop (or other good tools like Pixelmator).
The Post-@2x-era
Since @3x this time is over. If you have a universal app which needs to work on iPad, iPhone and iPod and on @1x, @2x and @3x, your matrix looks something like this:
| |
iPhone/iPod |
iPad |
| @1x |
Picture.png |
PicturePad.png |
| @2x |
Picture@2x.png |
PicturePad@2x.png |
| @3x |
Picture@3x.png |
Who knows what`s next? |
If your app goes the extra mile on perfect UXP with the display of your image assets you will also take portrait and landscape orientation into account. This means the following:
| |
iPhone/iPod |
iPad |
| Portrait@1x |
Picture.png |
PicturePad.png |
| Landscape@1x |
PictureLandscape.png |
PicturePadLandscape.png |
| Portrait@2x |
Picture@2x.png |
PicturePad@2x.png |
| Landscape@2x |
PictureLandscape@2x.png |
PicturePadLandscape@2x.png |
| Portrait@3x |
Picture@3x.png |
Who knows what`s next? |
| Landscape@3x |
PictureLandscape@3x.png |
Even in Landscpe? |
If you have 9 image assets you want to display (say some simple icons), this will amount to 9 x 10 = 90 image assets to add. Repeat my words, that is ninety assets you need to provide.
The power of 10
This was way too much for me. Since I am independent developer, I simply cannot afford ill-sized amount of workload. So why not go back to 9 image assets from the 90 assets you usually need to craft?
And that is what I did. I just vectorized all those image icons which were very important for the main screen in my app. That took some time, but from now on I simply do not care anymore about Apple’s next plans to release the oversized iPhone Plus Plus or the iPhone Super Plus or the iPad Air Hyper Retina or the iPod Hexagonal. Even iOS 9 with frosted glass effect for text and vibrancy effect for the device home button… I DON’T CARE.
I just use mindbrix UIImage-PDF, a category which enables to create UIImages from PDF-files containing scalable vector content (Kudos to cocoanetics). This category allows you to switch your assets from .png to .pdf in no time and saves you megabytes in your binary bundle.
Results of using PDF
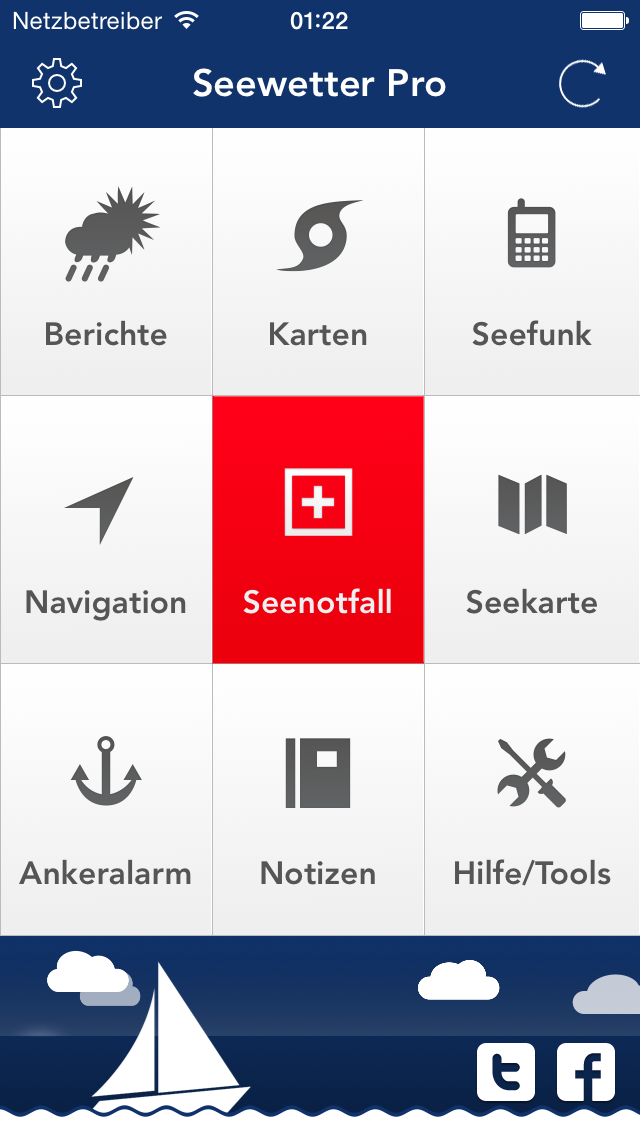
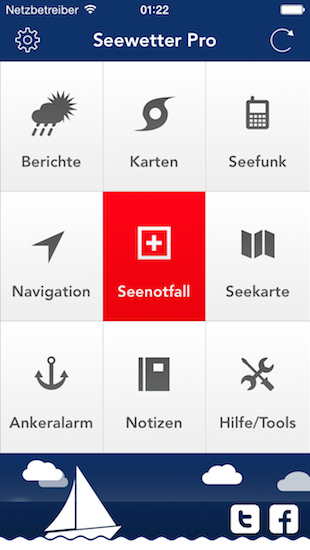
I have an app on the AppStore called Sea Weather Pro which actually needs 9 icons and uses them to create a nice rendered main screen menu with large tap targets and some kind of „plates“ which have a light gradient and some nearly invisible borders. These plates need to be rendered differently in different sizes and with different icon sizes and for different screen scales on each and every device in portrait and landscape.
The Portrait screen looks like this now (click to see full size):
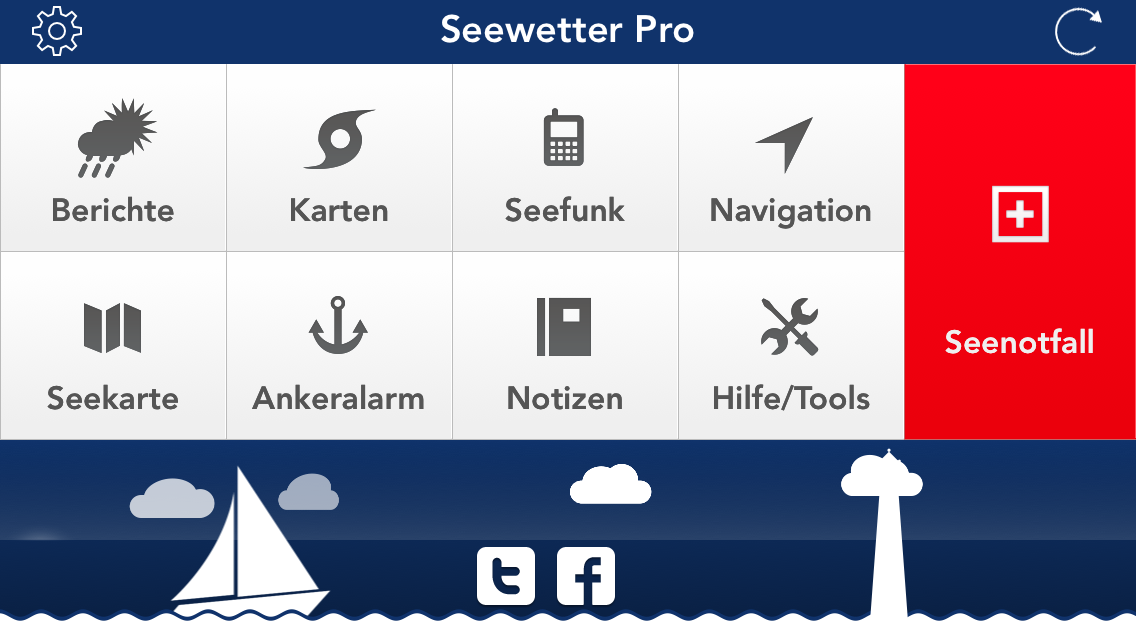
The Landscape screen looks like this now (click to see full size):
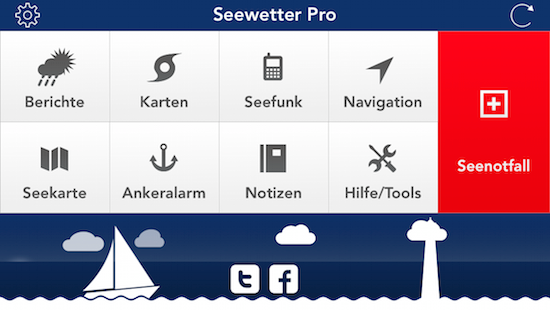
I was able to adjust the landscape size of the icons on these plates to be a little bit smaller, so when the iPhone/iPod is rotated to the landscape orientation the overall visual impression is lighter than before. This was only possible due to the use of PDF-assets.
The used resources (png vs. pdf)
The assets I used were completely different. It was bitmap versus vector data and the vector won by far. The additional flexibility you gain for having every size you want at any time with no more tool involved than UIImage, combined with the time saved editing and slicing bitmap assets is mindblowing.
BUT and this is a real issue, I was at first not able to use a PDF file which actually supports alpha blending or transparency. This is a well known issue because PDF never was meant to be used for something other than printing on paper (which is white/opaque background by default). So we need to jump through the following loop, if your exported PDF file does not yet kill the white box usually found in such files when exported.
Where I used this before:

I now use this:

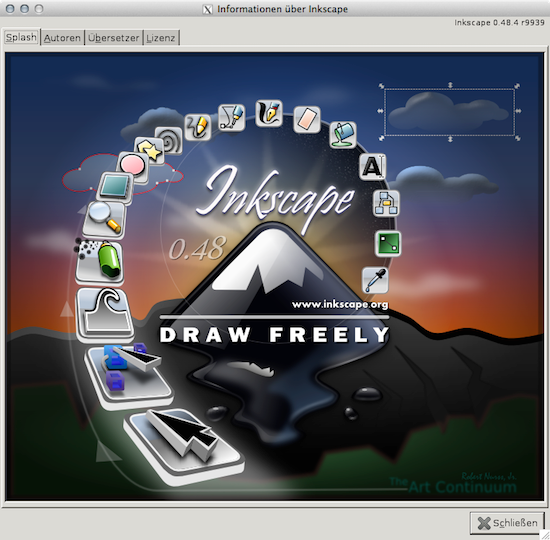
The process in 11 steps (using InkScape in X11 & XQuartz FTW!)
I was a Photoshop heavy user in the Ante-@3x-era, so all my resources are still in PSD-files. My vectorization of icons was done in PS. When I started saving the vectorized content as PDF-files I recognized that the PDF files contained always a white box on which the shape was drawn. There was no transparency or alpha blending whatsoever. I tried really every single configuration and colorspace to make this box disappear. It was not possible! So I tried using InkScape to fix my problem. Which actually worked.
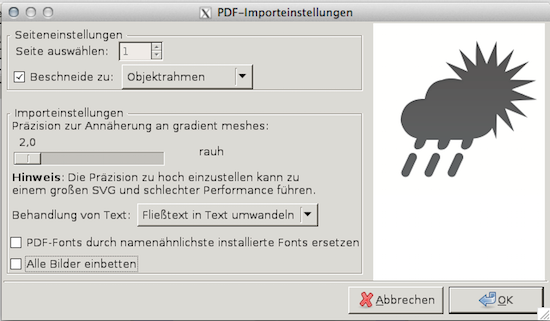
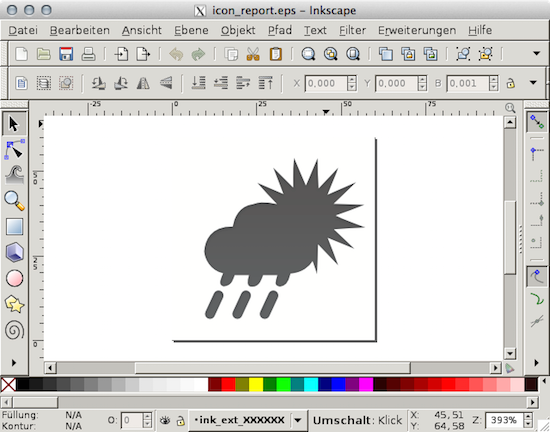
Step 1
Import EPS file you exported from Photoshop. Be careful to clip to the objects bounds/frame. This ensures you keep the aspect ratio and spacing in the document.
Step 2
Now you see your icon, but you also have a white background, which should be transparent (alpha = 0).
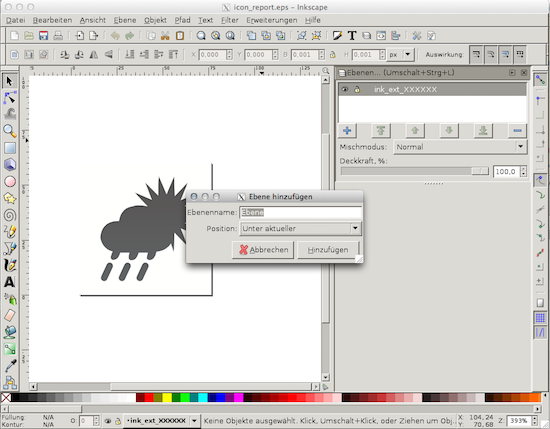
Step 3
Add a layer to the image, below the existing layer containing your whole shape.
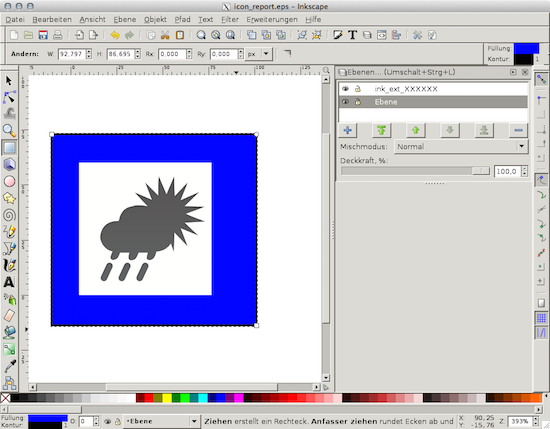
Step 4
Draw a color filled rectangle on that new layer behind the vector shape you imported.
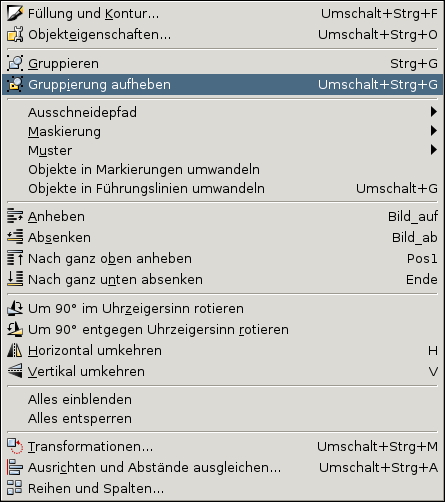
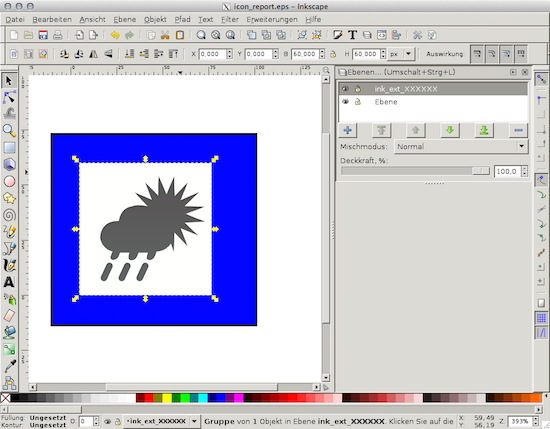
Step 5
Change to the layer of the vector shape. Choose the selection tool and select the shape. Now choose ungroup from the menu.
Step 6
Now select the white background box. And press the delete button…
Step 7
After the deletion you now have the single shape without a white box. Select the layer containing the colored rectangle…
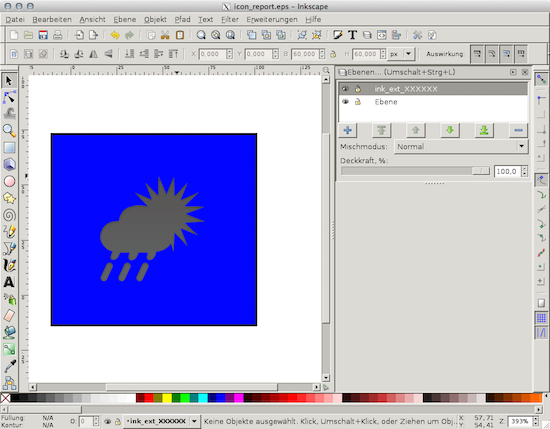
Step 8
…delete/remove this layer.
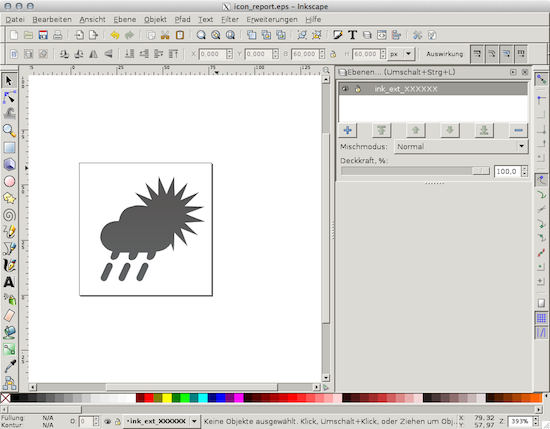
Step 9
Now go to file menu and choose print…
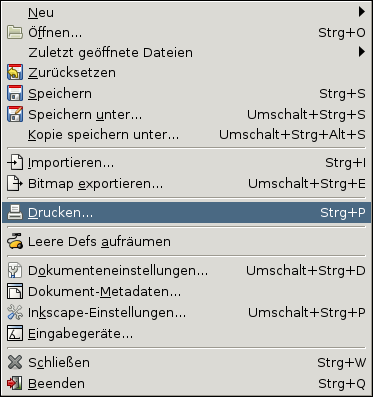
Step 10
Choose „Print as File“ and give a meaningful name to it.

Step 11
You now have a pdf image that is way smaller than the EPS file or PDF file Photoshop spit out. And this one is able to be rendered with transparency/alpha blending.
Why do I blog this? Because I am fed up with Apple’s neckbreaking pace of dropping new iOS releases and iDevice sizes. I need to come up with solutions Apple did not provide to make all those transitions cost efficient.
There is no other way to provide app updates than reducing the amount of work on this hell of fragmentation which now was introduced by iOS 8. Even the category class I linked to above is not yet fully ready to be used in iOS 8. Check out my forked one which fixes several issues with caching and the correct scale values.
I hope I can help other independent developers. And I dare Apple to slow down their amount of OS iterations dropped on developers and instead spend a whole year in just improving and cleaning up the mess they left behind after this power play on fragmentation and design changes. Apple please start thinking about usefulness and simplicity again and CONSOLIDATE. And please show some empathy towards developers (aka your ecosystem), or you will soon have messy, ugly and buggy apps all over the place or even worse are left with only OpenGL non-UIKit-using apps like games. You will end up with a GameStore instead of an AppStore if you continue going down this road. It’s the developers in the first place which take care of bugfree and perfectly working apps and not your review team. You simply cannot replace developers with reviewers. And the next time something isn’t yet ready to ship – like iOS 8.0? Don’t ship it! It’s that simple.